After the period of breastfeeding, children must gradually get used to bottle-feeding. Therefore, sterilizing baby bottles before feeding will limit the invasion of bacteria and protect your baby’s health. We will provide you with some information on how to properly sterilize baby bottles.
1 Scientific Research on Hot Water Sterilization
 Scientific research on hot water sterilization
According to a recent study by researchers from Trinity College Dublin, hot water rinsing and sterilization can release plastic particles. The study found that higher water temperatures result in more plastic particle release. Sterilization at 70ºC released over 16 million microplastic particles, while at 95ºC, this number increased to 55 million. In comparison, sterilization at 25ºC released approximately 600,000 particles. The researchers concluded that “higher temperatures lead to more microplastics being released”, which is a concerning finding.
However, a representative from the Plastics Division of the American Chemistry Council stated that the Trinity College Dublin study did not indicate any health risks associated with plastic, and the potential impact on infant health needs further clarification.
To minimize the release of microplastics, the researchers suggested using cooled boiled water to rinse the bottles three times instead of using boiling water.
2 Perform Bottle Sterilization in Advance
Sterilization is a crucial step that must be done before using a baby bottle for the first time and after each feeding.
Here’s a simple step-by-step guide:
-
Disassemble the bottle and give it a quick rinse with cold water. Then, use a specialized bottle brush and long-handled brush to thoroughly clean important parts such as the lid, nipple, and inside of the bottle.
-
Next, submerge the bottle in cold water and bring it to a boil for about 5-10 minutes. Then, add the other plastic parts, ensuring that the water completely covers the bottle. Use specialized tongs to remove the bottle and place it in a clean area to air dry.
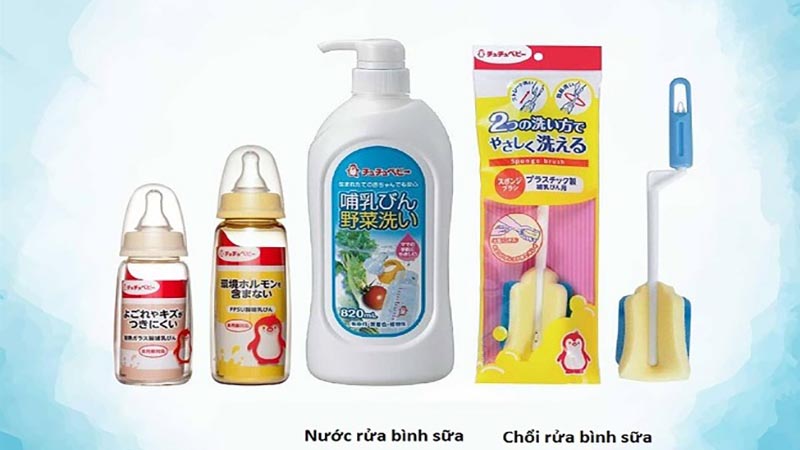 Sterilization is essential before using a baby bottle for the first time and after each feeding.
Newborns have a weaker immune system compared to adults, so it is crucial to ensure that their feeding equipment is thoroughly cleaned and “100% sterile”. This level of cleanliness is not limited to baby bottles but also extends to other items such as pacifiers, breast pumps, spoons, and weaning bowls.
3 Proper Ways to Sterilize Baby Bottles
Sterilization is the final step in the cleaning process, and it is crucial for ensuring that the bottles are free from bacteria. There are three reliable and proven methods: chemical sterilization, electric steam sterilization or cold pot sterilization, and lemon juice sterilization.
Chemical Sterilization
Using sterilizing tablets instead of boiling water can eliminate up to 99.9% of bacteria, viruses, and mold.
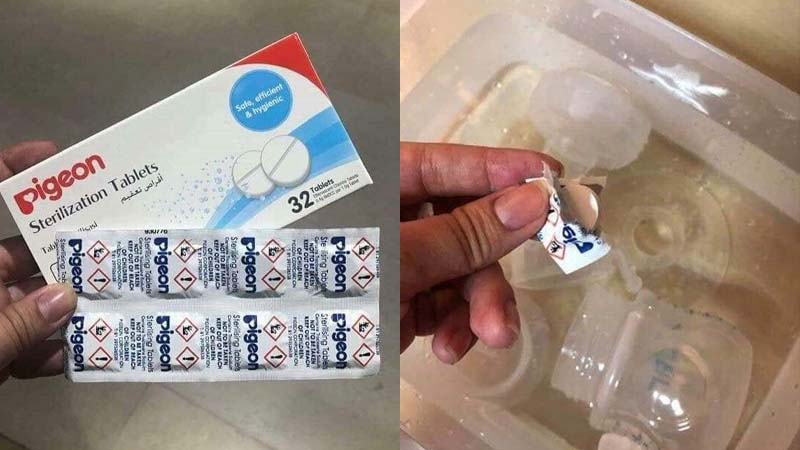 Chemical sterilization
Advantages:
Sterilizing tablets are compact, safe, and convenient for traveling or on-the-go situations, eliminating the need for boiling water.
Disadvantages:
Many tablets emit a chlorine odor, which can be unpleasant for both mothers and babies, and may affect the taste of the milk.
While convenient, this method is not widely used in Vietnam.
Instructions:
Note: The usage and timing may vary depending on the type of sterilizing tablet.
Electric Steam Sterilization or Cold Pot Sterilization
This is the most popular and effective method, capable of eliminating up to 99% of bacteria in just a few minutes.
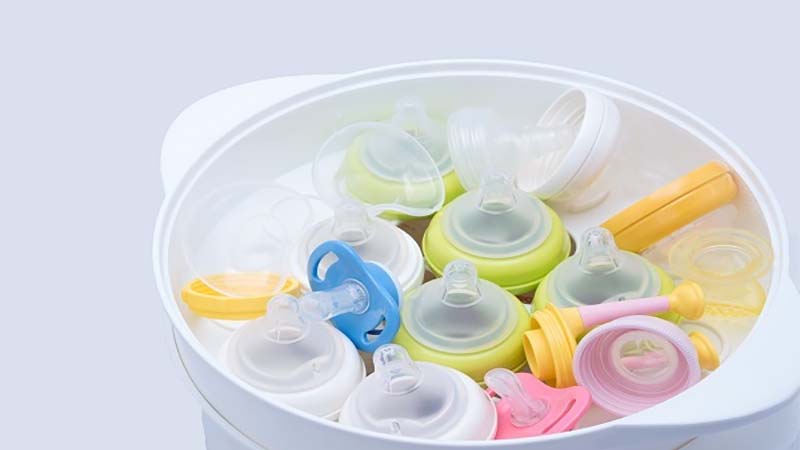 Electric steam sterilization or cold pot sterilization
Advantages:
This method allows for the sterilization of multiple bottles and accessories simultaneously.
It features an automatic shut-off system for safety and energy efficiency, eliminating the need for constant supervision.
It is absolutely safe and will not damage the materials or release harmful substances that could affect your baby’s health.
Disadvantages:
The electric sterilizer has a bulky design, making it cumbersome to carry around.
Genuine products are not widely available in Vietnam, making them difficult to purchase.
Instructions:
Lemon Juice Sterilization
If you are concerned about the use of chemicals or the cost of an electric sterilizer, this method offers a simple, cost-effective, and natural alternative. Lemons contain citric acid, which is a powerful cleaning agent and a natural disinfectant.
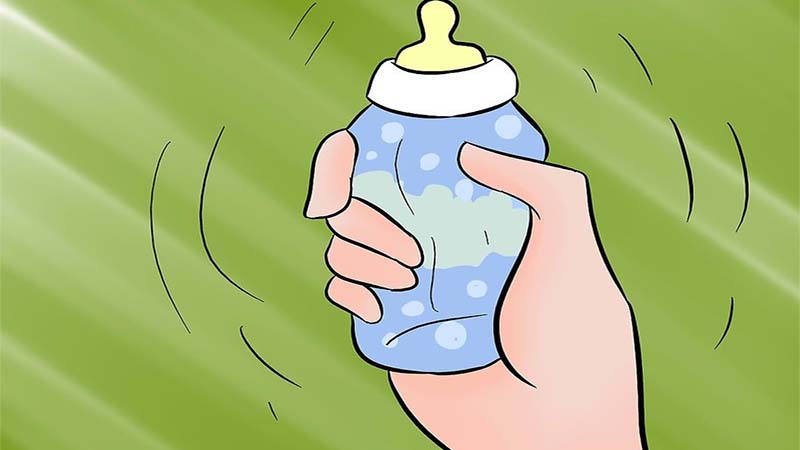 Lemon juice sterilization
Advantages:
This method is easy to perform, and the ingredients are readily available and safe.
Disadvantages:
The effectiveness is lower compared to the previous two methods, and it requires consistent use.
Instructions:
Note: This lemon juice solution can also be used to sterilize other baby items.
4 Important Notes for Using Baby Bottles
After feeding your baby, rinse the bottle with cold water.
Do not heat milk in the microwave, and avoid shaking the bottle vigorously.
Always clean the bottle thoroughly after feeding to prevent milk buildup, which can be difficult to remove if left for too long.
Sterilize the bottle daily based on the number of feedings. For example, if your baby feeds five times a day, sterilize the bottle five times before each use.
After sterilization, store the bottle in the refrigerator to maintain hygiene.
Check the temperature of the milk before feeding it to your baby.
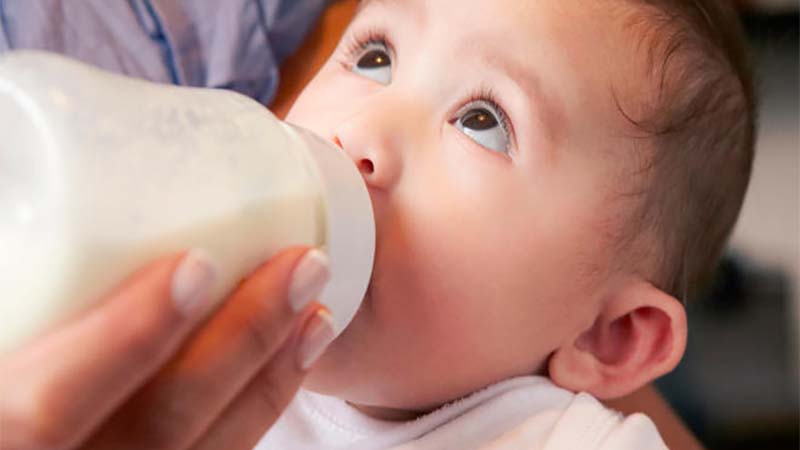 Important notes for using baby bottles
Choose plain white bottles without any prints or designs. During sterilization, the ink and colors may leech out and contaminate the bottle.
When opting for glass bottles, be cautious as some may contain lead, which is harmful to health. Always check the manufacturer and composition before use.
It is recommended to mix formula milk in a non-plastic cup and only transfer it to the baby bottle once it has cooled down.
Replace nipples every three months and bottles every six months, or sooner if they show signs of wear and tear, discoloration, or other abnormalities.
Do not overtighten the bottle’s lid, as this can create a vacuum, making it difficult for your baby to feed.
The information provided above offers a comprehensive guide on sterilizing baby bottles, along with important notes to ensure the health and safety of your little one. We hope that these tips will empower you to take the best care of your child’s feeding equipment!
1. Disassemble the bottle – Separate all the parts of the bottle, including the lid, nipple, and base.
2. Clean the bottle – Rinse the bottle and its parts with warm water to remove any milk residue. You can use a bottle brush to scrub away any stubborn residue.
3. Sterilize the bottle – There are several methods for sterilization, including boiling, using a sterilizer, or steam sterilization. Boiling is the most traditional and cost-effective method, simply boil the bottle parts in water for about 5-10 minutes. Alternatively, you can use an electric or microwave sterilizer, or a steam sterilizer bag.
4. Air dry the bottle – After sterilization, let the bottle and its parts air dry on a clean towel or drying rack.
5. Reassemble and store – Once everything is dry, reassemble the bottle and store it in a clean, sealed container until the next use.


