Most people tend to throw away their old toothbrushes because they think they are taking up space, and their value is not that high. However, after reading this article, I bet you will think twice about this habit!
**The Useful Purposes of Old Toothbrushes and How to Do It Super Simply**
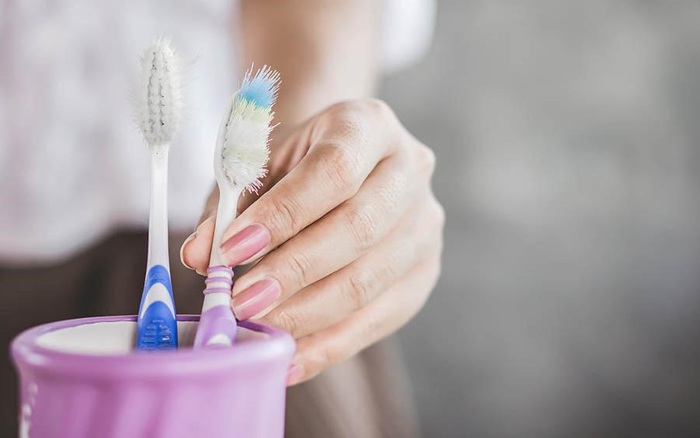
*These old toothbrushes have quite a few uses that few people think of. (Illustration)*
**1. Clean the Faucet**
The gap between the faucet is usually very difficult to clean. However, by taking advantage of old toothbrushes, you can easily remove stains no matter how stubborn they are.
The way to do it is extremely simple as follows:
– First, take two old toothbrushes and then use a rubber band to tie them together.
– Soak them in clean water, then open the brushes and scrub the faucet.
In this way, the brush can easily get into the gap in the faucet and do its cleaning job.
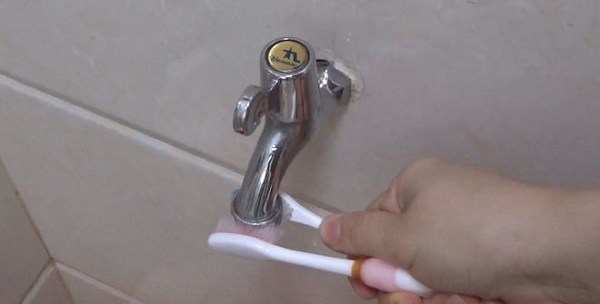
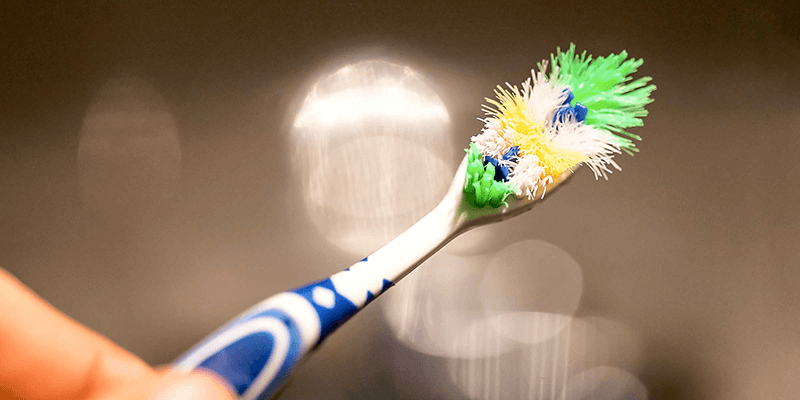
*Be more careful; you can mix vinegar with baking soda to increase the cleaning effect. (Illustration)*
**2. Separate Hard-Shelled Nuts Such as Walnuts, Peanuts, …**
If you want the process of separating hard-shelled nuts to be faster and less painful, you can try this!
The way to do it is extremely simple as follows:
– Pluck out the bristles at the head of the old toothbrush, then use a rubber band to tie the two toothbrushes facing each other, and clamp a folded piece of paper in the middle.
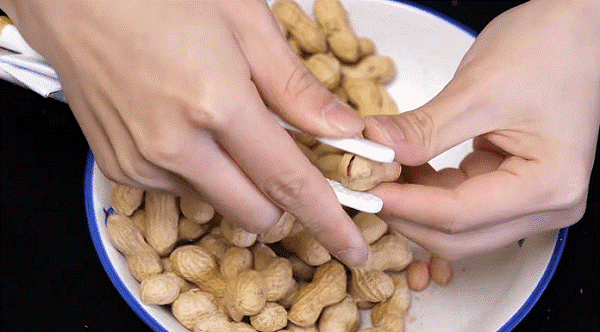
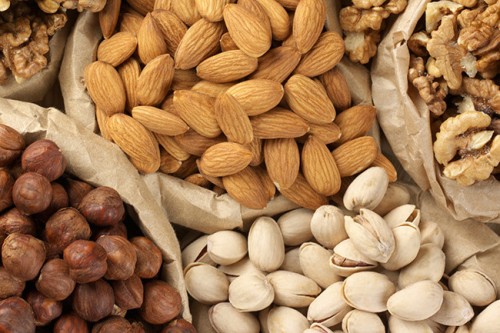
*Remember to pluck out the bristles of the toothbrush before performing the following steps. (Illustration)*
**3. Clean the Keyboard**
The computer keyboard is a place that is very prone to dust but super hard to clean. So, you only need to take an old toothbrush and brush the keyboard, and the dust will be easily and quickly removed.
Then don’t forget to wipe it again with a piece of paper or a thin cloth dampened with water or physiological saline.
**4. Clean the Comb**
The comb is also an object that is very prone to dirt, especially after a period of use; you will see a layer of black dirt sticking to the comb teeth, which is very difficult to clean.
If so, try this:
– Use an old toothbrush, dip it in water with detergent, and brush along the length of the comb. The dirt will be removed.
**5. Clean the Bicycle Chain**
Because the bicycle chain is usually covered in a mixture of machine oil and dirt, it makes the bike heavier, and worse, it reduces the chain’s lifespan. If you need to clean the bicycle chain, don’t forget to apply this:
– Attach two old toothbrushes together with tape, so the brushes face each other.
– Then place the bicycle chain between the two brushes and rotate the pedals. Now you have cleaned the chain.
However, after cleaning the bicycle chain, don’t forget to oil it to lubricate and help it run more smoothly!
**6. Clean Cups**
First, burn the back of the head of an old toothbrush, bend the brush backward at a 90-degree angle. With this method, you can turn old toothbrushes into tools to scrub deep cups, bottles, and jars.
**7. Scrub the Toilet**
The toilet has small, narrow spaces that are difficult to clean with regular cleaning tools. You only need to heat the inside of the toothbrush handle over the fire and bend it into an L shape. Add some toilet cleaner, and start scrubbing those hard-to-reach places.
**8. Clean the Refrigerator Gasket and Window Frames**
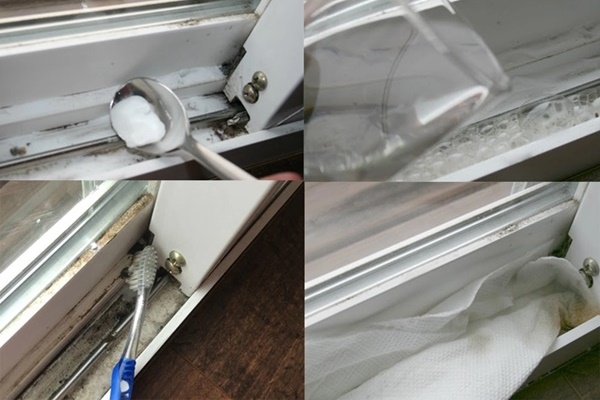
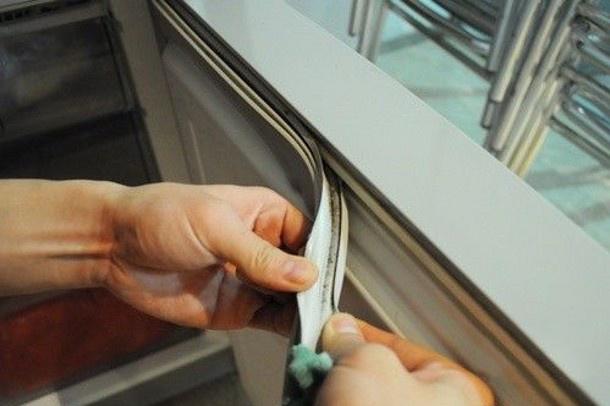
*(Illustration)*
After bending the toothbrush, it can be used to clean the gaps of the refrigerator gasket or window frames – places that are prone to dust but not easy to wipe.
**9. Wipe Crayon Marks off the Wall**
To clean crayon marks off the wall, apply some shaving cream or toothpaste to an old toothbrush and scrub the wall. Once the crayon marks are gone, wipe the wall with a clean cloth.
**10. Clean Jewelry**
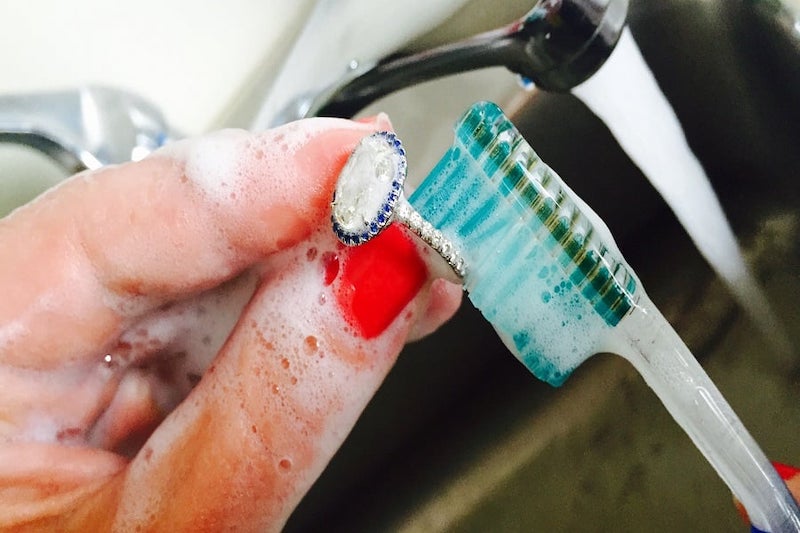
Jewelry often has many small grooves and crevices, making it challenging to clean. Use an old toothbrush, dip it into a cleaning solution, and gently scrub the jewelry’s surface to remove the dirt.
Hopefully, with these tips, you will have more experience cleaning difficult-to-clean objects and surfaces in your home!
*According to “Phụ nữ Việt Nam”*
The Magic of Three: A Guide to Saving on Your Electricity Bill
The rice cooker needs to be regularly cleaned and maintained; otherwise, it will become a dirty, smelly, and costly appliance. Over time, burnt rice and residue can build up, causing an unpleasant odor and even increasing your electricity bills. Regular cleaning is essential to keep your rice cooker in top condition and ensure your meals are always tasty and healthy.
The Magic of Extra Beer: A Multipurpose Must-Have for Every Home
Introducing a revolutionary way to utilize leftover beer and transform it into a problem-solving solution for your household needs. Step aside from the conventional and embrace the unexpected as we uncover the hidden potential of those extra pints. It’s time to unlock a whole new world of possibilities with a simple yet ingenious twist.
The Ultimate Guide to Cutting Board Care: Sun, Boil or Sterilize?
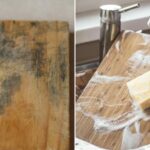
For moldy cutting boards, timely cleaning is essential to maintain hygiene. It is crucial to address the issue promptly to prevent the spread of mold and bacteria, which can be detrimental to your health. Effective cleaning methods include using a mild detergent or a mixture of vinegar and water, followed by thorough rinsing and drying. Regular maintenance and prompt action are key to keeping your cutting boards sanitary and safe for food preparation.


