I’ve been using the same washing machine for over 20 years, and only recently discovered these six secrets. Had I known sooner, I wouldn’t have worried so much about my clothes not being clean.

1. Remove and Clean the Detergent Tray
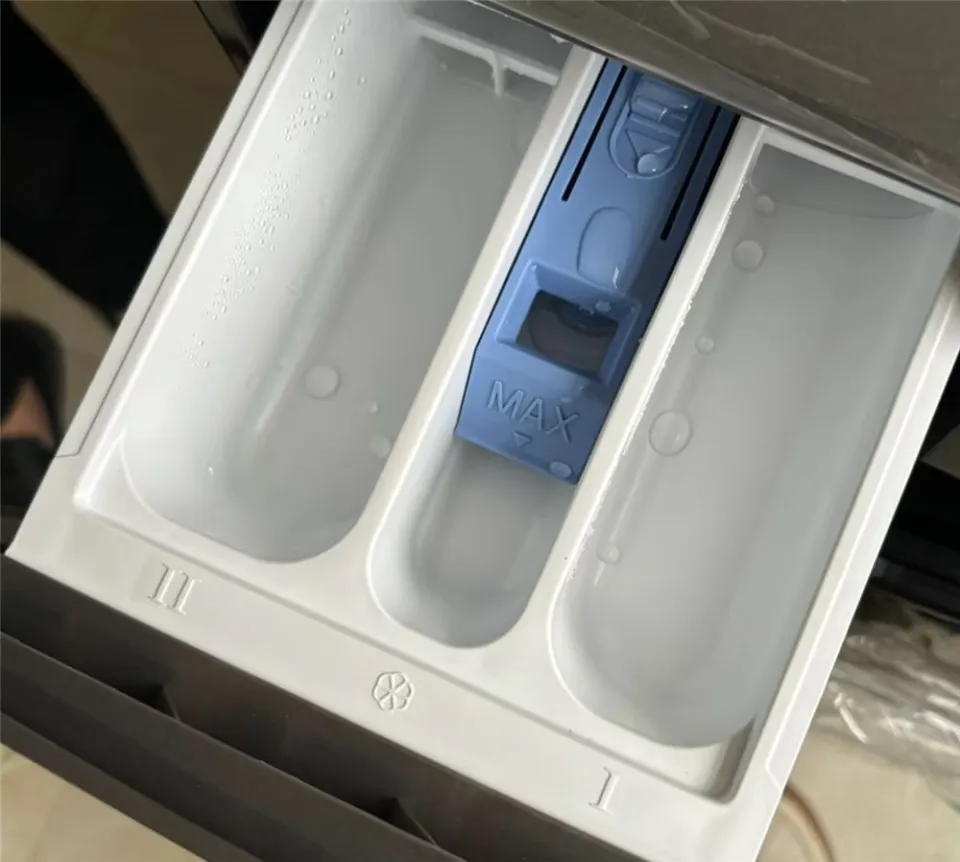
The detergent tray in a washing machine typically has three compartments, marked with a flower symbol, and the numbers 1 and 2. The compartment with the flower symbol is the smallest and is used for fabric softener.
Compartment 1 is slightly larger and is usually used for detergent/soap for the pre-wash cycle. Finally, compartment 2 is the largest and is used for detergent/soap for the main wash cycle. Using the correct detergent compartment ensures that your clothes come out cleaner and fresher.
Many people who use front-loading washing machines may never have removed and cleaned the detergent tray since purchasing the machine, which can lead to a buildup of dirt and grime. If not cleaned promptly, this grime can enter the drum through the pipes, resulting in clothes not being as clean as they should be.
To clean the detergent tray, simply locate the blue push bar on the surface of the tray. Press it to release the tray, then wash and dry it thoroughly. Don’t forget to clean the tray compartment as well. With just a few simple steps, you can help improve the efficiency of your washing machine and keep your clothes cleaner.
2. Fold Blankets Before Washing
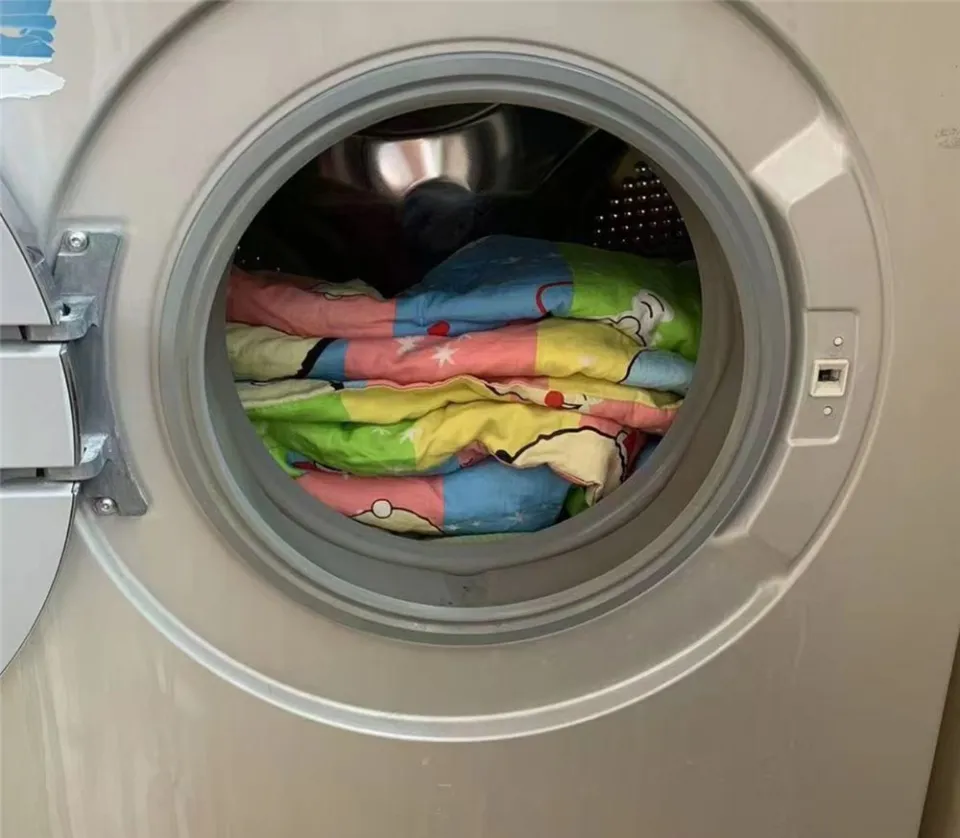
When washing blankets, many people tend to roll them up and put them in the front-loading washing machine. As a result, the blankets often come out wrinkled and not thoroughly cleaned, leading them to complain that the front-loading machine doesn’t clean well.
However, the issue lies in the washing method. For better results, it is recommended to fold the blanket neatly before putting it in the washing machine. As the machine operates, the rolling and beating motions will help dislodge dirt, hair, and other particles from the fabric. After washing, the blanket will be smoother and cleaner. Try this method the next time you wash a blanket and see the difference for yourself.
3. Avoid Overloading or Underloading the Machine
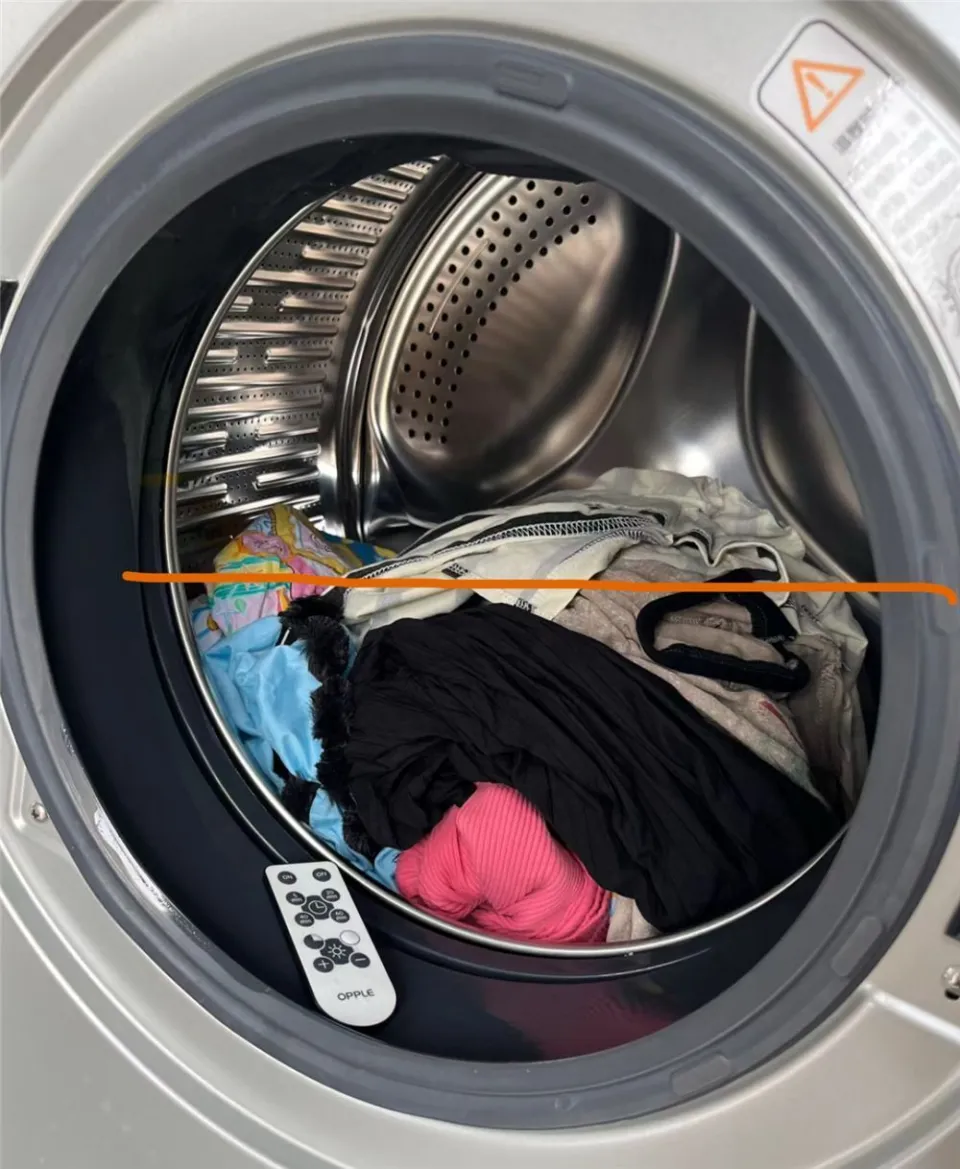
When using a washing machine, it is important to note that you should not put in too few or too many clothes. The principle of “just enough is best” is crucial for effective cleaning.
If you put in too few clothes, the impact force will not be strong enough to clean them properly. On the other hand, overloading the machine will restrict the space needed for effective washing, resulting in subpar cleaning. Therefore, it is best to fill the drum to about half its capacity.
4. Proper Use of Laundry Fragrance Beads
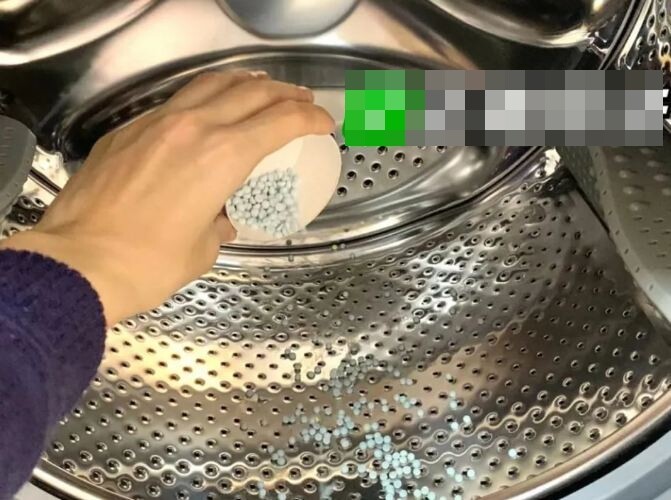
Many people nowadays use laundry fragrance beads to keep their clothes smelling fresh. However, if not used correctly, these beads can leave small fragments on the clothes, and you may even have to rewash them.
For effective use of laundry fragrance beads, do not place them directly in the detergent tray or sprinkle them onto clothes that are already in the machine. Instead, pour the beads directly into the drum before adding your clothes. As the machine operates, the beads will dissolve evenly in the water, leaving no residue and providing a longer-lasting fragrance.
5. Keep the Door Open After Washing
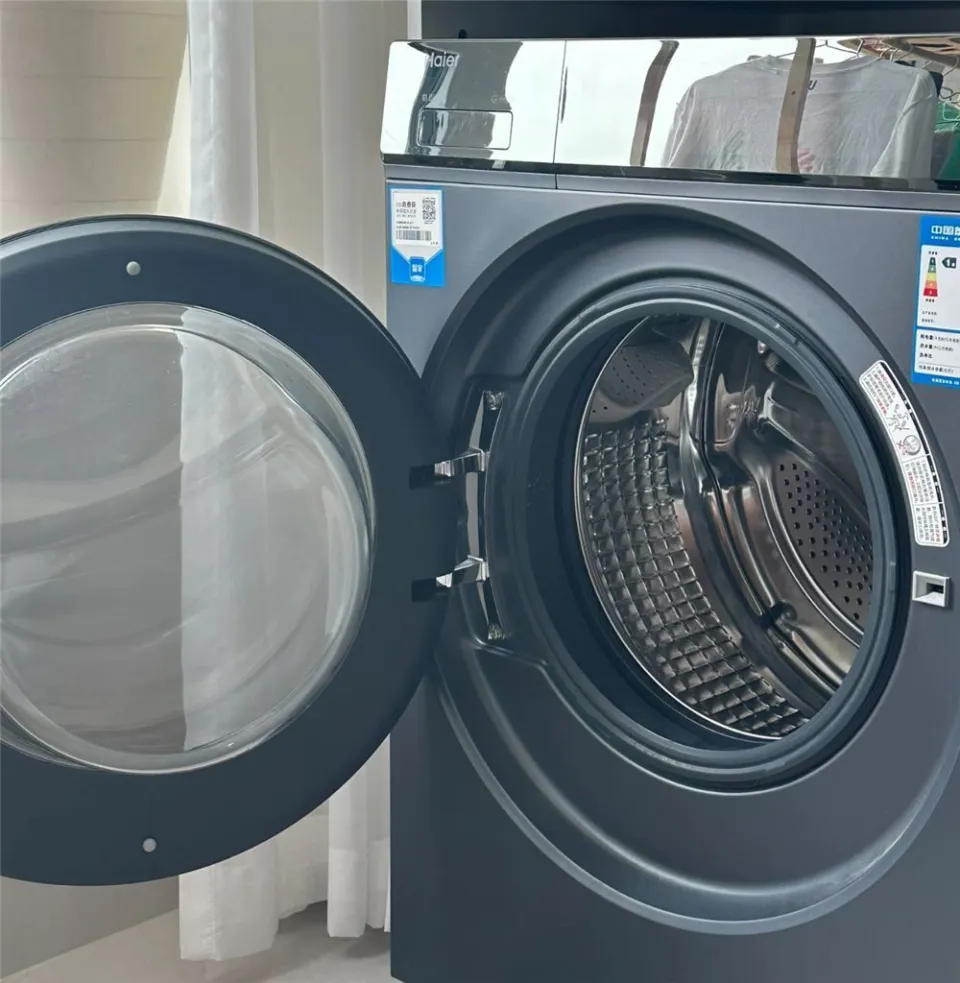
After washing, it is best not to close the door of your front-loading washing machine immediately. Because the door is designed to be airtight, there will still be moisture inside immediately after washing.
If the door is closed right away, the moisture will not be able to escape, leading to prolonged dampness, which can cause mold and unpleasant odors. Many people have given up on front-loading washing machines due to the musty smell that develops inside. So, remember to keep the door ajar to better maintain your washing machine!
6. Regularly Clean the Hidden Door
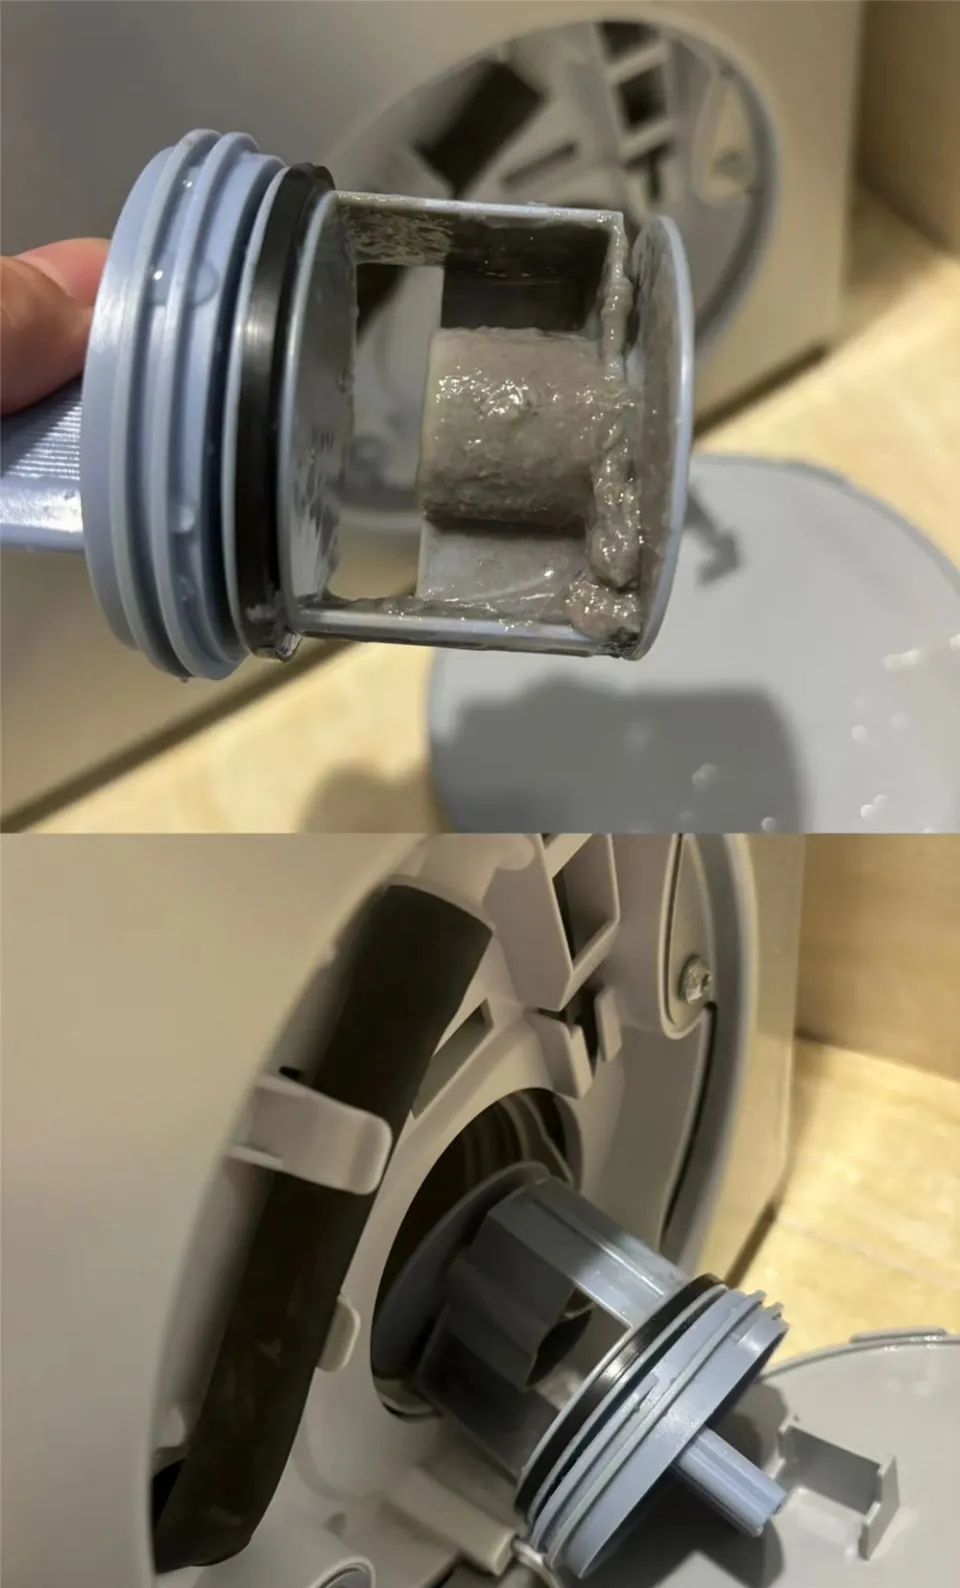
This hidden door is usually located in the lower right corner of the washing machine, and it collects dirt, lint, and other particles during the washing process. Therefore, it is important to regularly open this door to clean it, preventing musty odors and mold from developing in your machine.
Simply press lightly to open the top cover. Next, remove the filter by gently twisting and pulling it out. Use a brush to clean any dirt, detergent residue, and other buildup on the filter. Wipe it clean with a cloth before reinstalling the filter.
The Non-Stick Pan’s “Blacklisted”: This Alternative Cookware is Preferred Instead
The non-stick coating on a non-stick pan is highly susceptible to damage and peeling due to everyday use and improper handling. With regular use, the coating can start to break down, exposing the base metal and compromising the pan’s non-stick properties. This can lead to a sticky situation, literally, with food beginning to adhere to the surface and making cleanup a chore. Additionally, improper cleaning methods, such as using abrasive sponges or harsh chemicals, can expedite the deterioration process, leaving you with an uneven and ineffective cooking surface. It is crucial to understand the delicate nature of non-stick coatings to extend the lifespan of your cookware and maintain its performance.


