Mooncake Festival, or the Mid-Autumn Festival, is a special occasion for family reunions and delicious mooncakes. Learn how to make traditional baked mooncakes with us and enjoy this festive season with your loved ones.
1. How to Make the Pastry for Baked Mooncakes
There are various types of flour used in mooncake pastry, but those with a higher gluten content tend to make the pastry harder. A combination of wheat starch and fried wheat flour in a 1:1 ratio is a good alternative for a softer pastry.
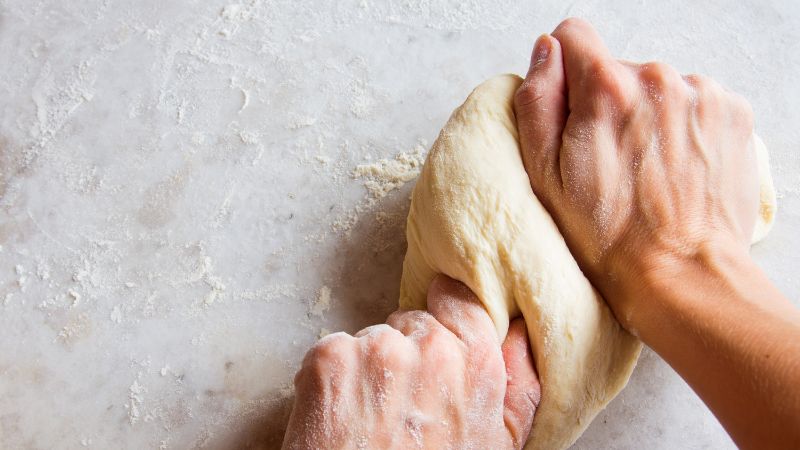 Gently knead the dough to prevent cracks.
When kneading the dough, be gentle to ensure the ingredients are well combined without causing cracks in the pastry after baking.
For more tips, check out:
2. How to Make Mooncake Fillings
Mung Bean Paste Filling
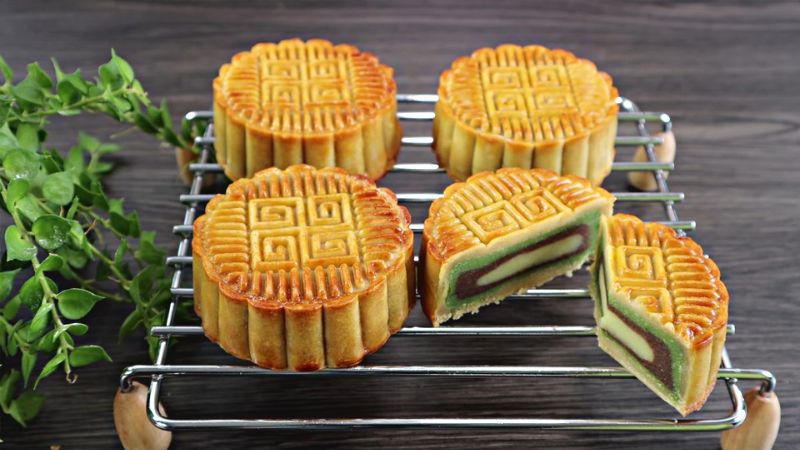 Mooncakes with mung bean paste filling
Soak the mung beans for about 4 hours, then rinse and cook them until soft. Mash the cooked beans, add your desired seasoning, and simmer over low heat to make the mung bean paste.
For a more flavorful paste, try:
Mixed Nuts and Seeds Filling
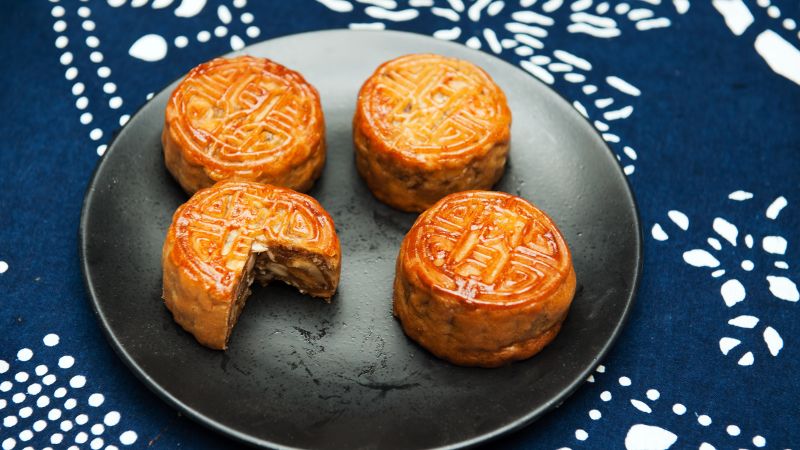 Mooncakes with mixed nuts and seeds filling
Dry-roast your favorite nuts and seeds, such as watermelon seeds, pumpkin seeds, and peanuts, in the microwave. Then, mix them with your choice of jams, dried sausages, and spices to create a delicious mixed filling.
For more tips, check out:
3. Guide to Making Traditional Baked Mooncakes
Divide the prepared dough into equal portions of about 30-35gr each. Use plastic wrap to prevent the dough from drying out. Shape each portion into a ball, then use a rolling pin to flatten it, making the edges slightly thicker than the center. Repeat this process until all the dough is used.
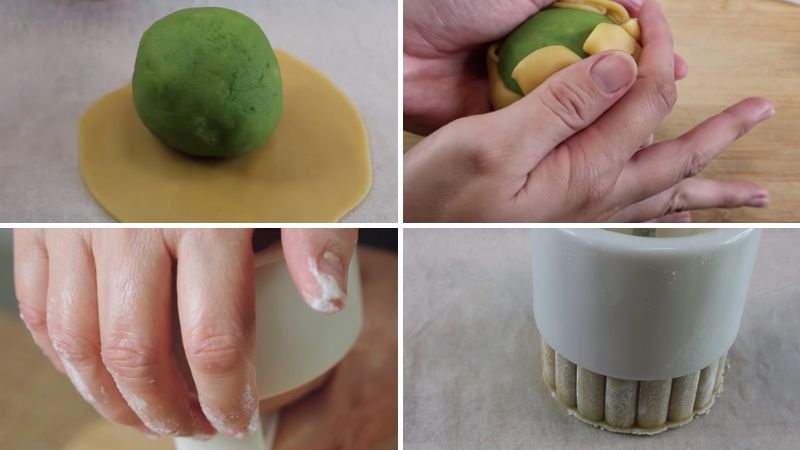 Shaping the pastry and fillings
Place the filling in the center of the pastry, and gently press from the bottom up to ensure the pastry wraps around the filling. Pinch the edges of the pastry to seal them together. If the pastry puffs up, gently poke it with a toothpick to release the air. Then, place the mooncake into a mold and press firmly to shape it.
Preheat your oven to 200°C for about 15 minutes. Line a baking tray with parchment paper and lightly grease the mooncake mold with oil. Bake the mooncakes for the first time at 200°C for 15 minutes, then remove them from the oven and let them cool for 15 minutes.
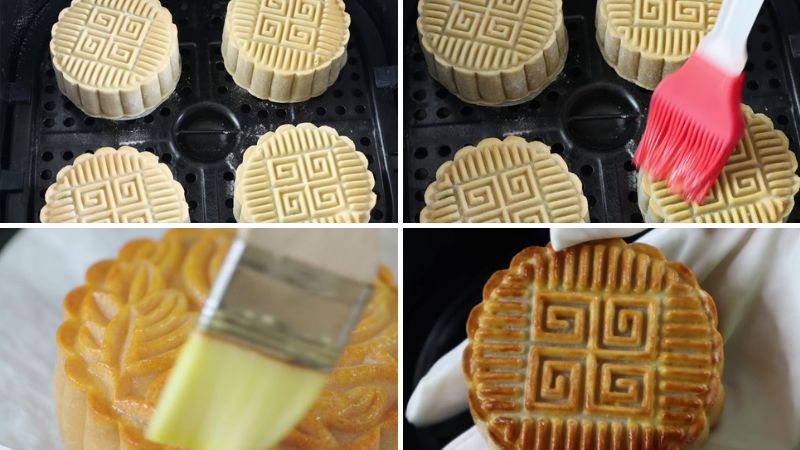 Baking the mooncakes
Brush the mooncakes with a thin layer of a mixture of oil, water, and egg yolk to enhance their appearance. Bake them for a second time at 200°C for 10 minutes, then remove them from the oven and let them cool. Repeat the brushing process and bake the mooncakes for a third time at 200°C for another 10 minutes.
For more tips, check out:
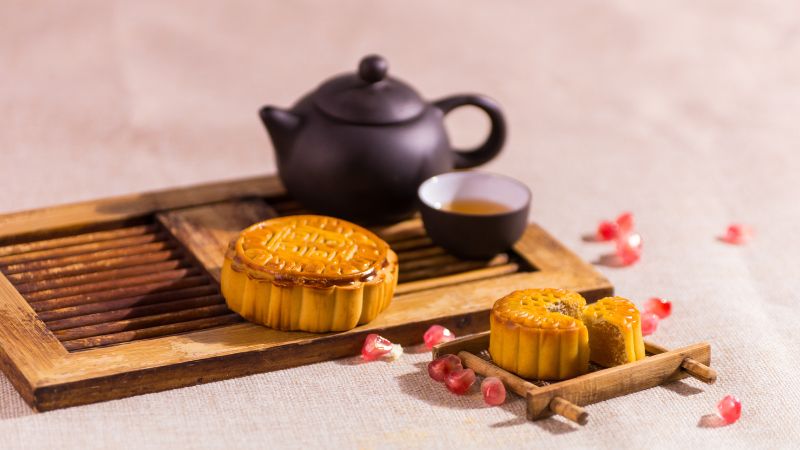 Pair your mooncakes with a hot cup of tea.
After the third baking session, let the mooncakes cool completely before serving or packaging them as gifts for your loved ones. These golden treats are best enjoyed with a hot cup of tea.
For more recipes, try:
If you’re looking for ready-made mooncakes, we offer a wide range of authentic mooncakes from various renowned brands:
We hope you enjoyed our guide on how to make traditional baked mooncakes. Stay tuned for more delicious recipes and tips on our website!
Crafting a Milk Jug Lamp: A Joyful Activity for the Entire Family
Bring some fun and sparkle to this year’s Mid-Autumn Festival with an eco-friendly tin can lantern! Encourage your children to think outside the box and get creative with a sustainable art project that will set the mood for a magical celebration. Get ready to follow this easy tutorial and make an enchanting toy that is sure to make your little ones smile.
10 Ideas for Creating a Memorable Mid-Autumn Celebration in the Comfort of Home
The traditional Mid-Autumn Festival celebration has been disrupted this year due to the coronavirus pandemic, leaving families unable to gather to observe the holiday together. To bring a sense of festive cheer into their homes, parents are turning to creative solutions and decorating for the occasion. In this article, we offer ideas and advice on how to craft the perfect Mid-Autumn Festival environment within the home safely and securely. Read on to find out more!


