Fluorescent lamps are essential tools in every household. They provide wide lighting, save energy, have a long lifespan, and are affordable, making them the top choice for consumers today. When a fluorescent bulb is faulty or no longer illuminates, you can easily replace it by following the steps below.
1. Construction of fluorescent lamps
Fluorescent lamps consist of two main parts: the lamp fixture and bulb.
The lamp fixture includes a starter (a device to start the power supply for the lamp) and a ballast (a device used to regulate and stabilize the current).
The bulb has two electrodes at each end, made of tungsten. Inside the bulb, there is mercury vapor, inert gas, and a layer of fluorescent powder coated inside.
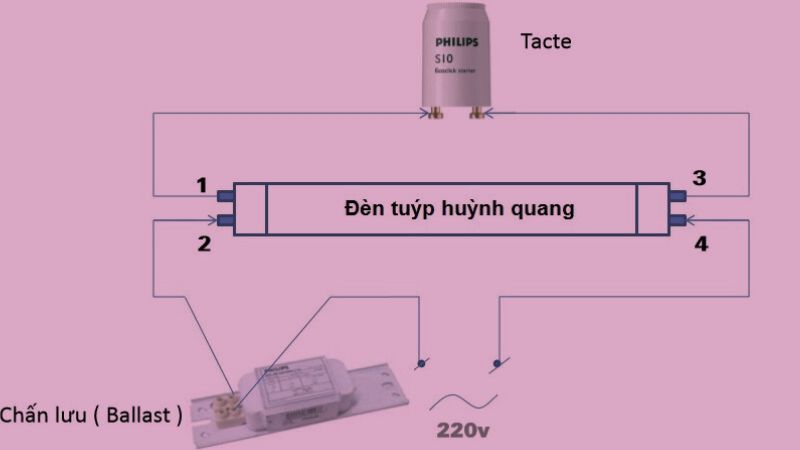
Construction of fluorescent lamps
2. Lifespan of fluorescent lamps
A fluorescent lamp can operate for a maximum of about 10,000 hours (approximately 417 days). When the fluorescent lamp flickers, significantly reduces brightness, or doesn’t light up, it is time to check and replace the bulb.
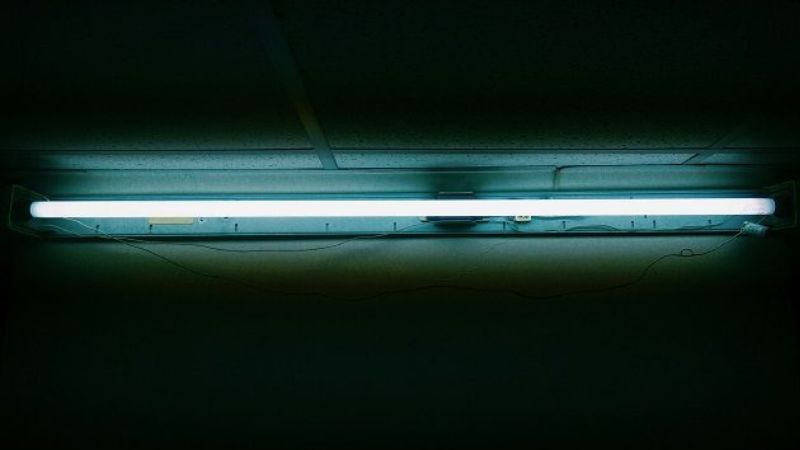
Lifespan of fluorescent lamps
3. How to replace fluorescent bulbs
Step 1: Prepare tools
- New fluorescent bulb
- Ladder or chair to replace bulbs in high positions
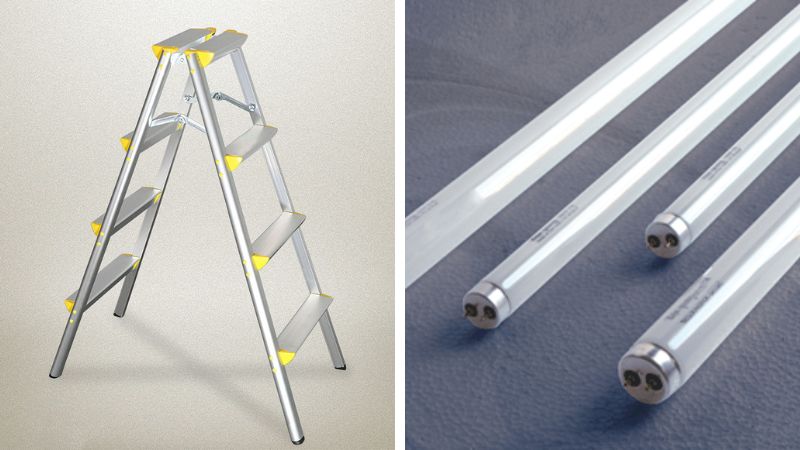
Step 2: Turn off the power switch
You need to turn off the power before replacing the fluorescent bulb to ensure safety and prevent any incidents during the process.
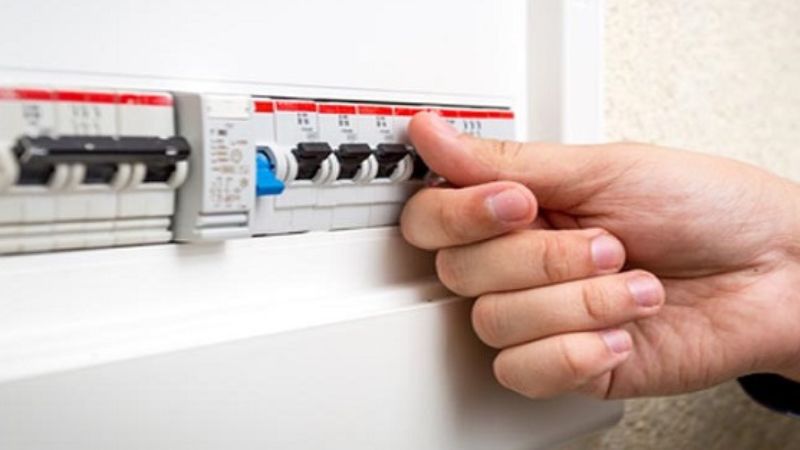
Turn off the power switch
Step 3: Set up ladder (chair)
Usually, fluorescent lamps are installed in high positions to provide wider lighting. Therefore, you need to set up a ladder or a stack of chairs to reach the lamp position.

Set up ladder or chair
Step 4: Remove the old fluorescent bulb
You proceed to remove the old fluorescent bulb by rotating it in any direction and then carefully lifting it out of the fixture.
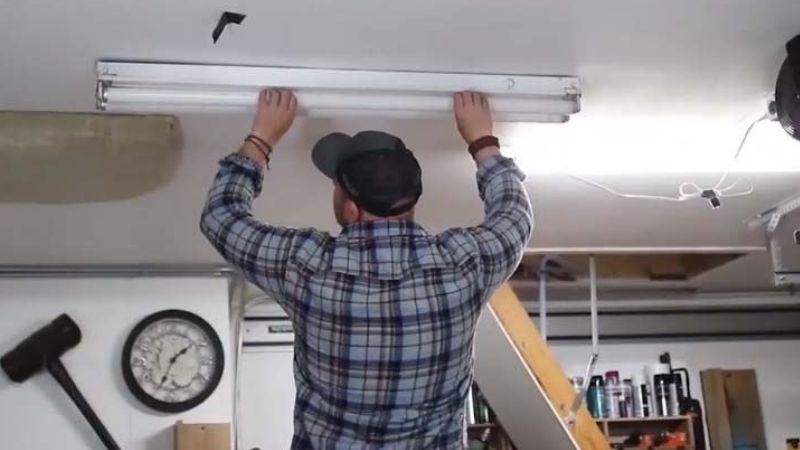
Remove the old fluorescent bulb
Step 5: Install the new fluorescent bulb
You take the new fluorescent bulb, insert one end’s two electrodes first, and then work on the other end’s two electrodes. After that, gently adjust the bulb to fit properly and fix it.
Step 6: Supply power
You should turn on the power switch to supply power to the fluorescent bulb. If the bulb lights up, it means you have successfully replaced it.
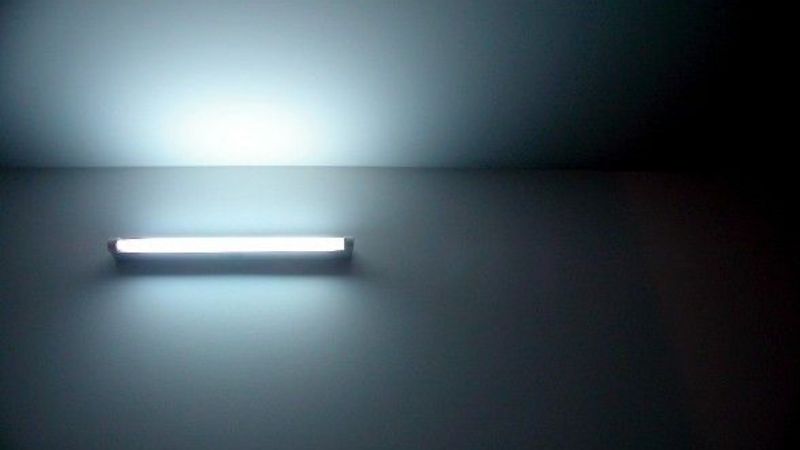
Supply power
4. Notes when replacing fluorescent bulbs
- If you have replaced the new fluorescent bulb but it still does not light up or flickers, the cause may lie in the starter of the lamp. The starter may be loose or broken, so you need to replace it to make the lamp work normally.
- If you have replaced the bulb and the starter but the bulb still does not light up, the ballast of the lamp is most likely damaged. When encountering problems with the ballast, you should seek help from an electrician to ensure the repair process goes smoothly and effectively.
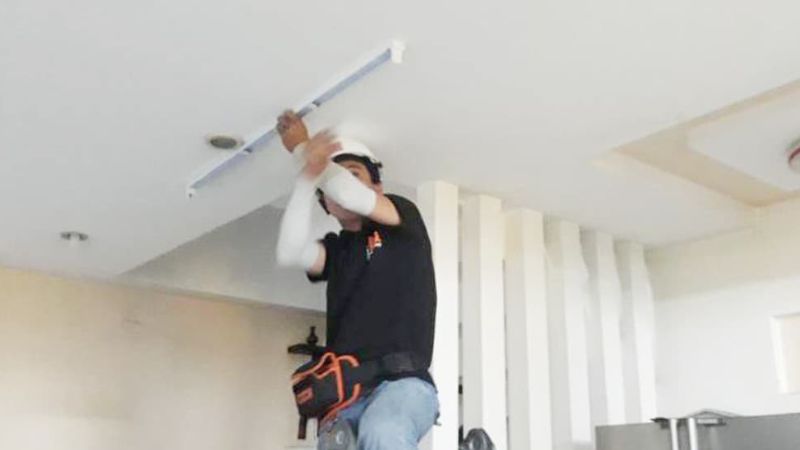
Notes when replacing fluorescent bulbs
Above is a guide on how to easily replace fluorescent bulbs that you can refer to and apply effectively. Remember and practice these steps when the fluorescent bulbs in your house have problems.


