1Is it difficult to clean a slow juicer?
Cleaning a slow juicer can be a bit challenging due to its parts, such as grinding discs, centrifugal force, and sharp blades. It is essential to clean the parts meticulously and be cautious when washing and wiping the blade details.
However, compared to regular juicers that use only a pressing shaft and a reduction motor, cleaning a slow juicer is faster and safer for users.

2Tools needed for cleaning a slow juicer
To efficiently and conveniently clean a slow juicer, you should have the following items prepared:
- Cleaning brush: You can use the brush that comes with the machine or purchase one separately.

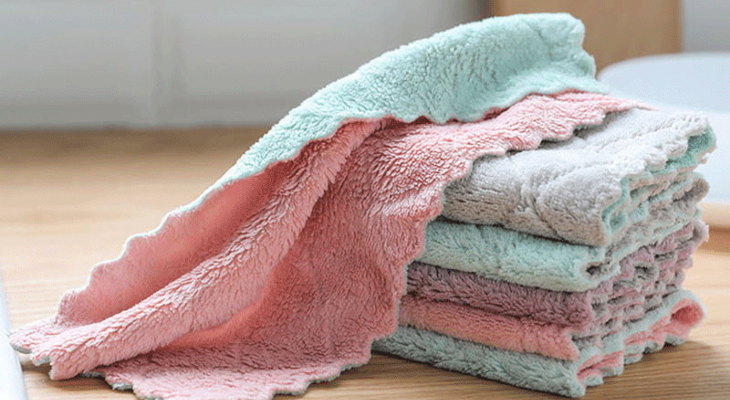
- Dry, soft cloth: Used for wiping the machine body after use.
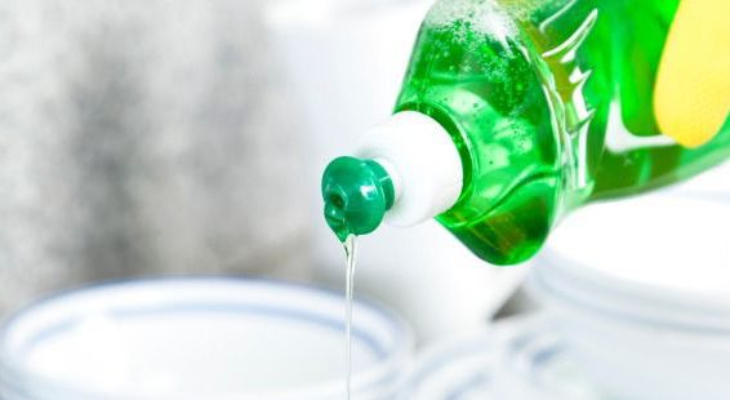
- Mild dish soap or light detergent: To ensure user health and prevent damage to the machine.
3Steps for cleaning a slow juicer
To clean a slow juicer after use, follow these steps:
Step 1: Turn off the machine
After juicing, turn off the machine, unplug it, and wait until it completely stops.

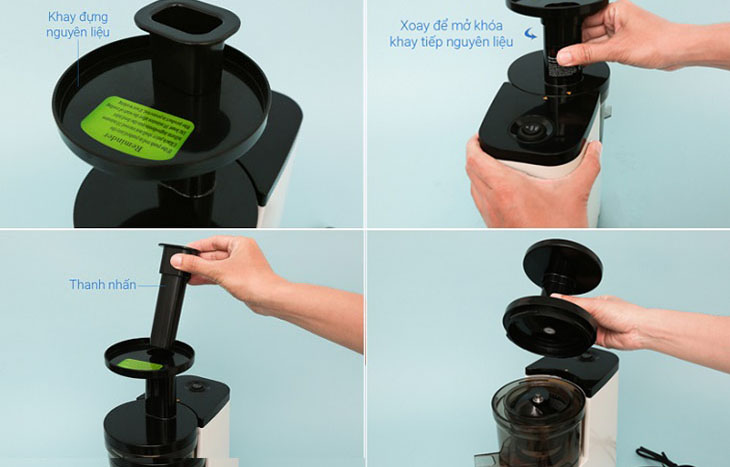
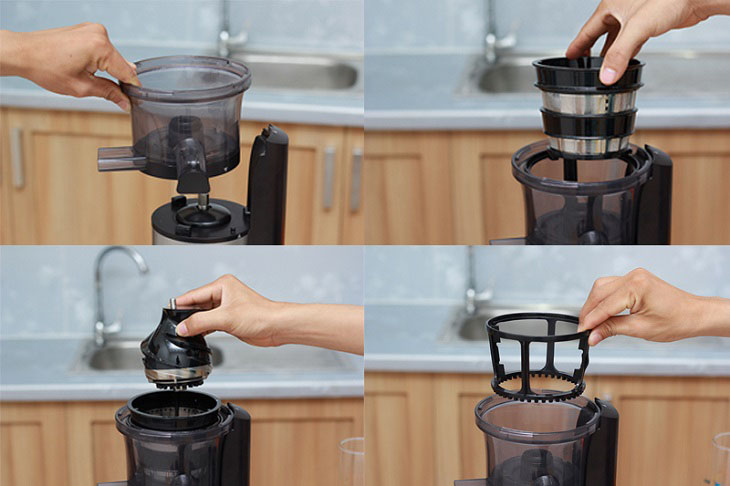
Step 2: Remove the parts of the slow juicer
Remove the dirty parts from the machine body. Note: When removing, follow this order:
- Pressing bar
- Feeding chute, feeding tube
- Pressing shaft
- Filter screen
- Fixed ring for the filter screen (if any)
- Pulp container
Step 3: Soak and clean the removed parts
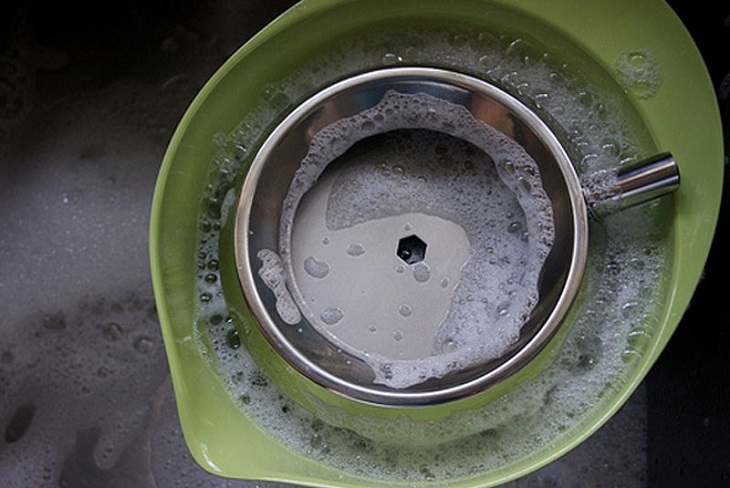
Clean the removed parts (except the machine body) with warm water to remove any remaining residue. If they are still not clean, you can soak the parts in a basin of warm soapy water.
Step 4: Scrub the parts of the machine
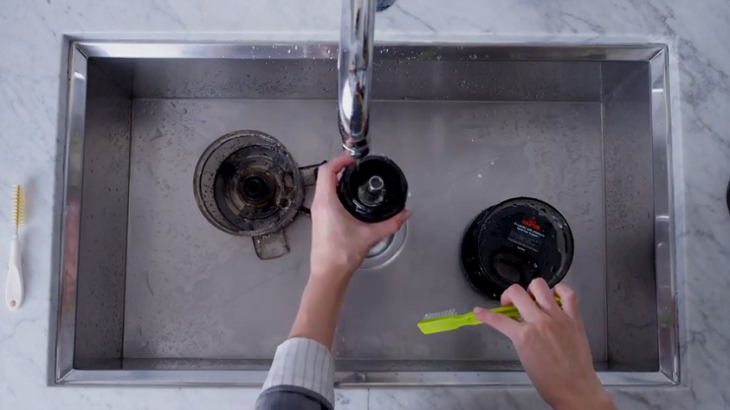
After soaking, scrub the parts such as the filter screen and pressing shaft with the cleaning brush. For parts with difficult-to-clean corners, you can use a smaller brush head to reach and clean them more effectively.
Step 5: Dry the parts of the machine
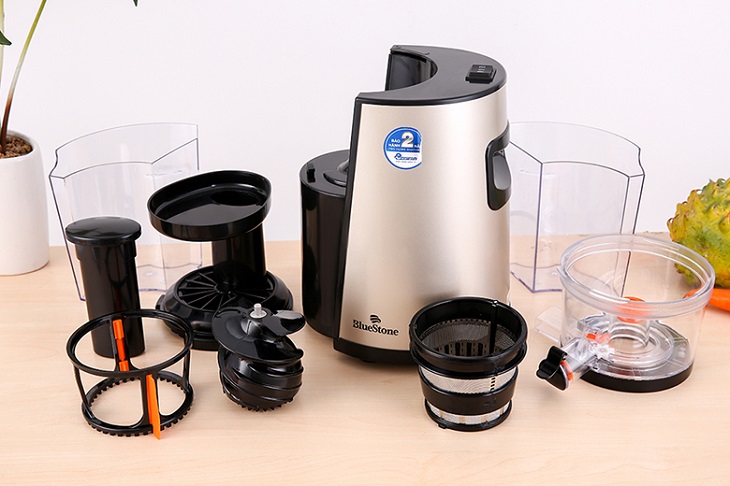
After cleaning, use a soft cloth to dry the parts or let them dry naturally.
Step 6: Clean the machine body
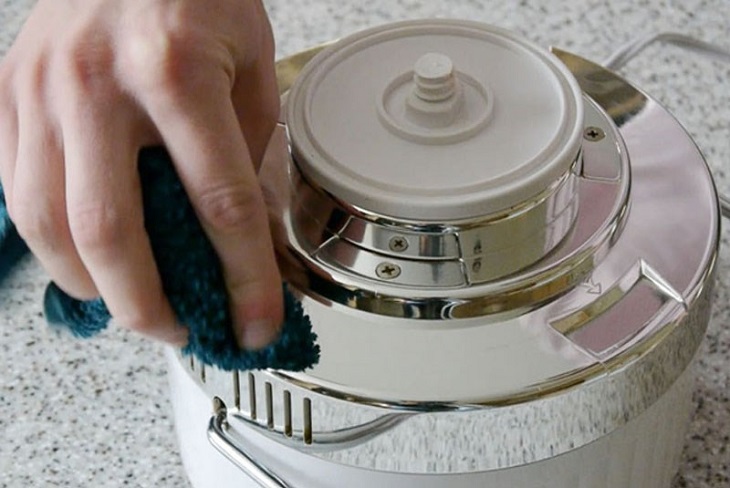
Use a soft, damp cloth to wipe the dirt from the outside of the machine body. Be cautious not to let water get inside the machine body, as it can damage the equipment.
Step 7: Assemble the parts
After cleaning and drying the slow juicer parts, reassemble them and store them in a dry, well-ventilated place to ensure proper preservation. Note: Assemble the parts in the following order:
- Pulp container
- Fixed ring for the filter screen (if any)
- Filter screen
- Pressing shaft
- Feeding chute, feeding tube
- Pressing bar
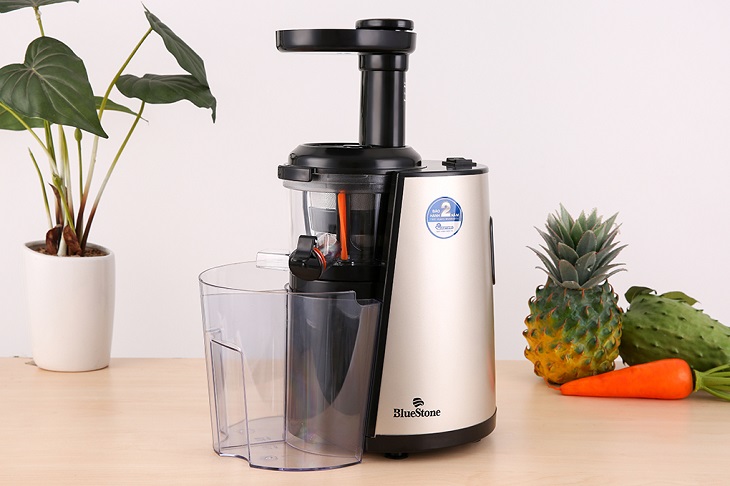
4Useful tips and precautions for cleaning a slow juicer
– What to do:
- Clean the machine immediately after use to prevent dried fiber residues from becoming stubborn stains that are difficult to remove.
- Thoroughly clean the parts, ensuring there are no residual pulp or soap.
- If you use the juicer multiple times a day, you only need to clean it after the last use.
- Between different uses throughout the day, you can rinse the parts with clean water.
– What not to do:
- Do not let water get inside the machine body during the cleaning process, as it contains the juicer’s motor and can cause damage.
- Avoid using strong cleaning agents or abrasives as they can harm both the machine parts and the user’s health.
- Do not leave the machine used and not cleaned for an extended period.
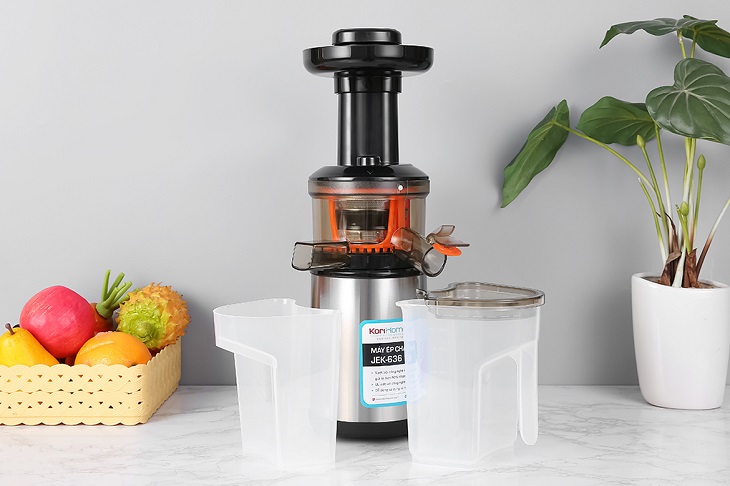
Above are instructions on how to clean a slow juicer. We hope this article helps you understand the cleaning process as well as the disassembly and assembly of a slow juicer.


