Refinishing natural wood furniture with varnish is a great way to restore its beauty and shine. Over time, indoor wooden furniture can become dull, scratched, and the varnish can wear off. By following these simple steps, you can easily refresh your wooden furniture and make it look brand new again.
1 What is Varnish?
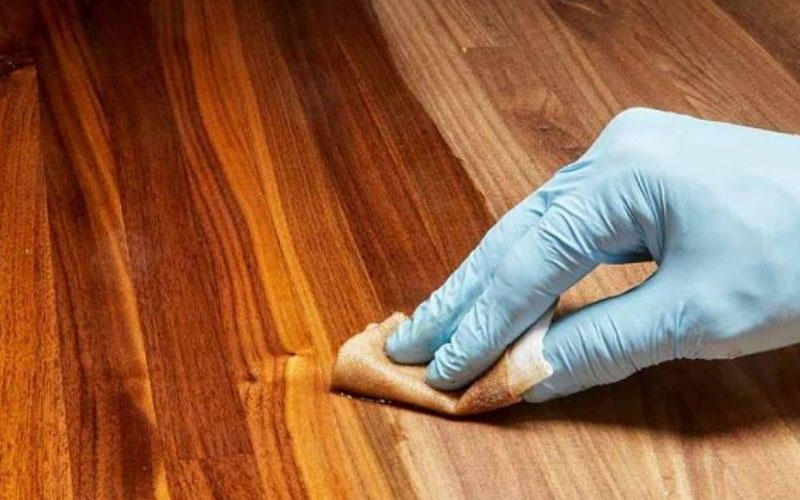 Varnish is used to create a protective coating on wood furniture
Varnish is a type of finish that is applied to wood surfaces to create a protective coating. It is typically sold as a premixed solution, and when soaked in 90-degree alcohol for a day, it forms a light brown, shiny solution. Varnish is commonly used on wooden furniture to create a glossy and protective finish.
2 Benefits of Using Varnish
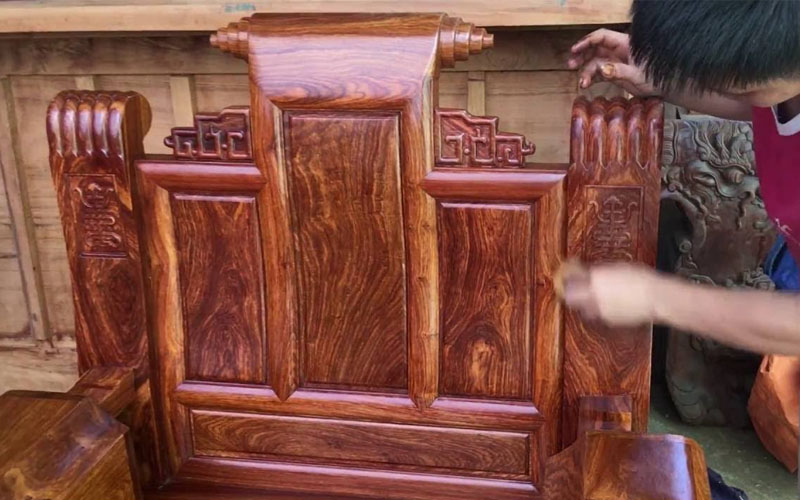 Varnish enhances and protects wooden furniture
The main benefit of using varnish is that it adds a beautiful, shiny finish to wooden furniture, making it look brand new. It also provides a protective layer that helps preserve the wood and maintain its original beauty. However, it is important to follow the correct application process and techniques to achieve the desired results.
3 Easy and Effective Varnishing Process
Tools and Materials:
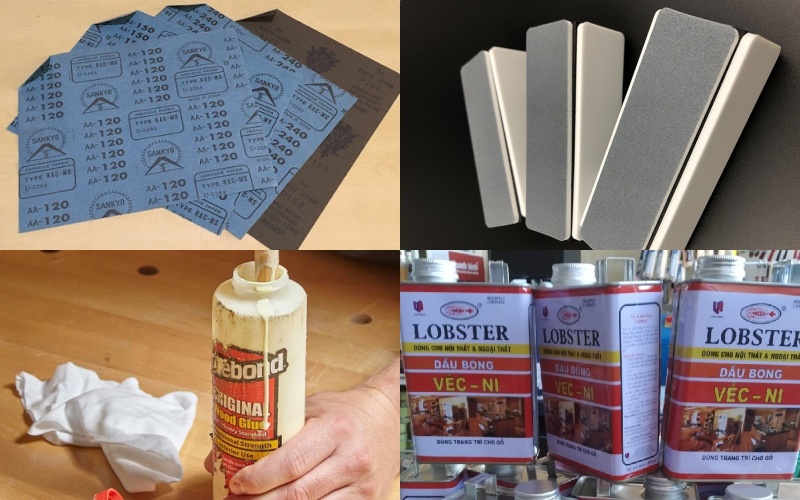 Gather the necessary tools and materials for varnishing
- Sandpaper in various grits (P180, P240, P320, P400, and P600)
- Sanding block
- Wood glue
- Varnish brush
- Varnish solution (available at hardware stores or wood finishing suppliers)
Steps for Varnishing:
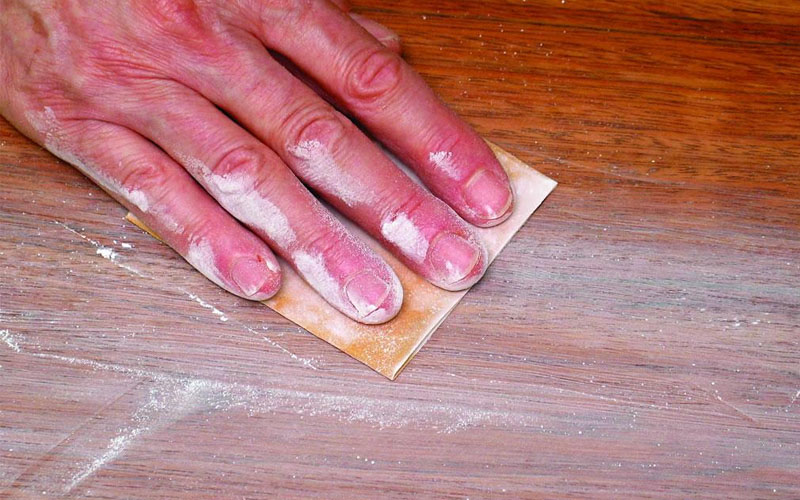 Use sandpaper to smooth the wood surface
Begin by sanding the wood surface with 100-120 grit sandpaper to create a smooth base. Pay close attention to the corners and edges of the furniture to ensure an even finish when applying the varnish.
 Use a damp cloth to wipe down the wood
Clean the wood surface with a damp cloth to remove any dust or debris. Avoid using soap or detergent as it can affect the adhesion of the varnish.
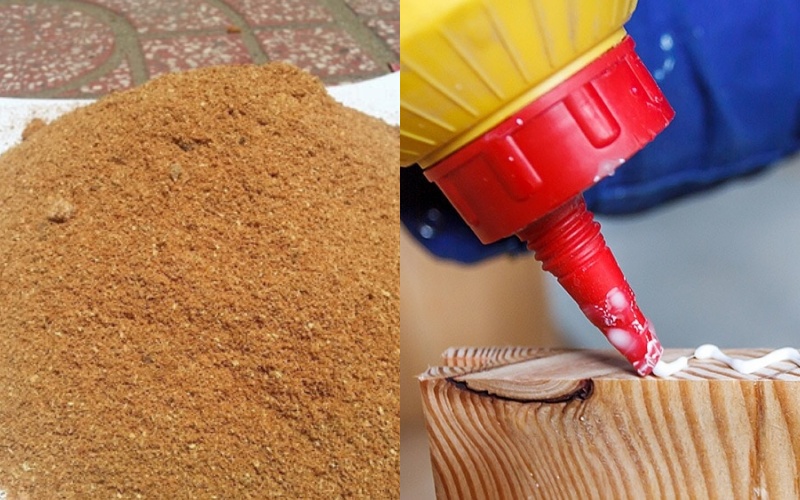 Use wood filler to repair deep scratches and cracks
If there are any deep scratches or cracks in the wood, mix wood glue with fine sawdust to create a paste. Fill the cracks with this mixture and let it dry. Once dry, sand the area with fine-grit sandpaper to create a smooth surface, and clean the area thoroughly before proceeding to the next step.
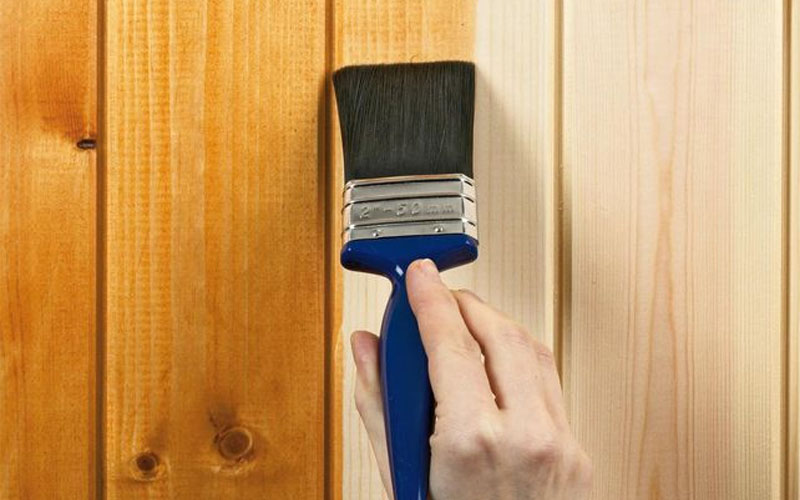 Apply varnish following the direction of the wood grain
When applying varnish, follow the direction of the wood grain. Varnish has excellent coverage, so you don’t need to worry too much about perfectly following the grain pattern.
4 Tips for a Successful Varnish Application
 Tips for a successful varnish application
- Before starting, clean the wood surface with a damp cloth to remove any dust or debris. Avoid using soap or detergent.
- Pay close attention to the corners and edges of the furniture when applying varnish to ensure an even finish.
- For deep scratches or cracks, use a mixture of wood glue and fine sawdust to fill and repair the damage. Sand and clean the area thoroughly before applying varnish.
- Maintain a moderate temperature during the varnishing process. Extremely high or low temperatures can affect the drying time and quality of the finish.
With these simple steps, you can easily transform your old wooden furniture into something beautiful and new. Give it a try and enjoy the satisfying results!


