Slow juicers, or fruit juicers, are one of the most useful inventions and a great addition to any home kitchen. However, the intricate parts of a juicer can make cleaning it a real headache. Let’s explore the best way to thoroughly clean this beloved appliance.
1 Why Properly Clean a Slow Juicer?
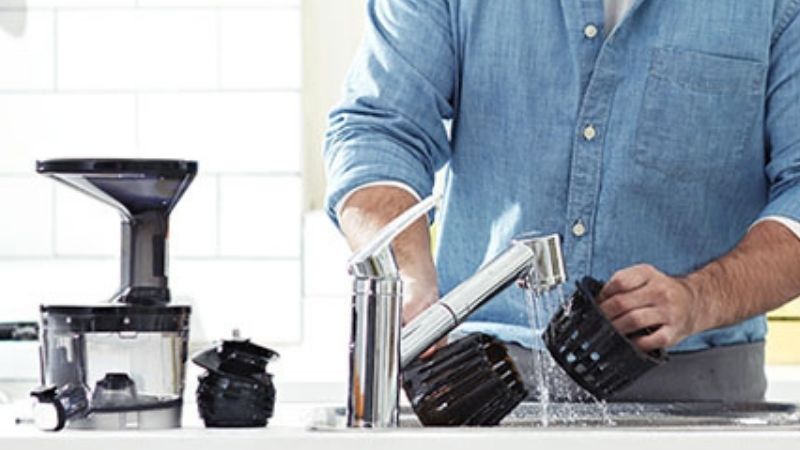 Clean your slow juicer right after using it
After making delicious juices, a lot of pulp and residue are left behind in the machine. If left unattended, this pulp will quickly decompose and become a breeding ground for harmful bacteria.
Not cleaning your juicer thoroughly and properly can also affect your health the next time you use it. Additionally, it can damage the machine and reduce its lifespan.
Improper cleaning can also lead to accidental damage or breakage of the juicer’s parts during disassembly and reassembly.
Therefore, it’s essential to spend around 5-10 minutes cleaning your juicer thoroughly after each use. If you don’t use it frequently, it’s still a good idea to take it out and clean it weekly to maintain its longevity.
2 Tools for Cleaning a Slow Juicer
 Gather the necessary cleaning tools
- Specialized brush (usually included with the juicer purchase)
- Dry, soft cloth
- Mild detergent
- Warm water
3 Steps to Clean a Slow Juicer
Step 1 Turn Off the Juicer
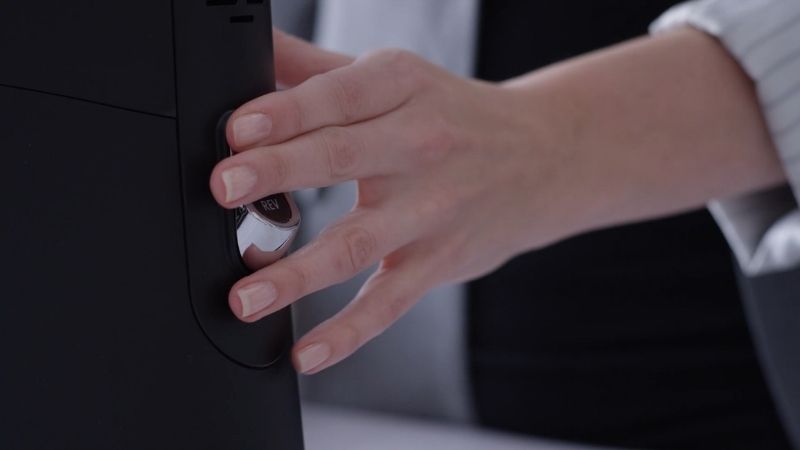 Always unplug the juicer before cleaning
Before you start cleaning, make sure to turn off the juicer and unplug it from the power source to ensure your safety.
Step 2 Disassemble the Parts
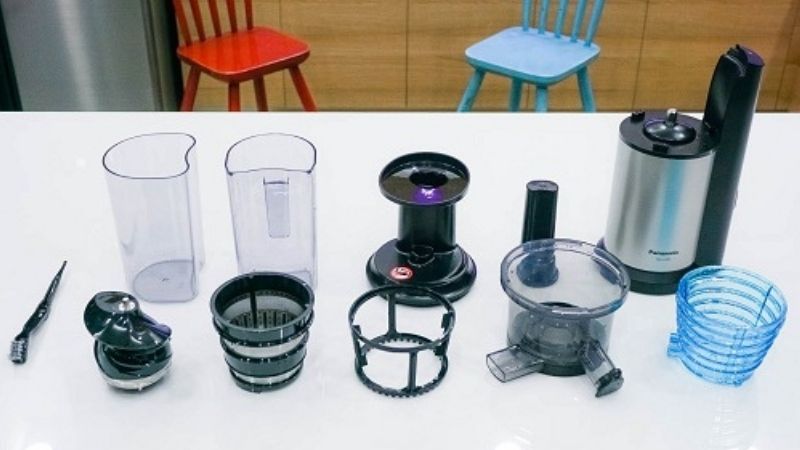 Carefully disassemble the juicer’s parts
Gently remove each part of the juicer in the following order: food pusher, juice and pulp cups, feed tube and chute, grinding assembly, safety locking arm, and filters.
Step 3 Soak and Clean Each Part
 Soak and wash each part thoroughly
Once all the parts are detached, soak them in a basin of warm water with a mild detergent for 2-3 minutes to loosen and soften any stubborn residue.
Use the specialized brush to scrub each part gently but thoroughly, paying extra attention to the small parts. Rinse all parts under running water.
Step 4 Dry the Parts
Use a soft, dry cloth to absorb any remaining water from the parts. Then, air-dry them in a well-ventilated area.
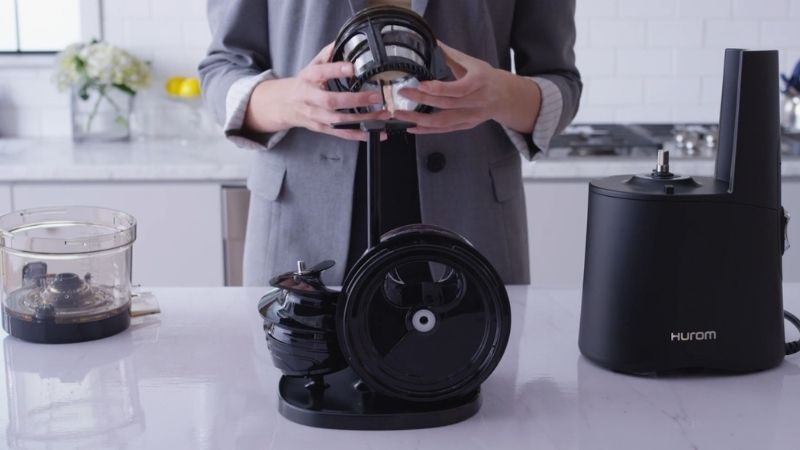 Wipe the body of the juicer
Step 5 Wipe Down the Body
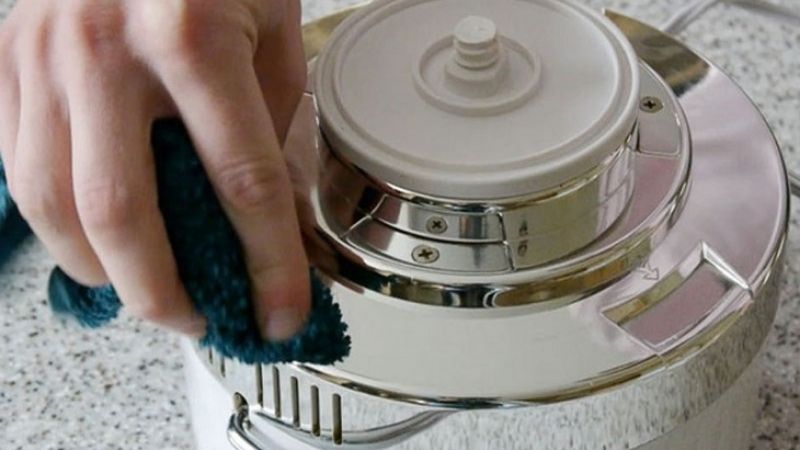 Keep the body of the juicer dry
The body of the juicer houses the motor, so it’s crucial to avoid getting it wet. Only use a dry cloth to gently wipe down the body.
Step 6 Reassemble the Juicer
Once all the parts are completely dry, put the juicer back together in the reverse order of disassembly.
4 Additional Tips for Cleaning a Slow Juicer
- Clean your juicer immediately after use to prevent bacteria growth and potential health hazards.
- Keep the body of the juicer dry to avoid damage to the motor and potential electrical hazards.
- For stubborn stains, use a mild detergent and a soft brush to scrub them away.
We hope that with these tips, you can easily and effectively clean your slow juicer, ensuring its longevity and your health.
7 Essential Steps for Making the Best Use of Your Slow Juicer
Housewives everywhere are turning to slow juicers to make their daily lives easier – but do you know how to get the most out of this helpful appliance? XANH Electronic Appliances is here to give you 7 tips for using your slow juicer effectively and efficiently!


