Spring onions, a staple herb in Vietnamese cuisine, can be easily grown in your refrigerator, ensuring a fresh supply for your culinary creations. In this guide, we’ll take you through the simple process of cultivating these flavorful alliums in the comfort of your own home.
1 Gathering Your Tools
To begin your spring onion garden, you’ll need the following tools:
- A glass jar – a shorter jar with a wider opening is ideal for easy maintenance.
- Alternatively, you can use a plastic bottle, with the bottom cut off for easy access.
- Paper towels – these will be used to line your chosen container.
- Scissors – for trimming the spring onion roots and ends.
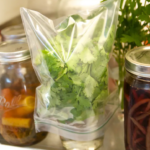
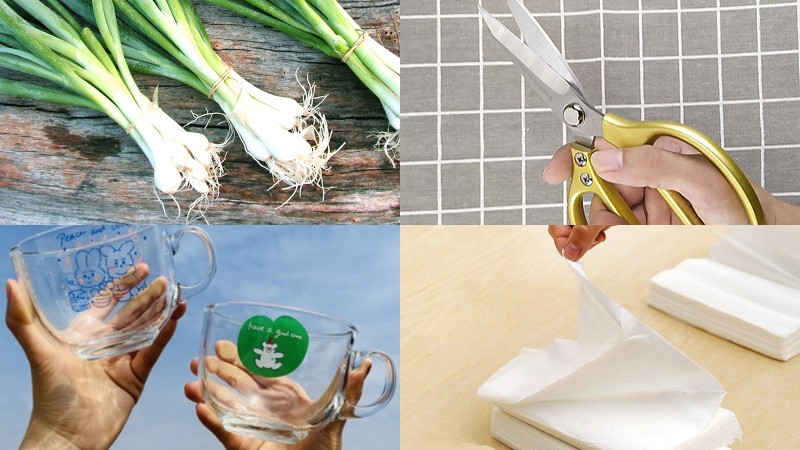 Essential tools for growing spring onions in the fridge
2 The Step-by-Step Process
Step 1 Preparation
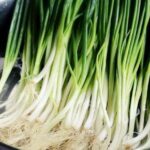
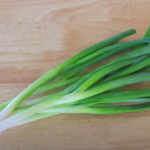
Start by purchasing a bunch of spring onions. Cut the green parts as you normally would for cooking, but be sure to leave the white roots intact, with about 4-7cm from the root end. Wash these roots, trim the ends, and carefully peel away the outer membrane.
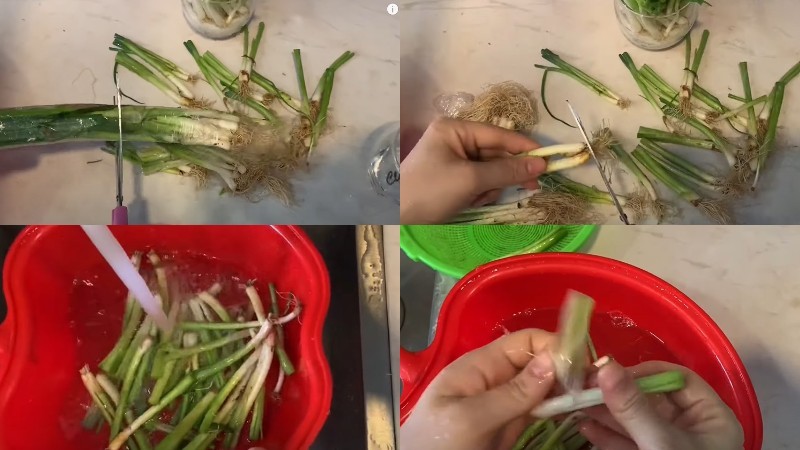 Simple preparation steps before planting
Step 2 Planting Your Spring Onions
Take your glass jar or plastic bottle and line the bottom with a paper towel, bringing it to a height of about 2.5cm. This step is crucial as it prevents the roots from sitting directly in the water, avoiding potential rot. Pour water into your chosen container, and then gently place the spring onion roots inside, ensuring the ends are submerged.
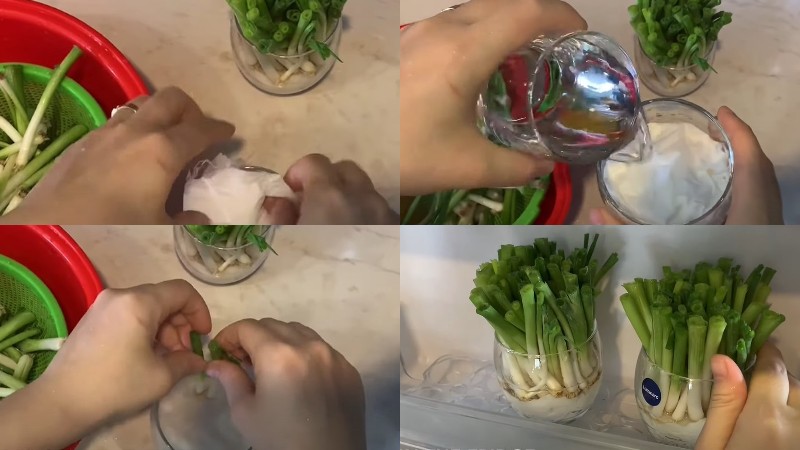 Steps to successful spring onion growth in the fridge
Place your jar in the refrigerator’s crisper drawer, as the cool air will encourage growth. Remember to take your spring onions out every day or two and give them some sunlight for an hour to promote photosynthesis and vibrant green leaves. Don’t forget to change the water regularly and replace the paper towel every five days to maintain optimal growing conditions.
3 Harvest Time
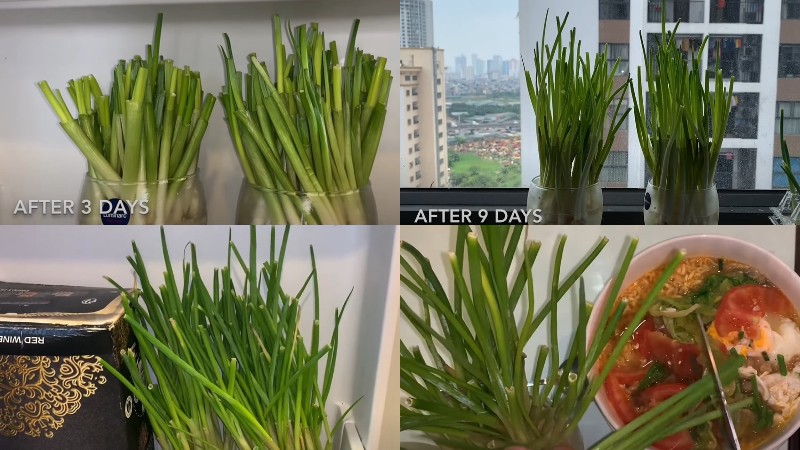 The rewarding result after 12-14 days
Within just three days, you’ll start to see green shoots appearing. And after around two weeks, your spring onions will be ready for their first harvest. Simply cut the green parts as needed, leaving the white roots intact so they can continue to grow.
Tip: To keep your spring onions healthy, avoid over-enriching the water, as this can lead to rot. After three harvests, replenish the nutrients by adding a small amount of organic fertilizer, and remember to remove any outer membranes that form.
Growing spring onions in your refrigerator is an easy and rewarding experience. We wish you green thumbs and delicious flavors! Stay tuned for more gardening insights and secrets.
The Green-Fingered Duo’s Disappointing Discovery: Cát Tường and Her Father’s Once-Thriving Garden Now Lies in Ruins
“Hey there, fellow adventurers and nature lovers! Are you tired of the hustle and bustle of city life and longing for a peaceful retreat? Well, I’ve got the perfect plan for us! Picture this: we escape to the countryside, where I’ve got land and a garden ready and waiting. We’ll spend our days tending to our little farm, raising chickens, and fishing in the pond. With a bountiful vegetable garden, we’ll have all the fresh produce we need to live off the land. So, who’s up for embracing the simple life and joining me on this off-the-grid adventure? No more fears of starving; we’ll be self-sufficient and living the dream!”


