


")


Fried shallots are an integral ingredient in numerous delectable dishes, including fried rice, noodles, and soups, thanks to their unique aroma and irresistible crisp texture. Many people adore this condiment so much that they make their own at home and enjoy it as a savory snack.
Frying shallots can be a bit tricky, and they can easily burn if you’re not careful. However, by following some simple tips, you can master the art of frying perfect shallots.
1 Pan-Frying Shallots
Preparation: 20 minutes Cooking Time: 15 minutes Servings: 3-4 people
Ingredients for Pan-Frying Shallots
-
Shallots
-
Vegetable Oil
-
All-Purpose Flour: 1/2 tablespoon
-
Salt: 1/2 tablespoon
-
Utensils: Knife, Pan, Strainer, Paper Towels
Tip:
– Select shallots that are firm, medium-sized, and evenly shaped with dry, aged outer skin for the best results.
– Avoid shallots that have sprouted, are wet, or have damaged stems as they are likely to be spoiled.
– For optimal flavor, try to source Ly Son shallots during December and January.
 Ingredients for Frying Shallots
Instructions for Pan-Frying Shallots
Soak the shallots in water to loosen the skins, then peel them. To prevent tears, chill the shallots in the refrigerator for 20-30 minutes before handling. Use a knife to cut each shallot lengthwise, keeping the stem intact to prevent it from falling apart during frying.
Tip:
Cutting the shallots lengthwise helps ensure crispness and prevents them from disintegrating during frying.
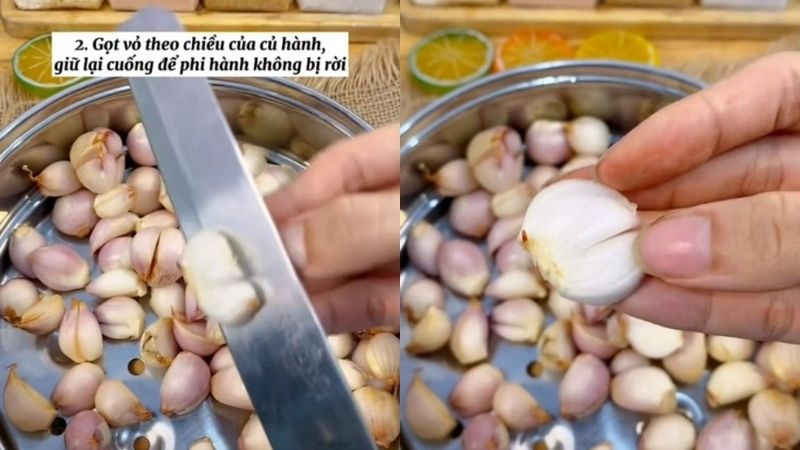 Preparing the Shallots for Frying
Use a small, deep pan and add enough vegetable oil to generously coat the bottom. Heat the oil. Once hot, add flour and salt, stirring well. When the oil begins to bubble, carefully add the shallots. Spread them out evenly in the pan without stirring or mixing.
 Adding Flour, Salt, and Shallots to the Pan
Fry the shallots until they turn a light golden color, then turn off the heat. Allow the shallots to rest in the hot oil for about 30 minutes before proceeding to the next step.
After the resting period, turn the heat back on to high and fry the shallots a second time until they are golden brown and crispy.
Tip: Using a deep pan helps ensure even cooking and prevents the shallots from sticking together. A cast iron pan is recommended as it cools down faster, reducing the risk of burning the shallots.
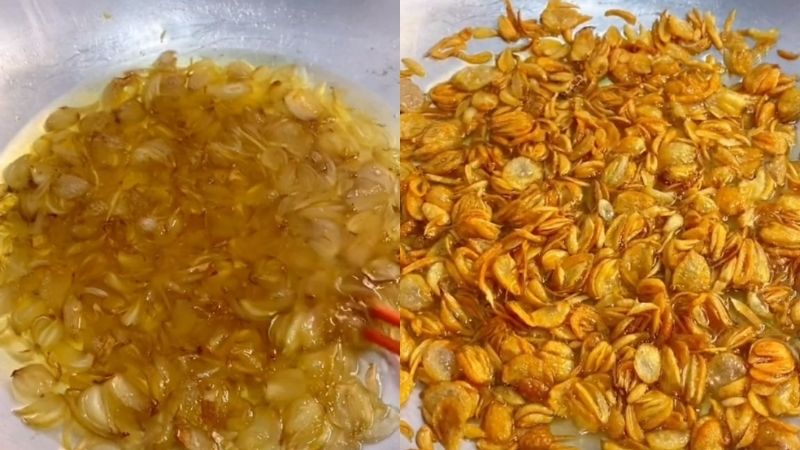 Frying the Shallots to Golden Brown Perfection
Use a strainer to remove the fried shallots from the pan and place them on a plate lined with paper towels. This will absorb any excess oil and ensure the shallots remain crisp.
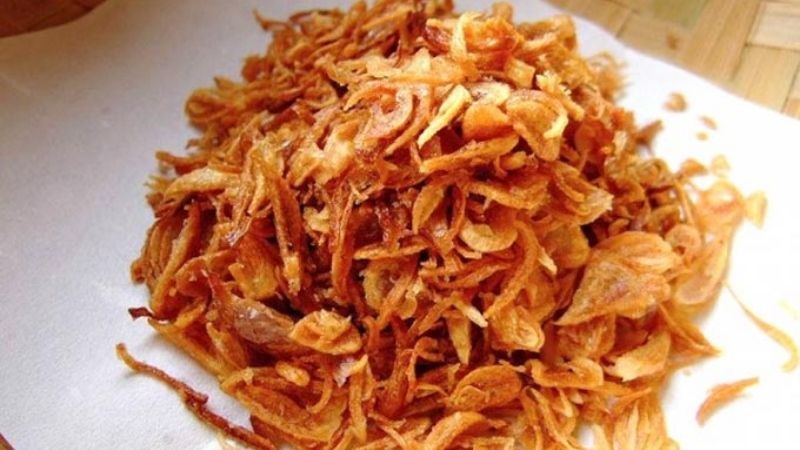 Removing Excess Oil from the Fried Shallots
Allow the fried shallots to cool completely, then transfer them to a clean, airtight glass jar or container. Store them in the refrigerator, where they will remain crisp for several months, retaining their delicious flavor and aroma. The shallot-infused oil can also be used to add flavor to other dishes.
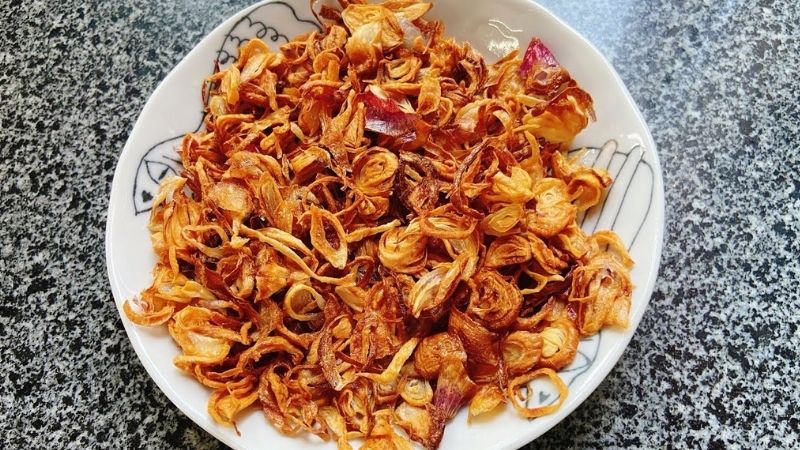
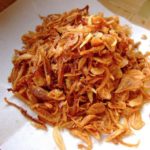
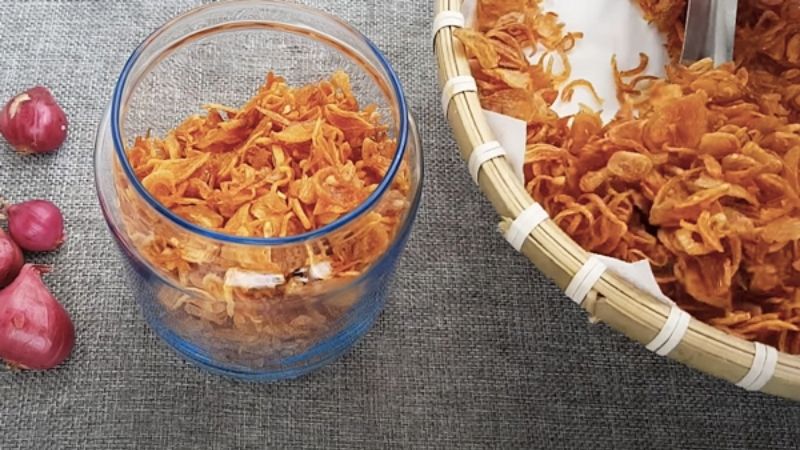 Crispy, Golden Fried Shallots
2 Air-Frying Shallots

Preparation: 10 minutes Cooking Time: 60 minutes Servings: 3-4 people
Ingredients for Air-Frying Shallots
-
200g Shallots
-
Vegetable Oil: 2 tablespoons
Instructions for Air-Frying Shallots
Begin by peeling the shallots and rinsing them thoroughly to remove any dirt. Pat them dry with a clean cloth or paper towel. For the best results, cut or grate the shallots into thin, even slices.
Tip:
You can sun-dry the sliced shallots slightly before frying to enhance their crispness and flavor. Just be sure not to over-dry them.
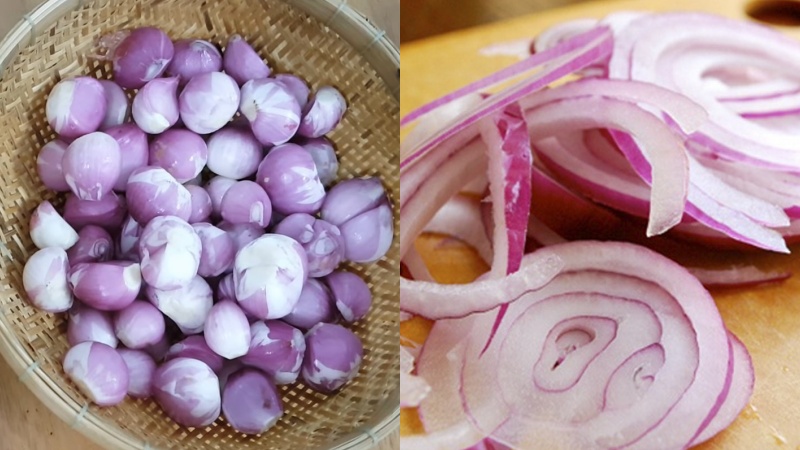 Preparing Shallots for Air Frying
Place the sliced shallots in the air fryer basket, spreading them out evenly. Drizzle or spray the shallots with vegetable oil for a richer flavor. Use chopsticks or a spatula to gently mix the shallots with the oil. Cover the basket with the mesh tray and set the air fryer to 160°C for 5 minutes.
After 5 minutes, remove the mesh tray, give the shallots a quick mix, then replace the tray. Return the basket to the air fryer and set the temperature to 140°C for another 5 minutes. Finally, remove the basket, mix the shallots well, and air fry for a further 10 minutes at 140°C.
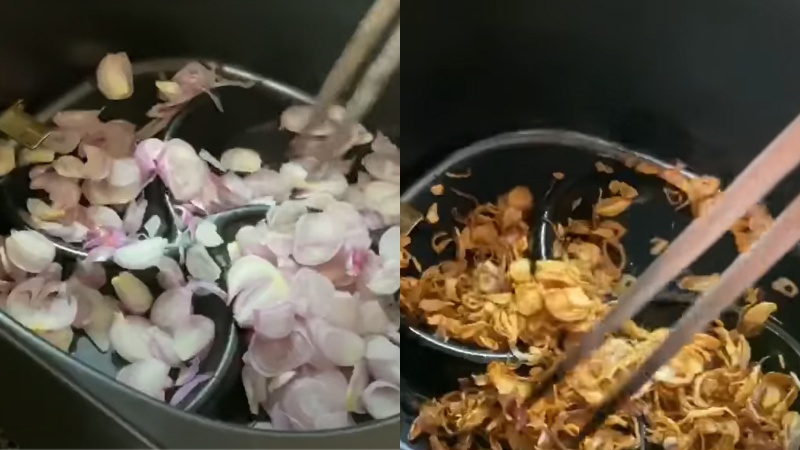 Frying Shallots in an Air Fryer
Shallots fried in an air fryer are just as crispy and delicious as those pan-fried, making them an excellent addition to a variety of dishes. Store them in an airtight container at room temperature for up to a week, or in the refrigerator for longer-term storage.
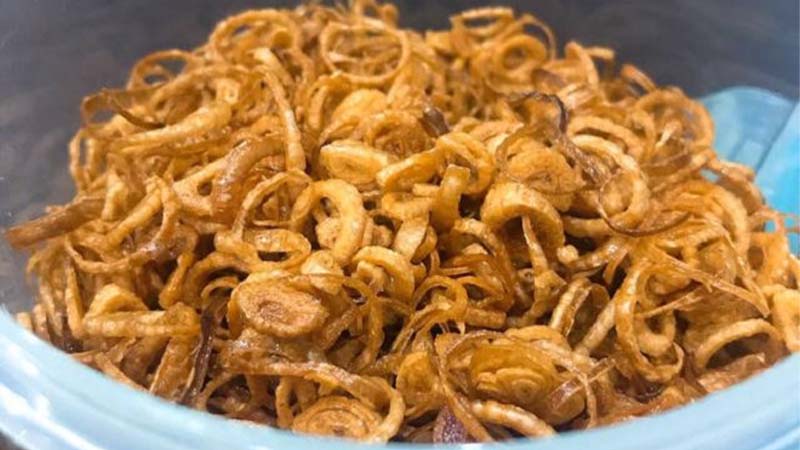 Crispy Air-Fried Shallots
Common Mistakes to Avoid:
– Unevenly sliced shallots
– Burning the shallots due to overheating, resulting in a bitter or acrid taste
– Adding too many shallots to the pan at once, causing oil splatters
– Soggy, sticky shallots instead of crispy ones
– Using the wrong type of shallots, resulting in bland, odorless fried shallots.
With these tips, you’ll become a master at frying crispy, golden shallots. Elevate your dishes with this delicious condiment, and good luck on your culinary adventures!
For a visual guide, check out these Tiktok videos on frying shallots:
The Secret to Crispy, Crunchy Fried Spring Rolls: A Must-Have Ingredient
Learn how to make crispy, crunchy fried spring rolls with this must-have ingredient! It’s easier than you think to achieve that perfect texture.
Delightful Clam Recipes: Easy and Tasty Home-Cooked Dishes
Explore a variety of mouth-watering clam recipes that you can easily make at home. Clams are a versatile ingredient that can be used in many delicious dishes.
Stir-Frying Green Vegetables: The Common Mistake You Might Be Making
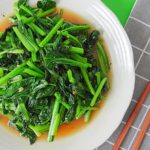
Are your stir-fried green vegetables turning dark and bland? You might be making this common mistake. Learn the right way to prepare them for a delicious and colorful dish.
A Simple Trick to Remove the Fishy Smell from Boiled Duck
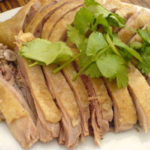
Add a touch of white wine to the boiling water to eliminate any unpleasant odors from your boiled duck. It’s an easy trick that makes a big difference in the flavor.
Pork Belly and Green Banana Stew: A Unique and Delicious Dish to Impress Your Guests
The Ultimate Pork Belly Delight: A Tasty Twist on a Classic Favorite

Upon tasting, you’ll savor the tender, flavorful slices of pork belly infused with a unique blend of spices, complemented by the subtle sweetness of sugarcane juice.
How to Cut Onions for the Crispiest, Golden-Brown Fried Onions: Horizontal or Vertical Slices?

When it comes to making fried shallots at home, there are many ways to slice and dice. Some people prefer to cut the shallots horizontally, while others opt for a vertical approach. So, which method is the right one?
The Ultimate Guide to Pickling Shallots: A Beautiful and Delicious Treat

Pickled shallots, a tangy and slightly sweet side dish, are a familiar favorite for many families. Yet, not everyone knows the secret to creating the perfect jar of crisp, tasty, and visually appealing pickled shallots.
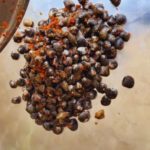
How to Cook Sea Urchin Porridge: A Delicious and Nutritious Treat

Have you ever tried sea urchin congee? If not, then you’re in for a treat! This delicious and nutritious dish is a must-try for any food enthusiast. Stay tuned as we uncover the secrets to making the perfect sea urchin congee. It’s a culinary adventure you don’t want to miss!
“The Ultimate Guide to Grilling Sea Urchin: A Mouth-Watering Delicacy”

Sea urchins are a delicacy, offering a nutritional bounty from the ocean and a culinary adventure for the taste buds. Discover how to prepare and cook this exotic treat with our mouth-watering guide to grilled sea urchin with scallions.


