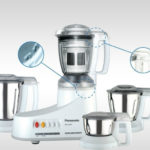
Nut milk is an incredibly healthy food, providing essential vitamins and minerals from various nuts and seeds. As a result, nut milk makers are becoming increasingly popular in the market. However, cleaning these machines after use is not a simple task. So, we will share a tip on how to clean your nut milk maker in just four easy steps.
1. Clean the blade
The blade is extremely sharp, so be careful when cleaning this area. First, pour a small amount of dish soap (the kind used for washing dishes) into the pitcher and use a soft-bristled brush to scrub and clean the bottom of the pitcher and the blade thoroughly. Then, rinse with water and air-dry. Do not use steel wool as it will scratch the surface.
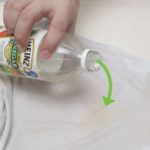
Alternatively, you can soak the blade in vinegar for about 20 minutes to effectively remove any stubborn residue.
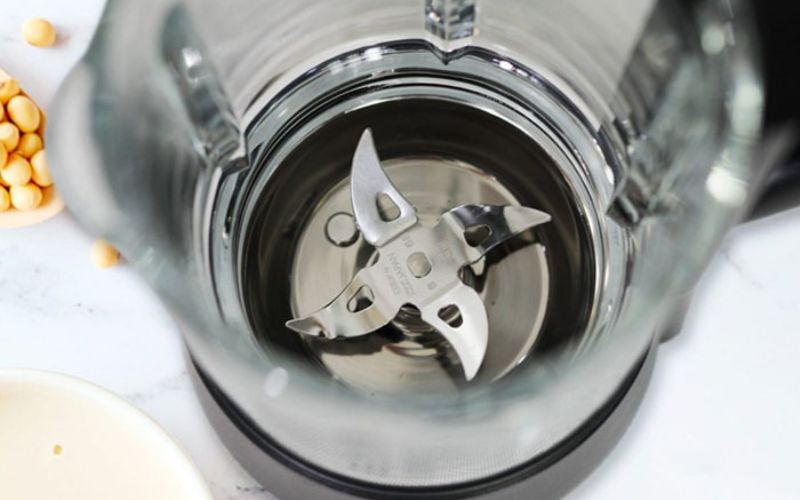 Be careful when cleaning the blade
2. Clean the pitcher
Pour a sufficient amount of liquid dish soap into the pitcher, then turn on the machine for about 30 seconds. Open the lid and scrub the inside thoroughly with a soft-bristled brush. Rinse with water and dry with a clean cloth. Be careful not to get water on the underside of the pitcher, as it may be hazardous.
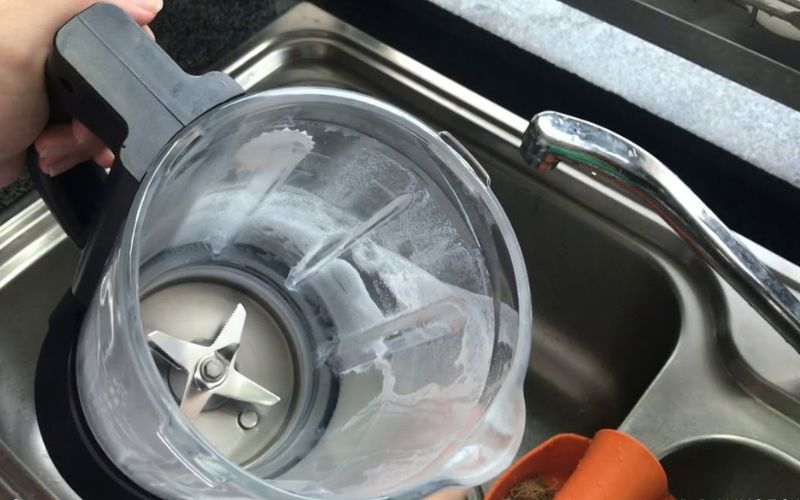 Scrub the inside of the pitcher
3. Clean the lid
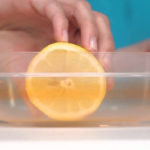
Clean the lid in a similar manner to the pitcher. Use a scouring pad to remove any stubborn residue on the lid, then rinse thoroughly with water. You can also use baking soda, vinegar, or lemon juice to tackle tough stains.
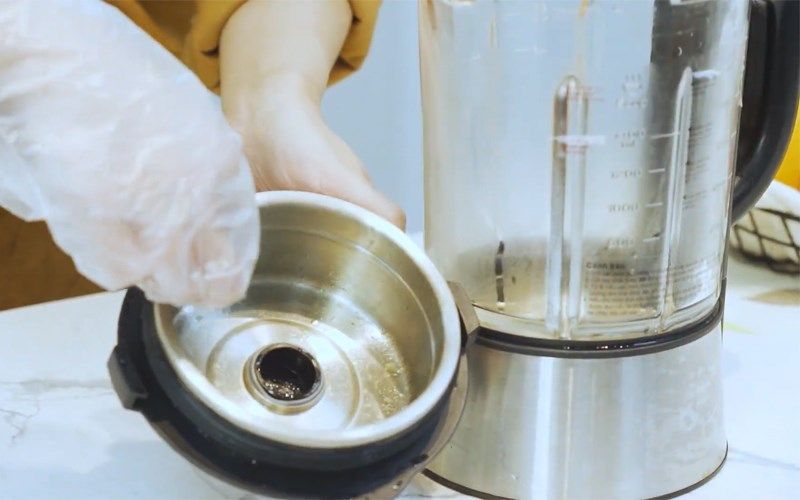 Wipe down the lid
4. Clean the exterior of the machine
Finally, use a dry cloth to wipe down the exterior of the machine, removing any dust or residue. However, be careful not to get water on the body of the machine, as it has a heat-sensitive system, and moisture can cause damage.
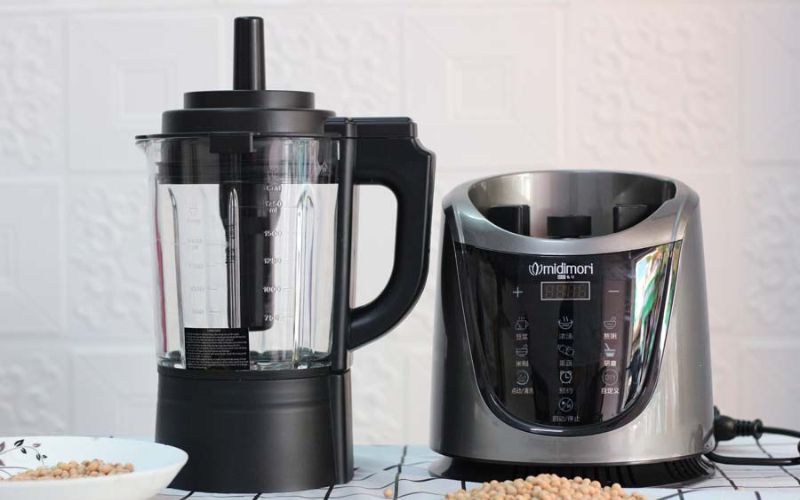 Wipe down the exterior of the machine
This article provides a simple and quick guide to cleaning your nut milk maker. We hope you found it useful! Don’t forget to follow us for more helpful tips and tricks.


