If you’re tired of visible seams ruining your handmade clothing, it’s time to learn the art of hidden stitching. Let’s explore the steps to achieve a neat and professional finish, just like a tailor.
1 Gather Your Materials
 Gather Your Materials
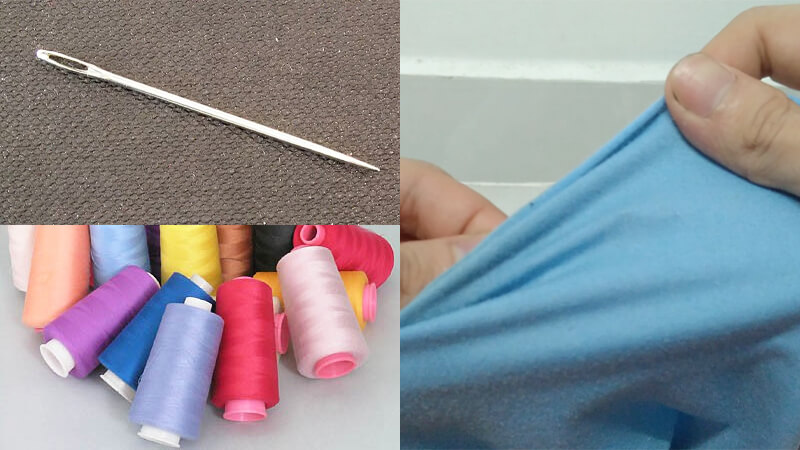
- 1 sewing needle.
- 1 spool of thread in a matching color.
- A piece of fabric of your choice, or the item you wish to mend.
2 Let’s Get Started
Step 1 Locate the Area to Mend, and Thread Your Needle
 Locate and Thread
Carefully identify the area that needs mending before threading your needle. The size of the mend will determine the length of thread required. For hidden stitching, it’s best to use a single thread.
Step 2 The Art of Hidden Stitching
 Master Hidden Stitching
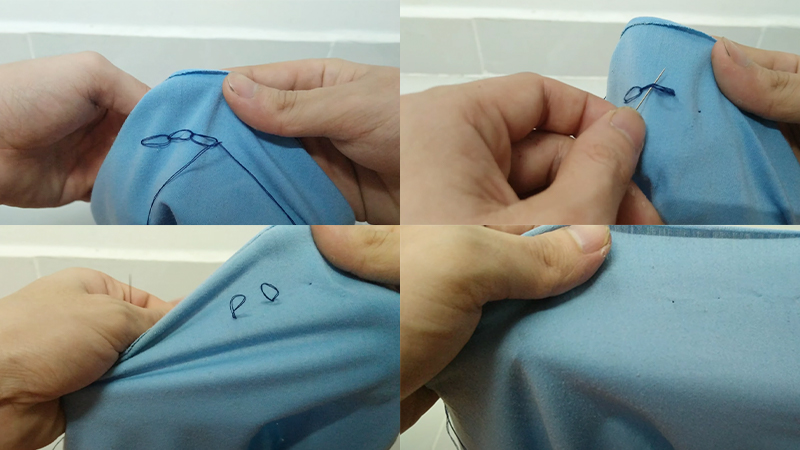
Begin by inserting the needle from the underside of the fabric to the top. Then, poke the needle down about 0.1mm away from the initial point. Next, loop the needle up about 0.2cm away, and create a circle with the thread underneath the needle. Pull the needle up through the circle. Repeat this process.
Step 3 Finish Off
 Finish Off
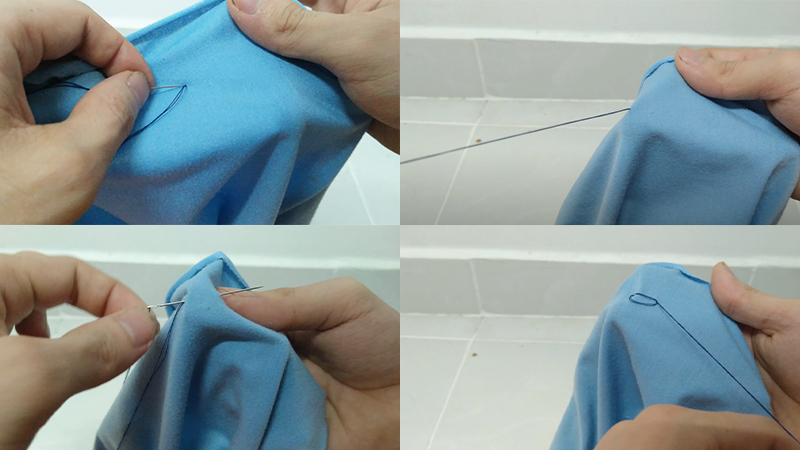
To complete the hidden stitching, simply pull the thread straight. Repeat the above steps as needed. To end the stitching, poke the needle through the final loop, using the needle’s tip to release the thread circles. Then, pull the thread straight. Congratulations! You’ve mastered the art of hidden stitching.
Now you know the secrets to mending clothes neatly, just like a professional tailor. We hope you found this guide useful. Happy sewing, and stay crafty!
You May Also Like:
Don’t forget to keep your clothes clean with our laundry detergent.


