


Clams are a popular delicacy in cuisine, featuring in a myriad of delectable dishes. They are also highly nutritious. However, they are typically farmed in muddy environments, leading to an accumulation of sand, mud, and bacteria in their shells. Inadequate cleaning can result in a gritty texture and a fishy taste when cooked.
1. The Importance of Thoroughly Cleaning Clams
Clams are predominantly farmed in muddy, sandy environments, and as a result, they often contain significant amounts of mud, sand, and bacteria. These impurities not only affect the flavor of the clams but can also make them gritty or even inedible.
Additionally, improperly cleaned clams can lead to digestive issues and, in the presence of pathogenic bacteria, even food poisoning. Therefore, thoroughly cleaning clams before cooking is a crucial first step.
2. How to Select Fresh Clams
The first step to effectively soaking clams is to choose fresh ones. When purchasing clams, pay attention to the following:
Opt for clams with shells that are tightly closed. A gaping shell could indicate that the clam is no longer alive and fresh.
Look for clams with shiny, intact shells free from cracks or breaks, as this signifies their good quality.
Moreover, it is advisable to procure clams from reputable sources to ensure food safety.
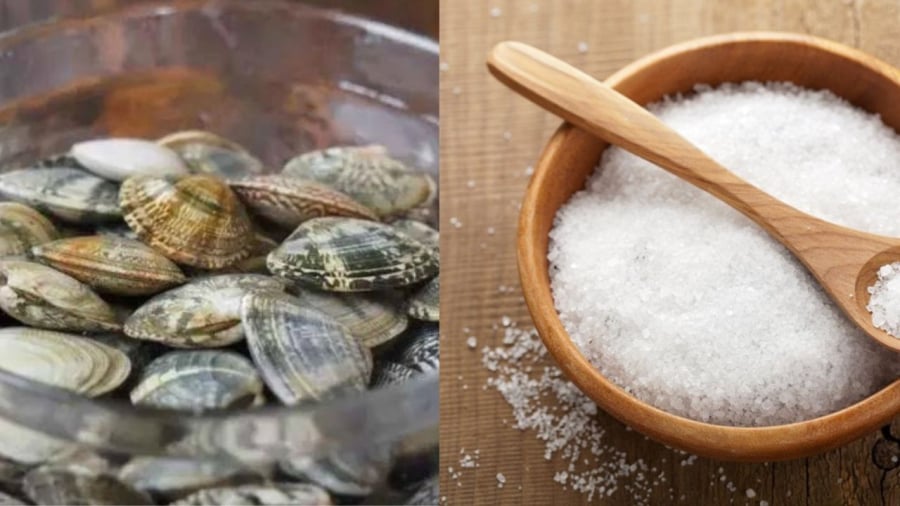
3. Using Diluted Saltwater to Soak Clams
One simple yet effective method to clean clams is to soak them in diluted saltwater. This technique encourages clams to open up and expel impurities, sand, and mud from their bodies.
Dissolve around 2-3 teaspoons of salt per liter of water. Submerge the clams in this saltwater solution for 30 minutes to an hour.
The saltwater will stimulate the clams to open and release any mud and sand. As a result, the soaking water will become cloudy and filled with impurities. Replace the water and repeat the process until the water remains clear.
4. Soaking Clams in Rice Water
In addition to saltwater, rice water is another effective trick to clean clams. Rice water acts as a natural adhesive, drawing out mud and sand from the clams.
Simply place the clams in a basin of rice water and soak them for about an hour. This process will help remove impurities, leaving the clams cleaner.
Note that if the rice water becomes too cloudy, it is advisable to replace it with fresh water to ensure optimal cleaning.
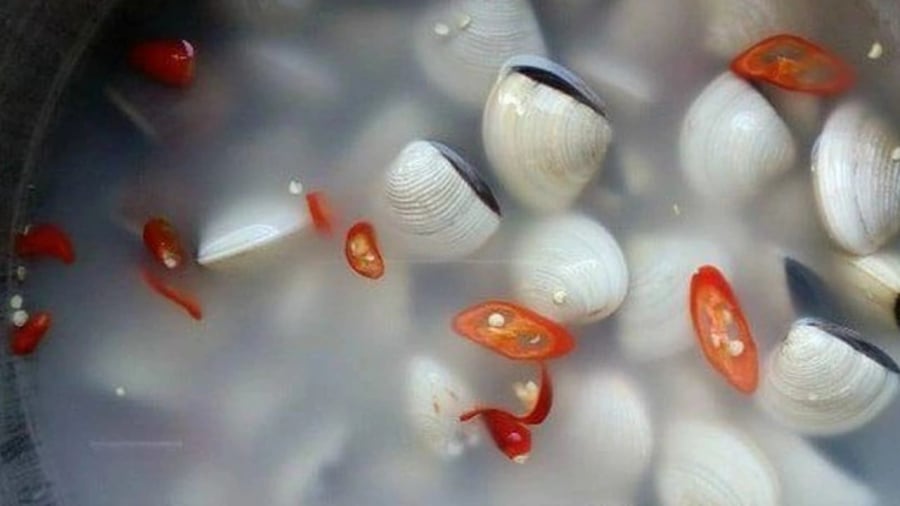
5. Adding Chili or Vinegar to the Soaking Water
Some people include chili or vinegar in the soaking water to enhance the cleaning process. The capsaicin in chili stimulates clams to expel impurities, while vinegar helps eliminate the fishy odor and encourages clams to open faster.
Finely chop a few chilies and add them to the clam soaking water. Alternatively, if chilies are unavailable, substitute them with white vinegar. Add approximately 1-2 teaspoons of vinegar to the soaking water.
6. Soaking Clams with Citrus Peels
In addition to chili and vinegar, citrus peels, such as those from oranges or lemons, can also be used to clean clams effectively. Citrus peels contain mild acids and essential oils that help eliminate impurities and neutralize the fishy odor.
Simply add citrus peels to the clam soaking water and let them steep for an hour. Afterward, remove the clams from the water and rinse them thoroughly with clean water.
7. Using an Oxygen Bubbler to Clean Clams
If you have access to an oxygen bubbler, this method can swiftly and efficiently clean clams. The bubbler infuses the water with oxygen, prompting the clams to expel mud and sand.
Place the clams in a basin of clean water with the oxygen bubbler and let them soak for about 30 minutes. During this process, the bubbler will create bubbles and oxygenate the water, facilitating the removal of impurities.
8. Changing the Soaking Water
Throughout the soaking process, it is essential to change the soaking water 2-3 times to ensure the removal of all expelled impurities. After each water change, rinse the clams under cold running water to eliminate any remaining sand or mud.
9. Final Inspection Before Cooking
Before cooking, give the clams a final inspection. If you notice any clams that remain closed or have cracked shells, discard them to prevent consuming spoiled or dead clams.
The Ultimate Guide to Soaking Produce: A Step-by-Step to Doing It Right

Many individuals have a habit of soaking their produce in saltwater before consumption, believing that this method effectively eliminates harmful chemical residues. Unfortunately, this practice is misguided, and the truth is far more complex.
3 Delicious Soups to Beat the Heat this Holiday Season: Stay Cool and Avoid the Holiday Weight Gain

Beat the heat this holiday season with these delicious and cooling soups! These refreshing dishes will help you stay cool and comfortable during the festive period. So, don’t miss out on these tasty treats!
The Ultimate Guide to Cleaning and Fattening Up Your Clams: A Simple Trick to Make Them Shine

To ensure that clams and snails are thoroughly cleaned and become delightfully plump, all you need are a few simple ingredients added to their soaking water. This method will enhance the process, delivering remarkable results.
The Secret to Cleaning Clams, Making Them Spit Out Sand Faster and Tastier

The “whole shell” clam and gritty, sandy texture is a common issue for homemakers who love to serve seafood. Keep these tips in mind for choosing and cleaning clams to ensure a perfect dish every time.
The Ultimate Guide to Tenderizing Frozen Meat: Transforming Rock-Hard Steaks into Succulent Delights in Just 5 Minutes.

To quickly defrost meat, there are a few tried and true methods that you can use. Each method has its own advantages and will ensure that your meat is safely and efficiently thawed.


: 4 zodiac signs arrive at wealth, strike gold, and enjoy good fortune while staying put")


