


")


Mango Sago Pudding is the latest dessert craze taking over social media with its refreshing and delicately sweet flavors. With just a few simple steps, you can easily recreate this delicious treat at home to beat the summer heat. Let’s dive into the easy-to-follow recipe, along with tips and tricks to achieve dessert perfection.
1. Why is Mango Sago Pudding so Popular?
Mango Sago Pudding is a delightful dessert that captivates both the eyes and the taste buds. It combines the creamy smoothness of sago pudding with the sweet and tangy flavors of mango, resulting in a refreshing summer treat. The appealing presentation and unique texture make it a favorite among dessert enthusiasts.
2. Ingredients for the Perfect Pudding
To create this delectable mango sago pudding, gather the following ingredients:
- 500ml of fresh milk (for a smooth and creamy texture)
- 250ml of whipping cream (for a rich and indulgent mouthfeel)
- 10g of gelatin (to achieve the perfect set)
- 100g of sugar (adjustable to suit your taste)
- 50ml of pandan leaf extract (for a natural green color and a subtle aromatic touch)
- 300g of fresh mango flesh (use ripe and sweet mangoes for best results)
- 200ml of palm sugar syrup (to preserve the freshness of the mangoes and enhance sweetness)
- 50g of sliced almonds (for a crunchy and decorative touch)
- Equipment: Silicon mold, pot, bowls, and spoons
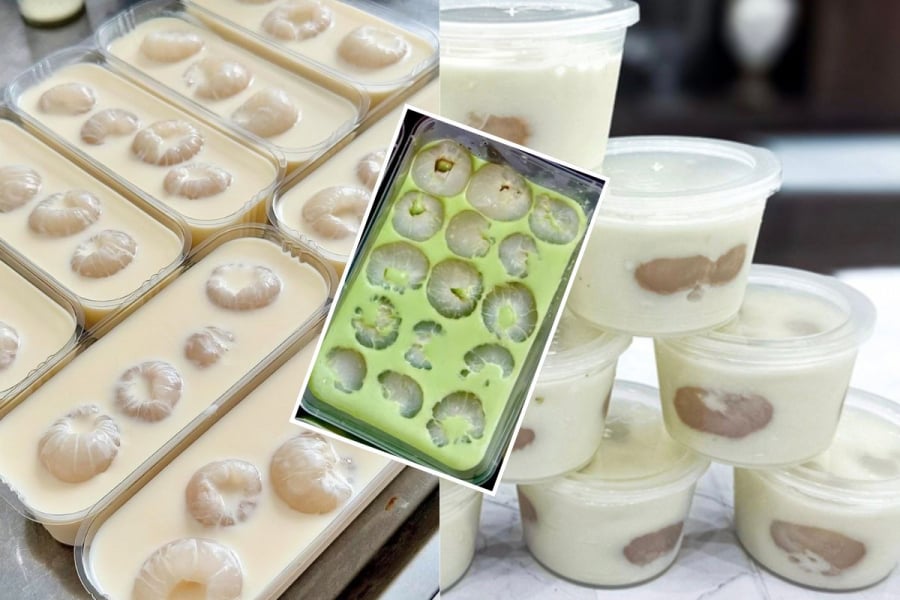
Delicious Mango Sago Pudding
3. Detailed Guide to Making Mango Sago Pudding
Step 1: Prepare the Mangoes
- Peel and deseed the mangoes, retaining the mango flesh to maintain freshness.
- Soak the mangoes in palm sugar syrup for about 30 minutes to infuse sweetness and prevent sourness.
- Drain the syrup and chill the mangoes in the refrigerator to enhance the cooling effect when combined with the pudding.
Step 2: Create the Sago Pudding
- Soak the gelatin in 50ml of cold water for about 10 minutes until it fully blooms.
- Gently heat the milk and whipping cream over low heat, adding sugar and stirring until dissolved. Avoid boiling to preserve nutrients.
- Add the bloomed gelatin to the milk mixture, stirring continuously until completely dissolved.
- Divide the mixture into two portions:
- Mix one portion with pandan leaf extract to achieve a captivating green color.
- Leave the other portion plain for a classy white hue.
- Pour the mixtures into silicon molds, allow them to cool, and then chill in the refrigerator for 4-6 hours until set.
Step 3: Assemble and Decorate the Pudding
- Once set, remove the pudding from the molds and cut them into bite-sized pieces (squares or rectangles, as desired).
- Arrange the pudding pieces in serving bowls, topping them with the sweetened mangoes.
- Sprinkle with toasted sliced almonds for added crunch and aesthetic appeal.
- Optionally, drizzle some palm sugar syrup or condensed milk for extra sweetness and allure.
4. Tips for a Perfect Mango Sago Pudding
To ensure your Mango Sago Pudding turns out flawlessly:
- Select high-quality mangoes: Opt for ripe and sweet varieties like Alphonso or Kesar mangoes to achieve the best flavor.
- Adjust sweetness to your taste: Feel free to reduce or increase the amount of sugar used, tailoring it to your preference.
- Proper storage: Store the pudding in the refrigerator and consume it within 1-2 days to maintain freshness.
- Creative colors: Experiment with different natural colorings like dragon fruit or butterfly pea flower for a vibrant and Instagram-worthy dessert.
- Silicon molds: Using silicon molds makes it easier to unmold the pudding without sticking.
5. Benefits of Making Mango Sago Pudding at Home
Creating Mango Sago Pudding at home offers numerous advantages, including cost savings and the ability to customize ingredients according to personal preferences. You can adjust the sweetness, experiment with different flavors, and make it suitable for all ages. It’s an excellent choice for family gatherings or impressing your friends, and it’s a fun way to stay cool during the summer.
Mango Sago Pudding is not just a delicious and refreshing dessert, but it also represents the fusion of creativity and modern culinary delights. With this detailed recipe and helpful tips, you can now confidently whip up this trendy treat in the comfort of your own home. So, get ready to beat the summer heat and share your mouthwatering creations to spread the joy of this delightful dessert.


