8 Elegant and Simple Nail Art Designs to Make Her Shine
"Amp up your style game with these simple yet statement-making nail designs. These trendy looks will elevate any fashionista's ensemble, adding a touch of edgy sophistication to your fingertips."
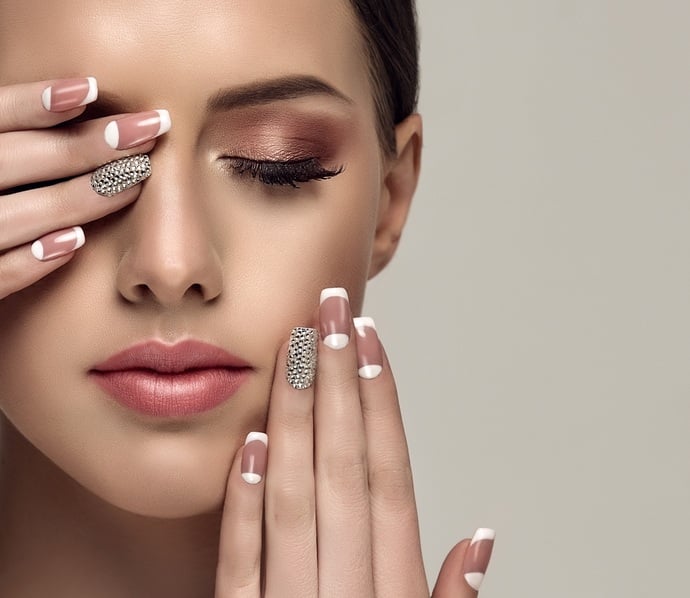
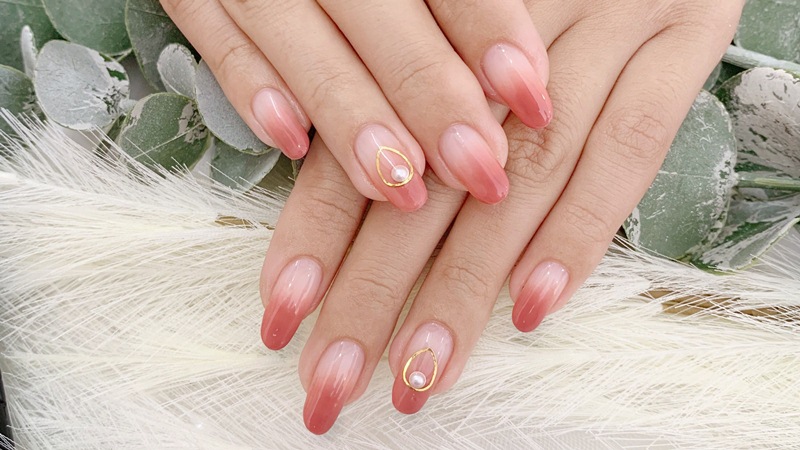
Enhance your natural beauty with these simple yet elegant nail designs. The right nail color can complement your skin tone and make a subtle yet powerful statement. Opt for a single-color polish and add a few unique hand-drawn details, such as delicate pearl embellishments, to elevate your look.
Simple and Beautiful Nails to Enhance Your Hands
Nail Art that Pops
Make a bold statement with contrasting nail colors and unique designs. Add a touch of glitter and choose a square or long-shaped nail to give your hands a fashionable edge. For a truly standout look, incorporate distinctive shapes and a hint of sparkle.
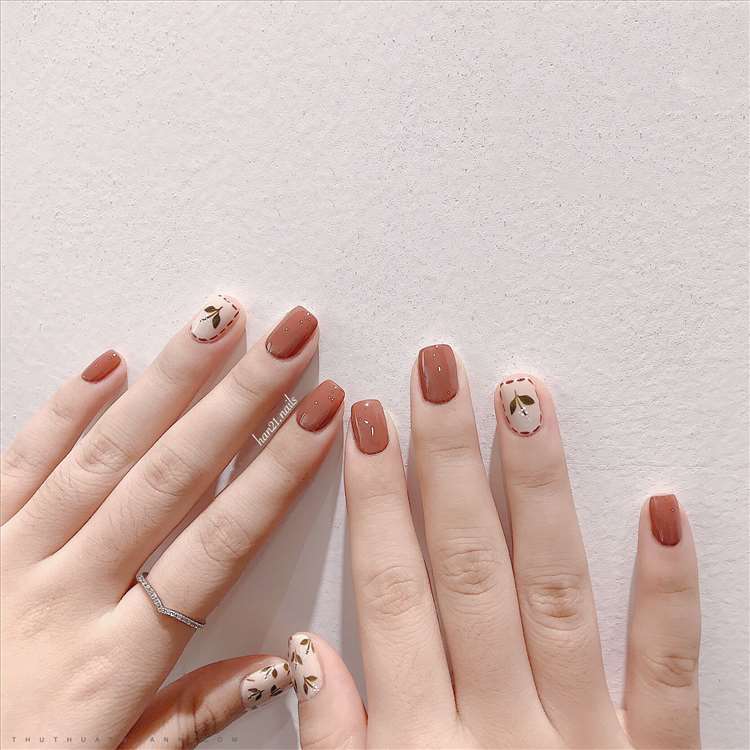
Short nails can be just as stylish as longer ones. Opt for subtle and refined nail art, perfect for a casual outing or a stroll in the city. Choose soft, gentle colors for your base and add cute details to showcase your personality.
Soft and Gentle Colors for a Subtle Effect
Glamorous Nail Art for Almond-Shaped Nails
Almond-shaped nails offer the best of both worlds: they’re elegant and bold. Easily adjustable, this nail shape pairs well with stone embellishments or a touch of glitter for a show-stopping look.
Embrace the Glamour with Stone Embellishments
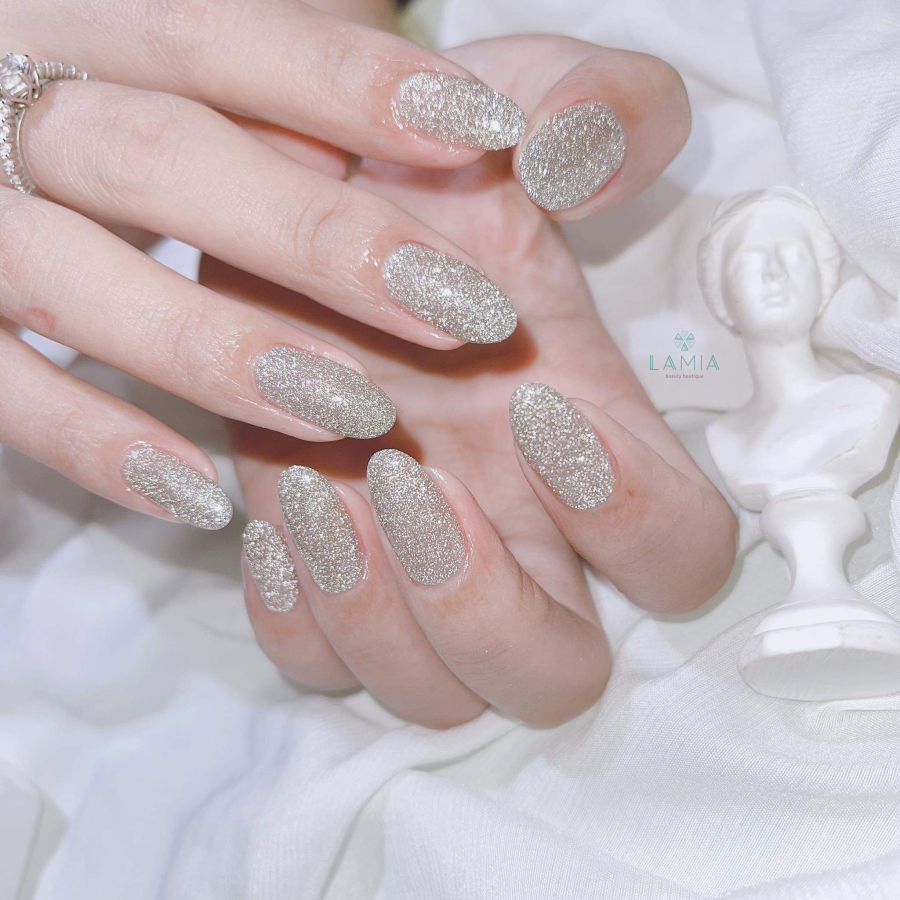
Shimmering Nail Art
For a modern and trendy look, choose a full or partial glitter nail design. Combine it with a soft pink or light orange shade for a luxurious and dazzling effect, perfect for a sophisticated evening event.
Glitter and Soft Colors for a Luxurious Look
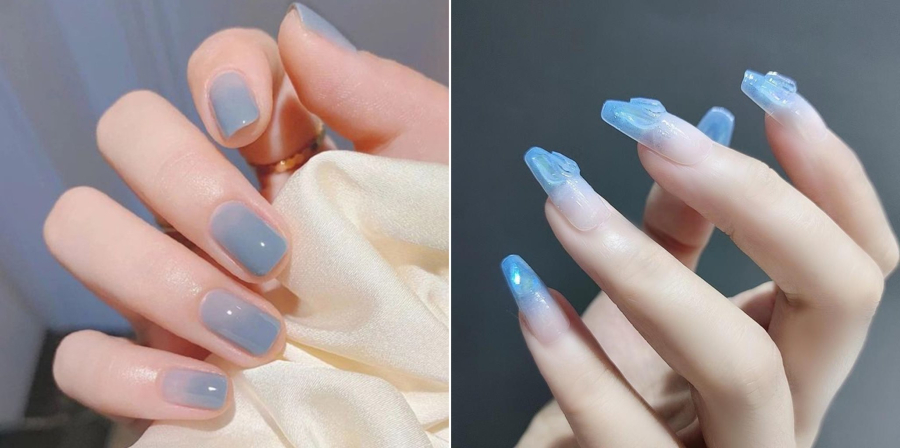
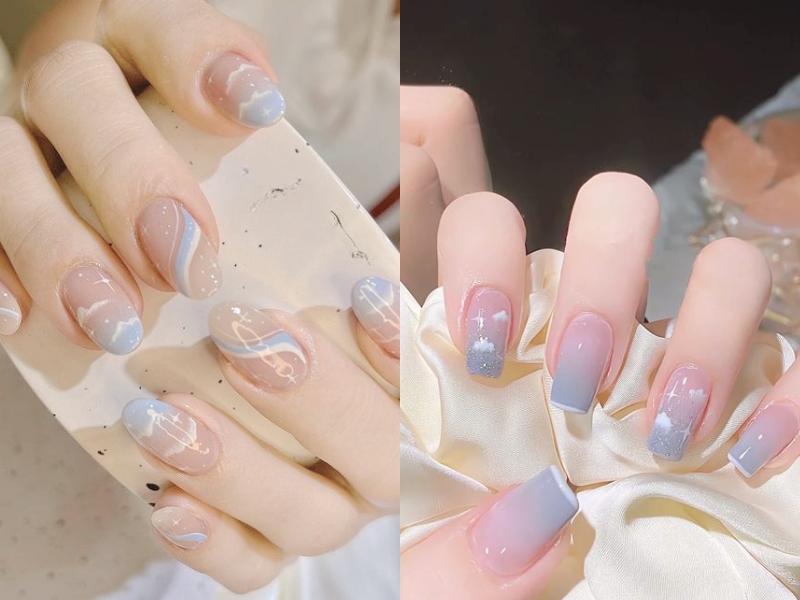
Simple Ombre Nail Art
Ombre nails are eye-catching and can brighten your skin tone. With a variety of color options, you can choose trendy shades like blue, purple, or pink to create a unique and stylish look.
Trendy Ombre Nails in Vibrant Colors
Nail Art with a Twist
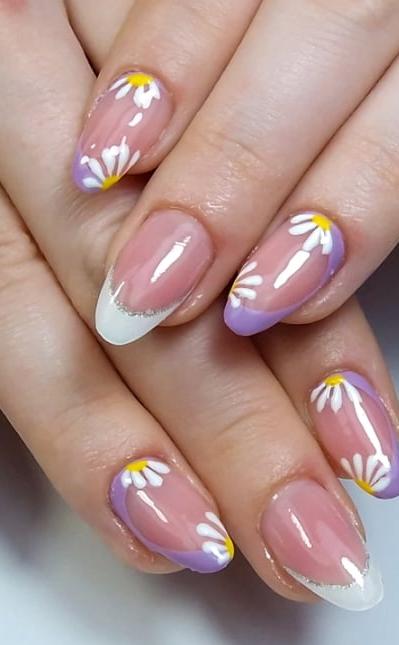
Add a unique twist to your nails with intricate drawings and designs. From delicate florals to bold outlines, this style is sure to make your hands stand out. Choose a complementary base color to make your nail art pop.
Intricate Drawings and Bold Outlines
Stone-Embellished Nail Art
Stone-embellished nail art is perfect for those who want to make a statement. Whether you prefer long or short nails, you can choose from a variety of stones to add a touch of glamour and edginess to your look. Customize the number of stones to suit the occasion.
Frequently asked questions
There are eight simple and elegant nail art designs featured in the article that can enhance the beauty of your nails. These include the Classic French Manicure, which is a timeless and sophisticated look; the Reverse French Manicure, a modern twist on the classic; the Neutral Nude Manicure, a subtle and natural-looking design; the Glitter Ombre Manicure, adding a touch of sparkle and glamour; the Color Block Manicure, a bold and trendy option; the Minimalist Line Manicure, simple and elegant; the Floral Accent Nail, adding a feminine touch; and the Metallic Manicure, a shiny and modern choice.
The Classic French Manicure is a timeless and sophisticated choice. It features a neutral base coat with a white tip, creating an elegant and natural-looking design. This style has been popular for decades and is perfect for those who want a subtle yet polished look.
If you’re looking for a modern take on the classic French manicure, consider the Reverse French Manicure. This design features a colored or glittery tip with a neutral or transparent base, adding a unique and unexpected twist. It’s a fun way to play with color while still maintaining a sophisticated look.
For a subtle and natural appearance, the Neutral Nude Manicure is an excellent choice. This design uses nude or neutral shades that closely match your skin tone, creating a subtle and elegant appearance. It’s perfect for those who want their nails to look well-groomed without being too flashy.
If you want to add some sparkle and glamour to your nails, go for the Glitter Ombre Manicure. This design features a gradual fade from a neutral base to a glittery tip, adding just the right amount of sparkle. You can choose from various glitter colors to find the perfect match for your style.
The Color Block Manicure is a bold and trendy option that involves painting each nail a different color. This design makes a statement and is perfect for those who want to experiment with color. You can choose complementary or contrasting colors to create a unique and eye-catching look.
Yes, the Minimalist Line Manicure is a simple yet elegant choice. This design features clean lines and simple shapes, such as stripes or dots, on a neutral or transparent base. It’s a subtle way to add interest to your nails while maintaining a sophisticated appearance.
To add a feminine touch, consider the Floral Accent Nail design. This involves adding a floral design to one or more nails, either through intricate hand-painting or nail stickers. It’s a delicate and beautiful way to incorporate a feminine element into your overall nail art look.
If you’re seeking a modern and shiny aesthetic, the Metallic Manicure is an excellent choice. This design uses metallic polishes, such as gold, silver, or rose gold, to create a shiny and reflective finish. It’s a bold and contemporary option that will surely make your nails stand out.


