


There are three main types of zippers on the market today. In this article, we will explore these different types of zippers and learn how to fix them when they break. Understanding the type of zipper you have is key to effective repair.
The 3 Most Common Types of Zippers
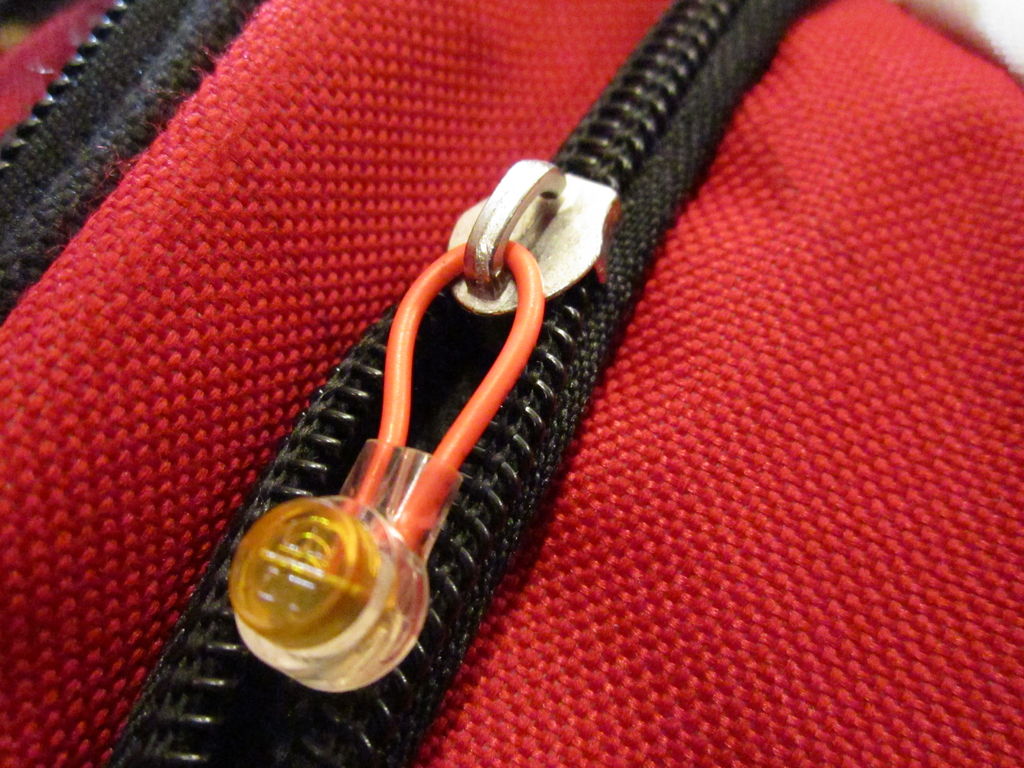
1. Plastic Zippers
Plastic zippers, also known as nylon, coil, or polyester zippers, are made of plastic and have teeth made of polyester cord. They come in various sizes, making them suitable for different backpack sizes.
2. Teeth Zippers
Teeth zippers, also known as Vislon, Derlin, Resin, or crocodile teeth zippers, are made of POM plastic. These zippers are popular not only for backpacks but also for other items such as jackets, bags, and pants.
How to fix a broken zipper
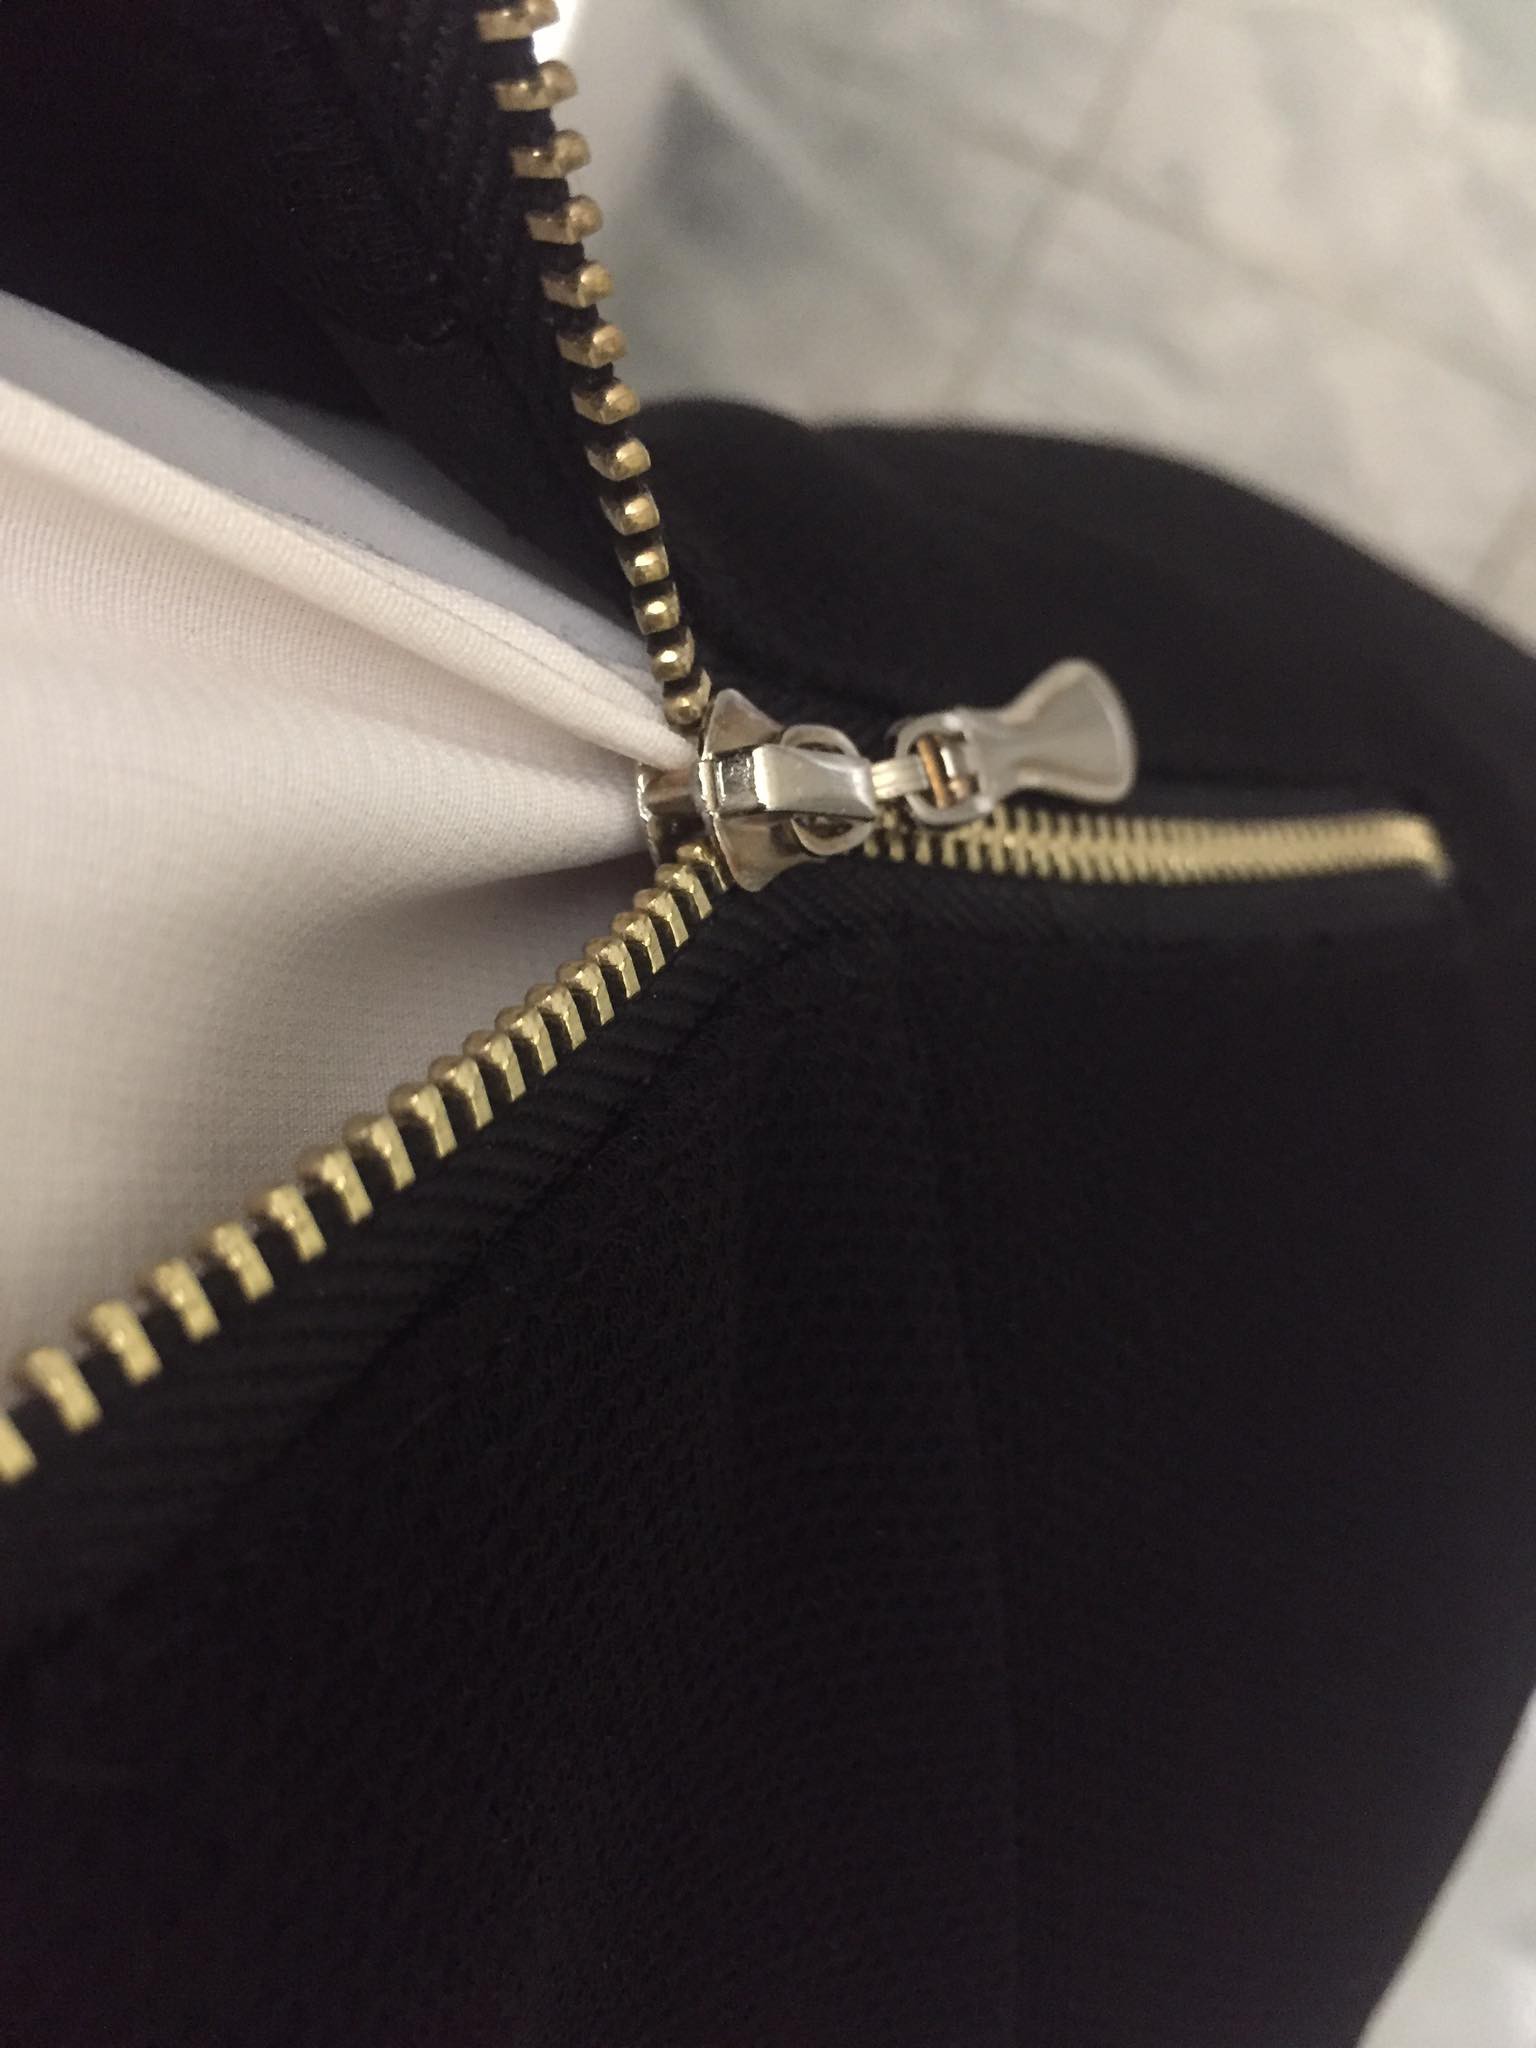
3. Metal Zippers
Metal zippers are typically made of brass, nickel, or aluminum and are commonly used in backpacks today. They are a popular choice for many backpack manufacturers.
Common Issues with Zippers
- Zipper is stuck and cannot be moved.
- Zipper can be moved, but the locking mechanism is not engaging properly.
- Zipper is locked, but the two sides do not align properly.
Understanding How Zippers Work
To effectively fix a broken zipper, it’s important to understand how zippers work. Each zipper tooth has two strips with hooks and indentations that are positioned alternately. When the slider is moved from the base, the two strips interlock in the slider’s channel at the correct angle.
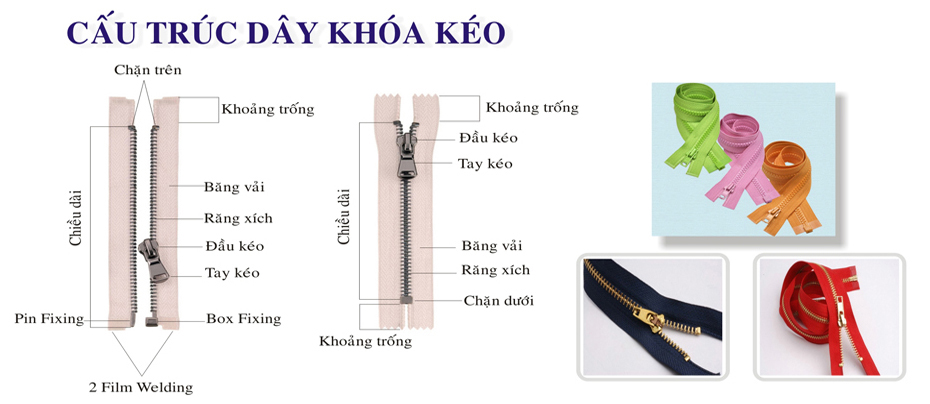
For the zipper to work smoothly, the hooks must be the same size and shape as the indentations, and they must be positioned accurately on the two strips. When the two strips are interlocked, they create a strong, convenient, and secure connection that is difficult to separate unless the slider is moved in the opposite direction to disengage the strips.
8 Simple Ways to Fix a Broken Zipper
1. Use a Pencil to Lubricate the Zipper
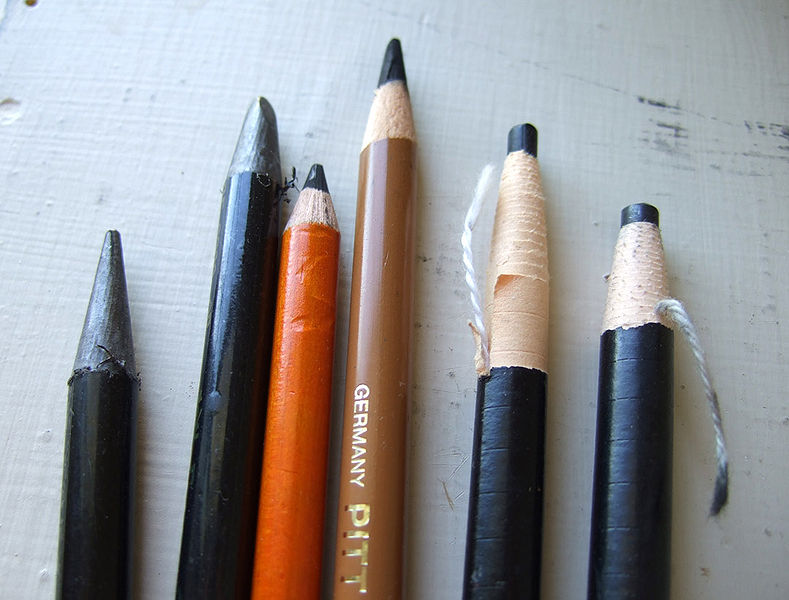
First, check for any threads or fabric caught in the zipper. Rub the pencil tip along the zipper teeth as shown in the image. The graphite from the pencil will act as a lubricant and help the zipper move smoothly. Rub the pencil back and forth until the zipper starts to move. After applying the graphite, move the zipper up and down a few times to distribute the lubricant evenly.
2. Use a Candle
A traditional method to fix a stuck zipper is to use a candle. Simply rub the end of the candle along the zipper teeth, and you should be able to use the zipper smoothly.
3. Soap Solution
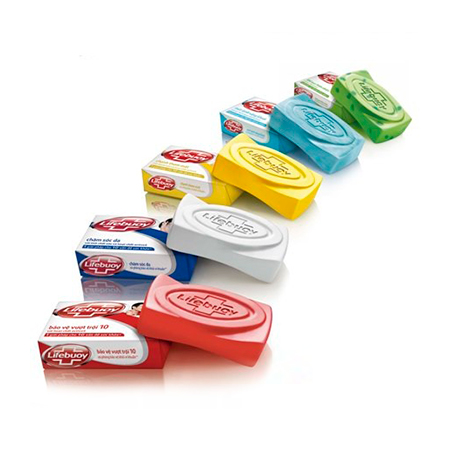
Mix a small amount of soap or detergent with water, and soak a cloth in the solution. Move the zipper up and down while rubbing the damp cloth along the zipper.
4. Lip Balm or Lipstick
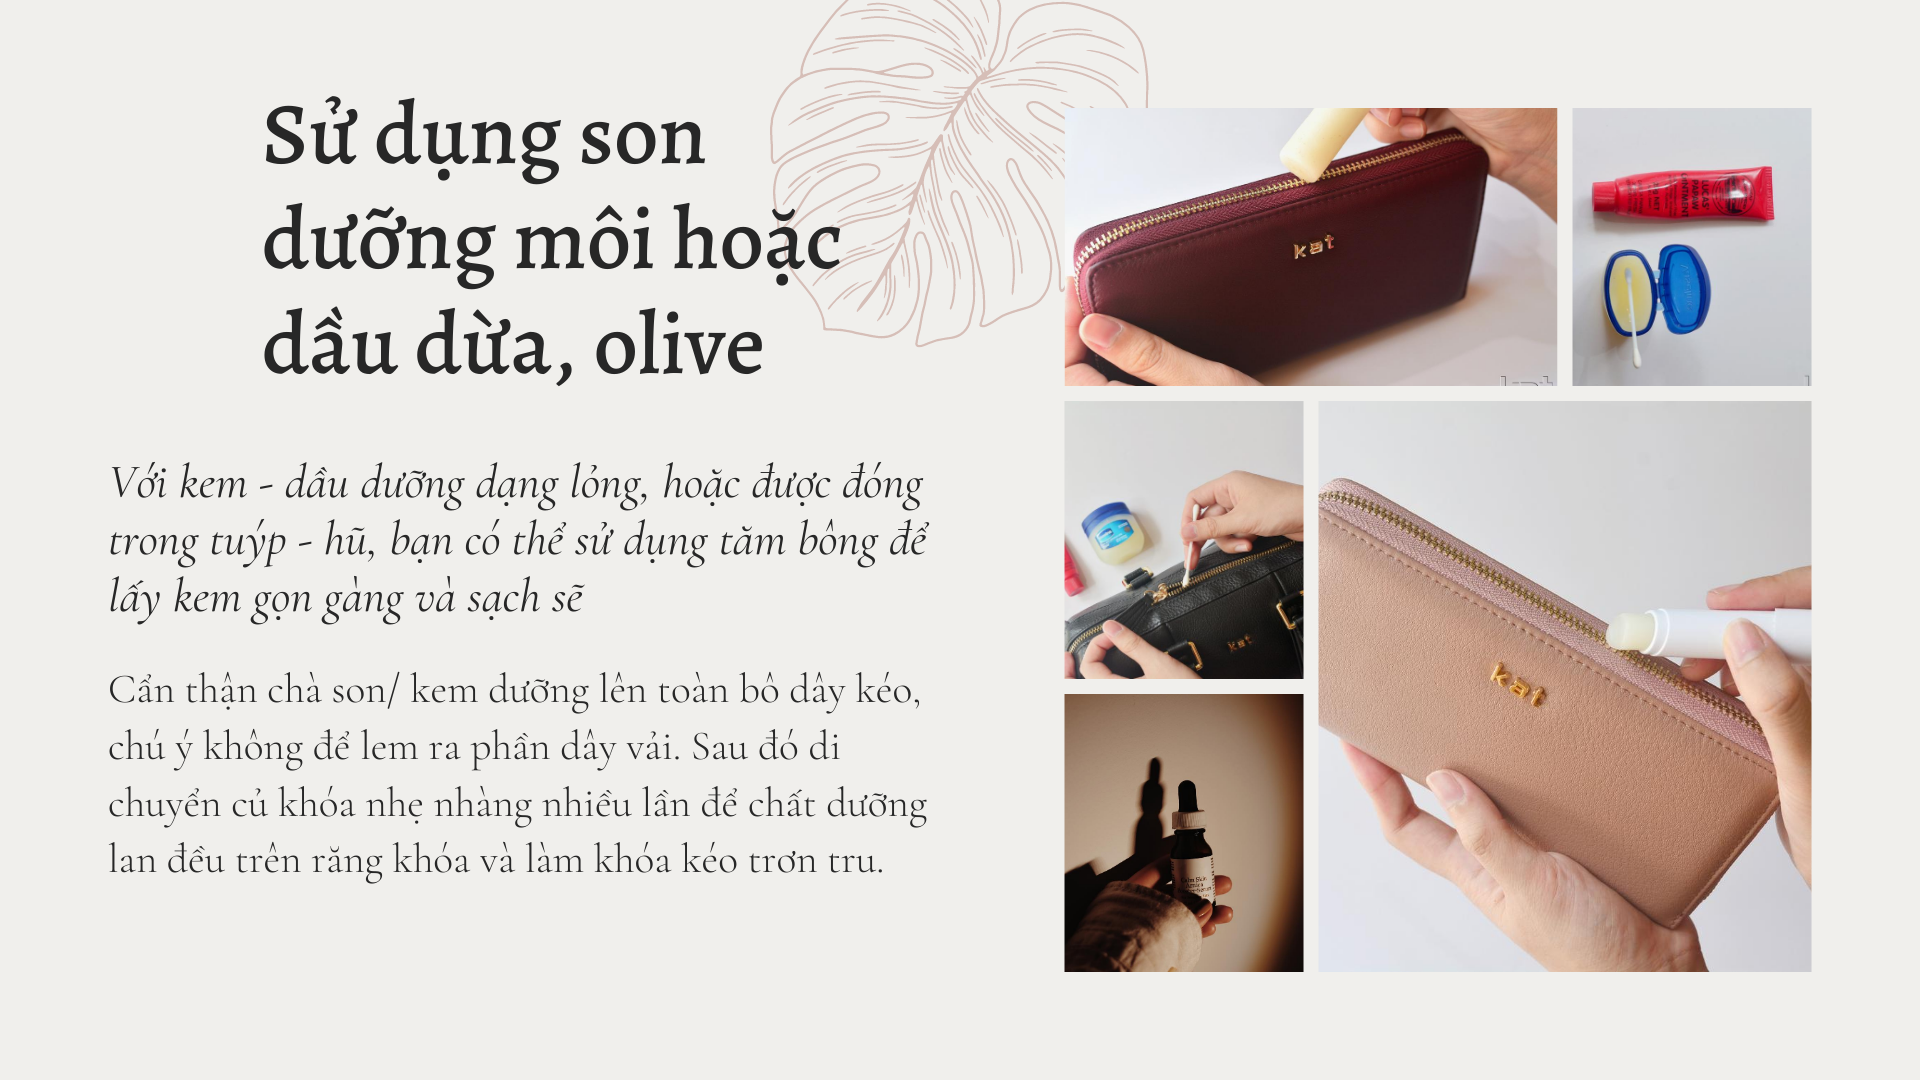
Lip balm or lipstick can be used to lubricate a stuck zipper. Simply apply the lip balm to the entire zipper and move the slider up and down to distribute the balm evenly.
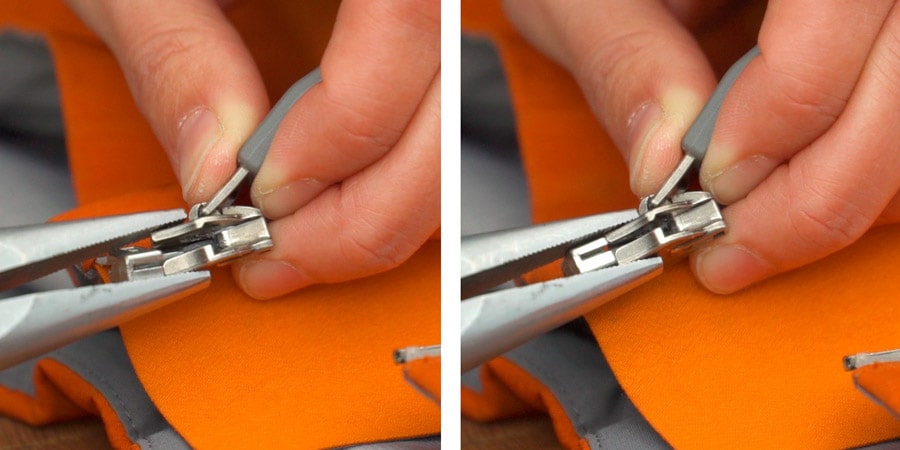
5. Fixing Misaligned Zipper Teeth
If the zipper is not straight or the locking mechanism is not engaging properly, do not move the slider. Instead, use a pair of pliers to adjust the individual teeth. If any teeth are out of alignment, use the pliers to gently bend them back into place so that they all line up correctly.
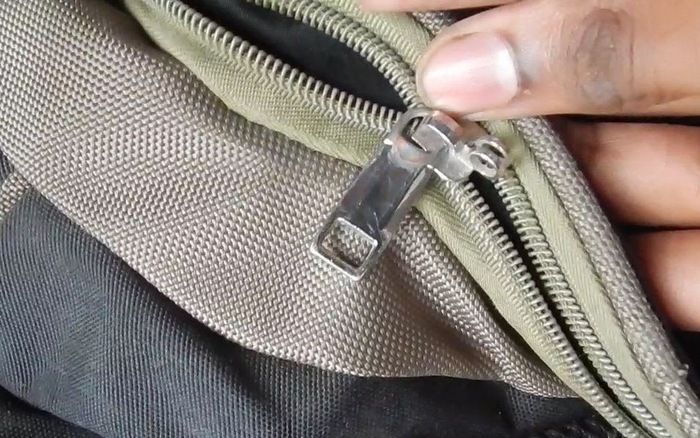
6. Broken Slider
If the slider is broken, it can be difficult to move the zipper up and down. In this case, use a paper clip or a similar object, such as a key ring, as a replacement slider. Simply slide it through the zipper’s channels, and you’ll have a functional zipper again.
7. Zipper Stuck in Fabric
If the zipper pull gets caught in the fabric or threads when opening or closing the zipper, gently move the pull back to its original position and remove any caught threads or fabric. When sewing a zipper into fabric, be careful to avoid situations that could cause the zipper to get stuck.
8. Fixing a Separated Zipper
There are several reasons why a zipper may separate or break, including:
- Low-quality zipper
- Frequent use leading to wear and tear
- Clogging due to dirt, caught threads, or collision with other objects
- Rapid pulling, causing the slider to break or the zipper to separate
Fixing a separated zipper is actually quite simple. Here’s what you need to do:
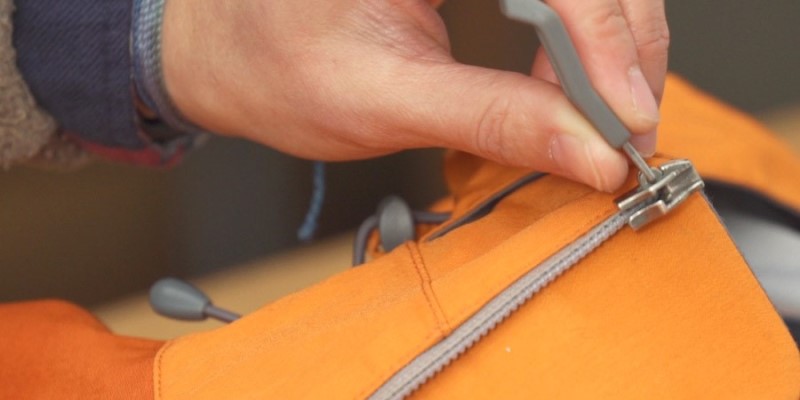
- Step 1: Pull the slider to the bottom of the zipper (the bottom stop).
- Step 2: Remove the bottom stop, usually made of lead, using a sharp pair of pliers.
- Step 3: Hold one end of the zipper tape and thread it through the other side of the slider. Hold the stop in place and slowly pull the slider up to see if it works. If the zipper functions normally, reinstall the bottom stop.
We hope that this article has provided you with simple and effective tips for fixing backpack, jacket, and bag zippers. These tips will help you handle unexpected issues quickly and efficiently.
Good luck!


