1. Choose a high-quality eyelash curler
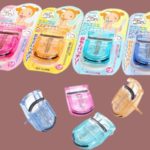
Selecting a high-quality eyelash curler is essential for achieving beautiful eyes after applying makeup. When choosing an eyelash curler, consider the following factors:
- The handle should be comfortable, easy to use, and should not cause hand pain.
- The padding sponge should be firm to prevent displacement and have a moderate softness to effectively curl the lashes without causing discomfort or drooping.
- The frame of the tool should be made of durable, rust-proof metal.
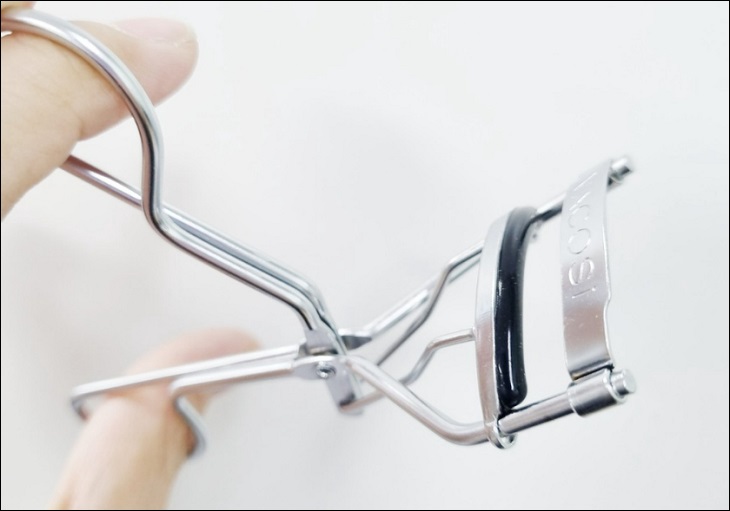
2. Clean the tool before use
Prior to using the eyelash curler, make sure to clean it to remove any dust or residual mascara from previous use. This step helps avoid discomfort to the eyes.
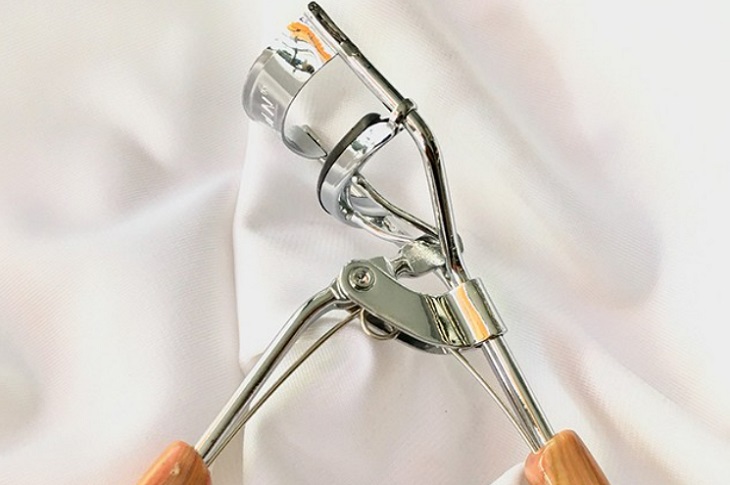
3. Warm up the eyelash curler
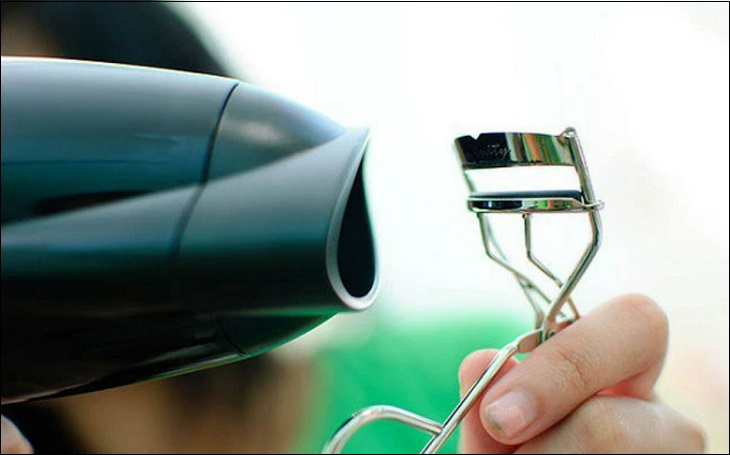
Heating the eyelash curler can help achieve a perfect curl and make it last longer, similar to using a curling iron for the hair. Consider using [enter product name], setting it to the lowest temperature or mode, and blow drying the eyelash curler for about 5-10 seconds to reach the desired heat level before usage.
4. Curl the lashes properly
Curl at a 45-degree angle
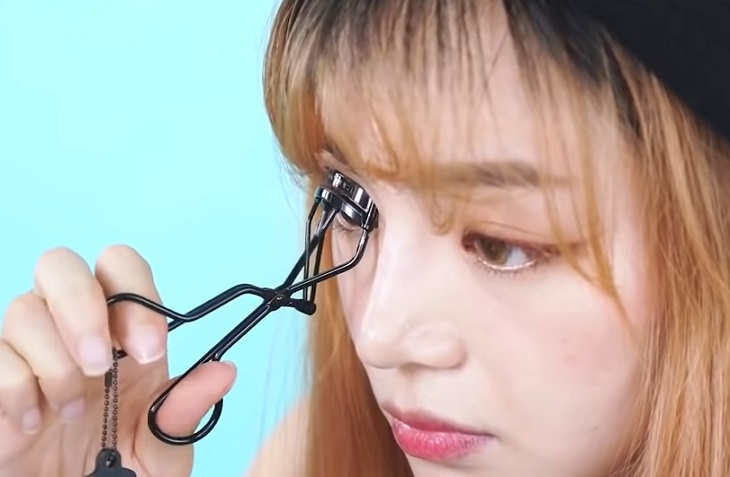
When curling the lashes, look down and position the eyelash curler on the lashes. Apply gentle pressure and tilt the eyelash curler 45 degrees forward to create the desired curl.
During the curling process, focus the force on the fingertips rather than the wrist. Repeat the curling motion multiple times to achieve a natural curl.
Curl at 3 points: lash root, middle, and tip
In addition to the 45-degree curling technique, curl the lashes at three specific points:
- Begin at the lash root (closest to the lash line), hold the eyelash curler for about 10-30 seconds.
- Move to the middle of the lashes and hold the eyelash curler for about 10-30 seconds.
- Lastly, curl the lash tips by holding the eyelash curler for about 10-30 seconds.

5. Apply mascara for a finishing touch
After curling the lashes, quickly apply mascara to maintain the curl for a longer duration. Choose an appropriate mascara, such as:
- Opt for mascara with a curved brush to enhance the curling effect. Consider choosing between a straight zigzag brush or a rotating brush, depending on your needs.
- You can also consider using waterproof mascara for better curl retention, quick drying, and optimal lash shaping. This type of mascara is particularly suitable for summer use.
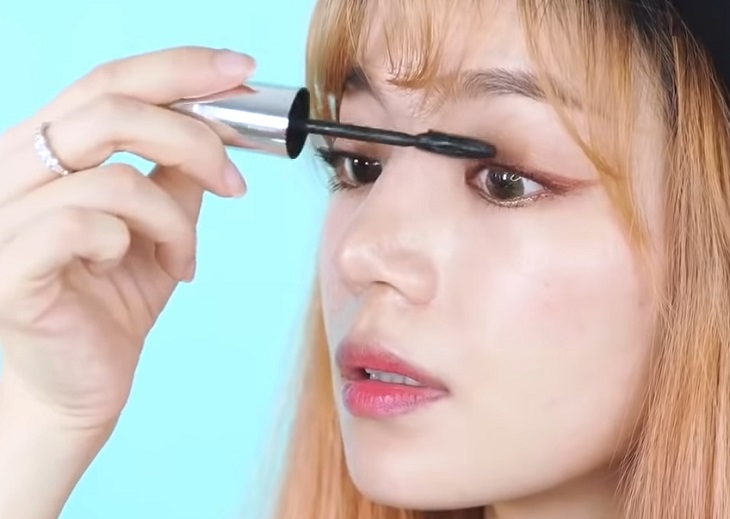
When applying mascara, adjust the amount of product on the brush and position it close to the lash roots. Use a zigzag motion to coat the lashes and brush upwards.
I hope the above instructions have helped you understand how to use an eyelash curler correctly and achieve even more beautiful and captivating eyes!


