Preparation
240 minutes
Cooking
300 minutes
Serving
2 – 3 people
Japanese cuisine is an art, and one of its key ingredients is miso paste. This versatile condiment is a staple in many Japanese dishes, adding a savory depth of flavor to any meal. Now, you can bring a taste of Japan to your home with this simple recipe for making your own miso paste.
1 Ingredients for Miso Paste
-
Soybeans: 500g
-
Koji: 300g
-
Koji culture: 400g
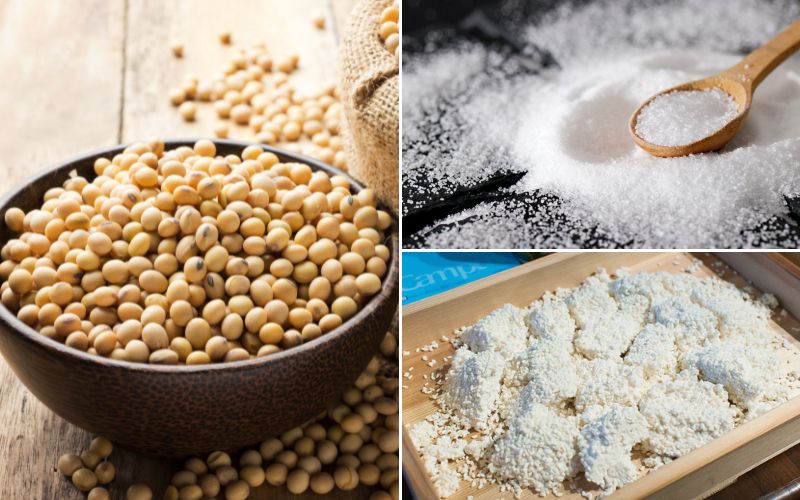 The key ingredients for a delicious miso paste
2 Crafting Your Own Miso Paste
Step 1 Soak the Soybeans
Begin by rinsing 500g of soybeans in fresh water. Place them in a basin and let them soak overnight to ensure they’re nice and soft. You can use either raw or roasted soybeans, with the latter giving your miso a more robust flavor.
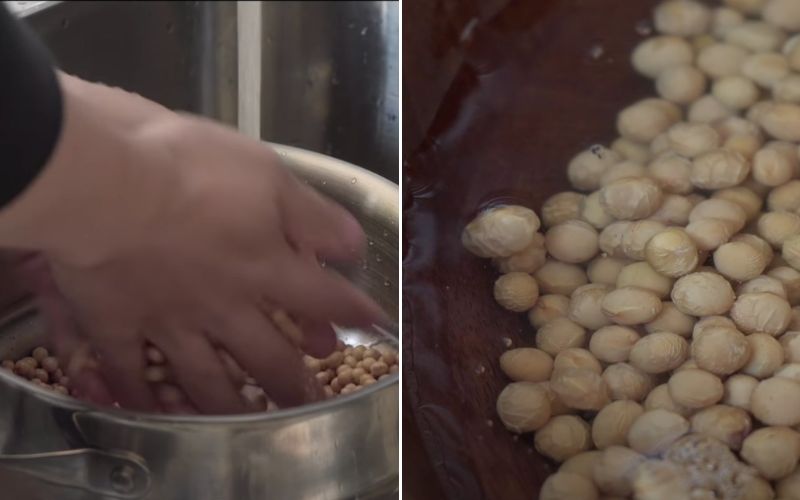 Soaking the soybeans overnight to soften them
Step 2 Cooking the Soybeans
After soaking, transfer the soybeans to a pot or pan, covering them with water. Simmer gently for around 3 to 5 hours until they’re nice and soft.
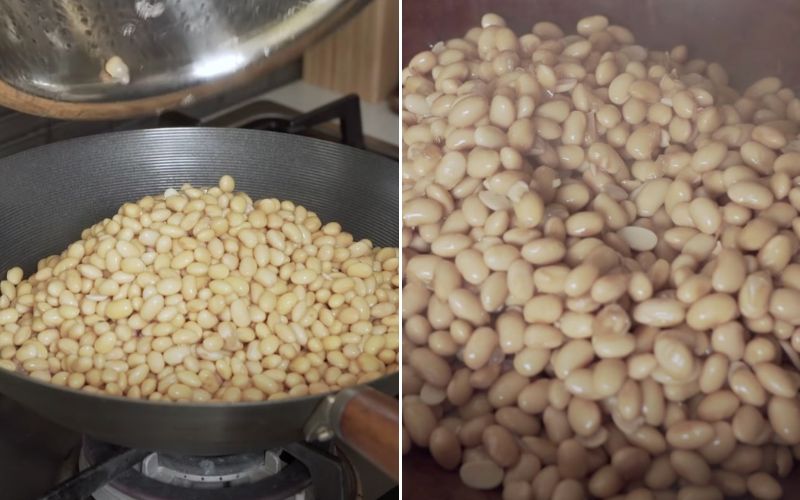 Cooking the soybeans to soften them further
Step 3 Blending the Soybeans
Once soft, it’s time to blend! Place the soybeans in a blender and process until you have a smooth paste. If it looks a little dry, add a small amount of water to help it along. Once blended, transfer the paste to a bowl and give it a good stir to help it cool down.
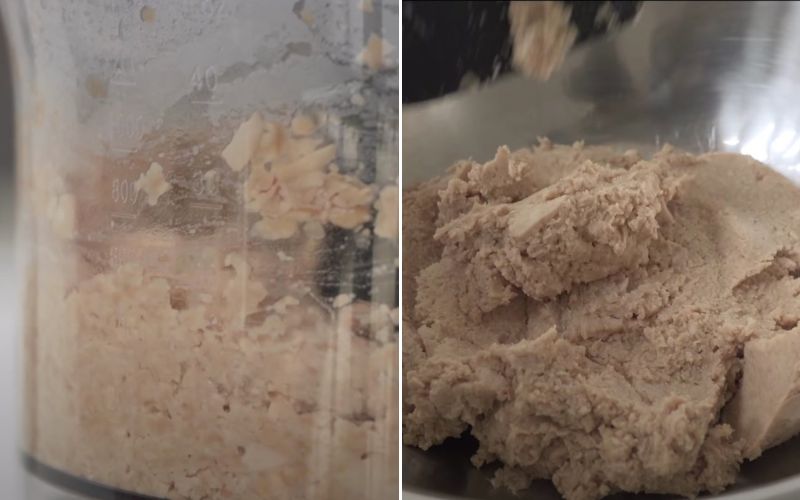 Blending the soybeans to create a smooth, creamy paste
Step 4 Preparing the Koji Culture
In a large bowl, combine 400g of koji culture, 185g of salt, and 100ml of water. Mix well to ensure everything is evenly distributed.
 Preparing the koji culture, a key step in making miso paste
Step 5 Combining the Ingredients
Gradually add the koji culture to the blended soybeans, mixing thoroughly. Then, divide the mixture into smaller portions and roll them into balls with your hands.
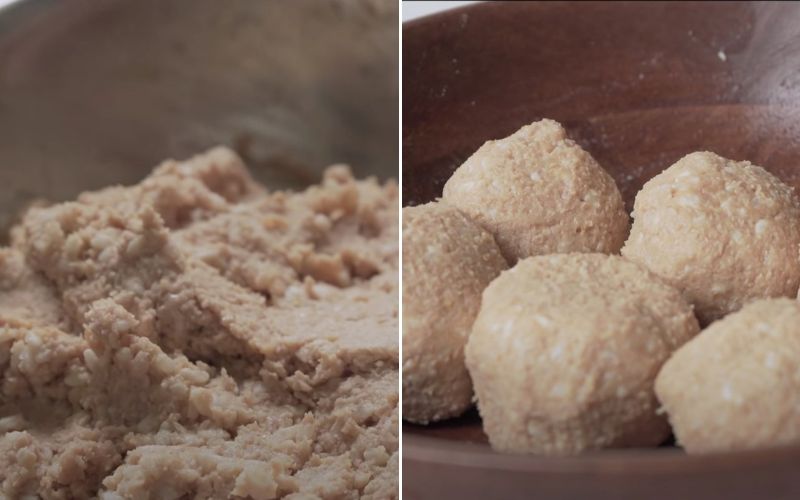 Combining the soybean paste and koji culture
Step 6 Fermenting the Miso Paste
Take a clean glass jar and gently pack the soybean balls inside, pressing them together to form a compact mass. Sprinkle a thin layer of salt over the top. Cut a circle of parchment paper to fit the jar’s mouth and place it on top of the soybeans. To compress the soybeans further, weigh them down with a bag of salt. Cover the jar with paper and secure it with twine. Each morning, remove the paper covering and expose the miso to sunlight to encourage the growth of beneficial bacteria.
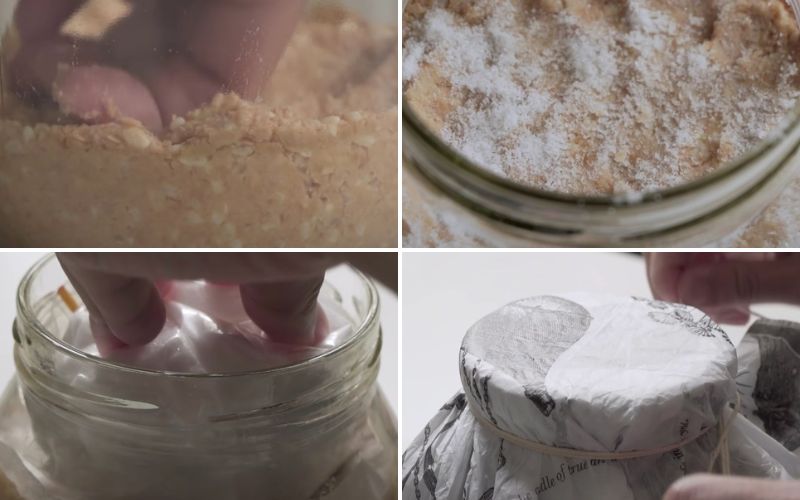 Fermenting the miso paste to develop its unique flavor
Step 7 The Finished Product
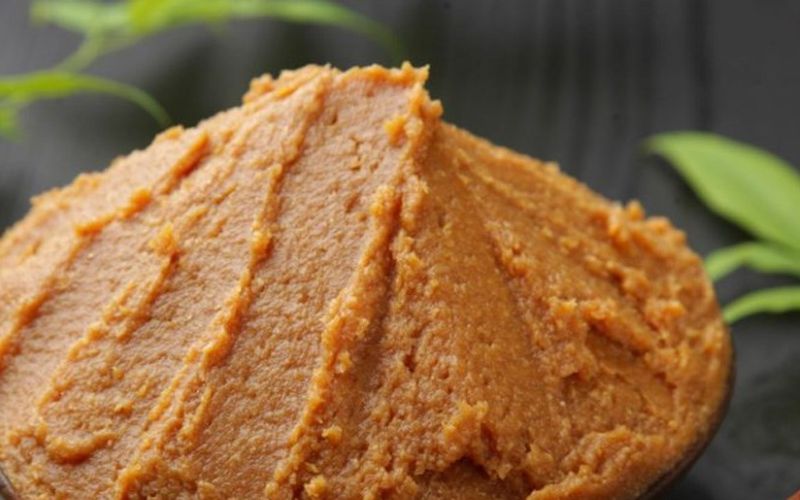
After about 6 months of fermentation, your miso paste will be ready. It will have darkened in color and taken on a robust, aromatic flavor. Now, you can use your homemade miso paste in a variety of delicious dishes.
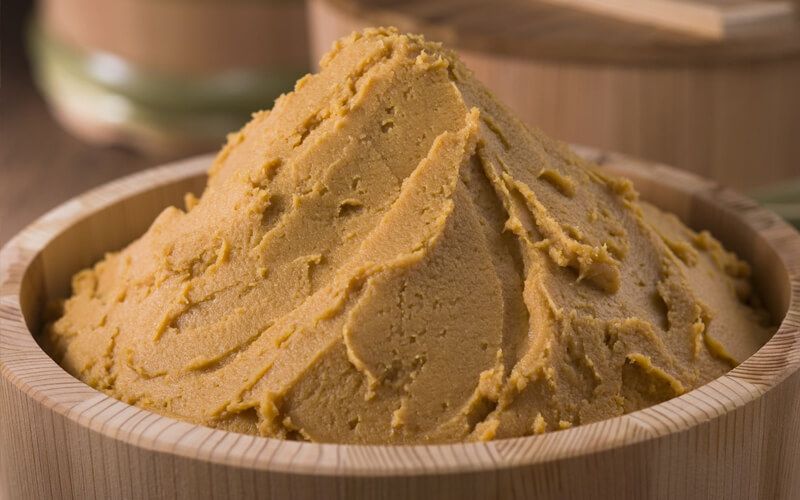 The final product: delicious, homemade miso paste
3 Using Your Miso Paste
Miso paste is a flavor-enhancing powerhouse. It adds a rich, savory taste to any dish and is also a great source of protein. Use it to make miso soup, chicken udon noodles in miso sauce, namero, miso-zuke, and more. Get creative and experiment with this versatile ingredient. Not only will it take your culinary creations to the next level, but it will also provide numerous health benefits.
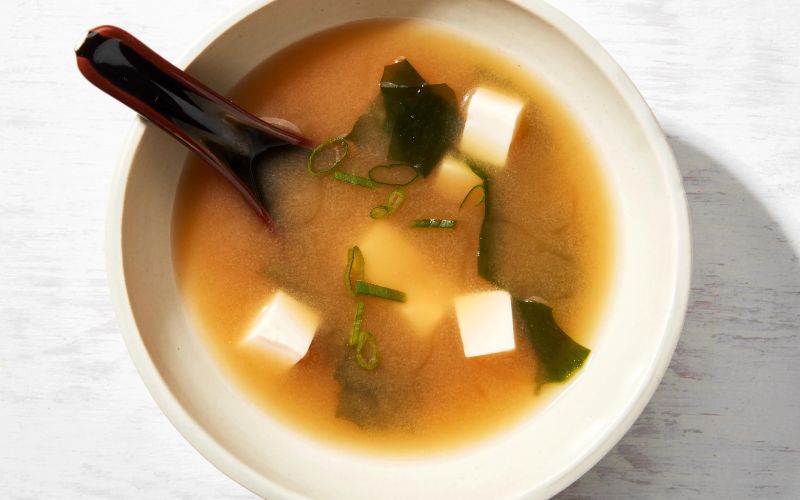 A delicious bowl of miso soup made with your homemade miso paste
Now you have the tools to create your own miso paste at home. We hope this inspires you to explore the wonderful world of Japanese cuisine and create delicious, authentic dishes.
“Transform Your Dishes with Overnight Pickled Cabbage: Crisp, Golden, and Delicious”
Introducing the ultimate guide to achieving the perfect pickled cucumber – golden, crisp, and bursting with flavor. Uncover the secrets to transforming ordinary cucumbers into a tantalizing treat that will leave your taste buds tingling and your guests impressed. With easy-to-follow steps and expert tips, you’ll be well on your way to becoming a pickling pro, creating a delicacy that’s not only delicious but also visually appealing. Get ready to take your culinary skills to the next level and impress everyone with your golden, flavorful cucumbers!


