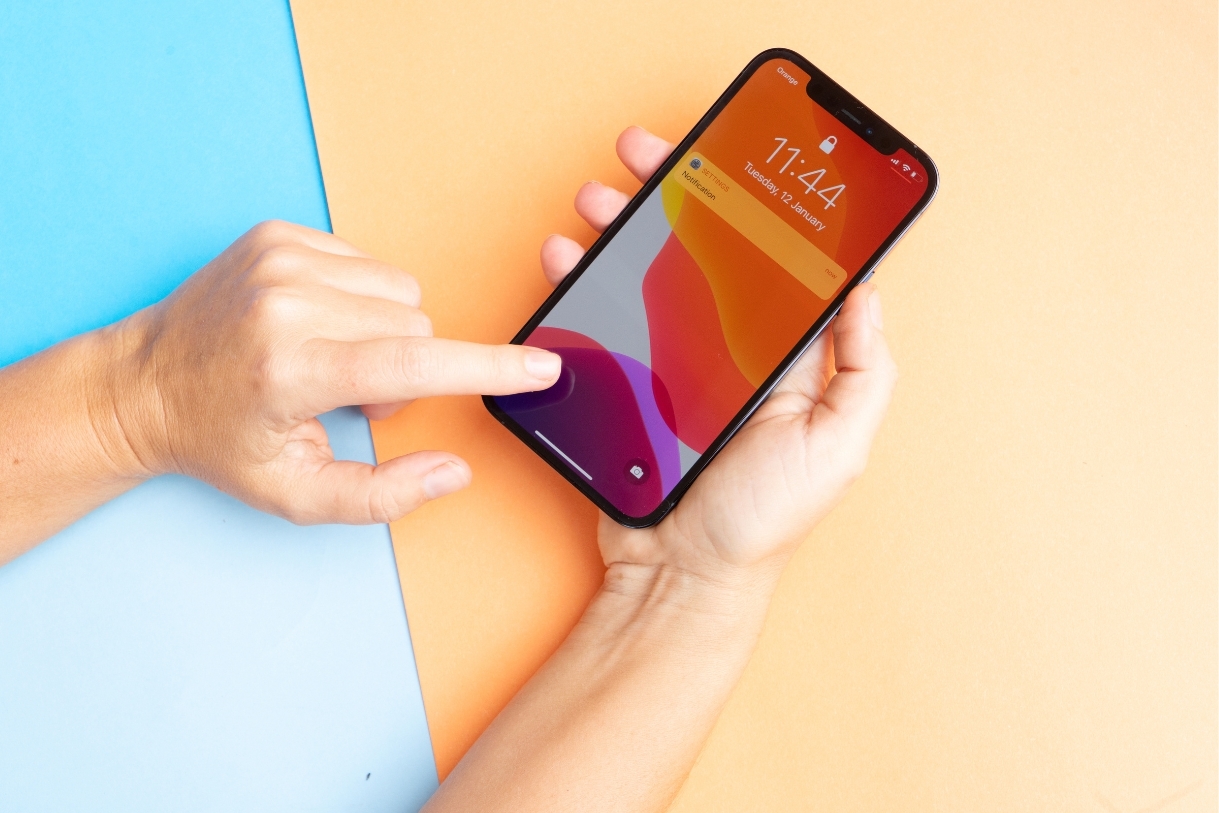
Taking a screenshot on your iPhone is not just a regular trick, but an essential skill for all iPhone users, from capturing important information to saving favorite images or sharing special moments. Whether you own an older or the latest iPhone model, this article from FPT Shop will guide you through the steps to master this skill quickly and successfully.
What is an iPhone Screenshot?
Taking a screenshot on your iPhone is a way to capture and save an image of your phone’s screen. It’s a handy way to quickly save information and easily share your screen content with others. However, not everyone knows how to do it correctly, especially as Apple updates features and functionality across iPhone generations.

Why Take Screenshots on Your iPhone?
Screenshots on your iPhone are not just for quickly saving displayed images. They are also a powerful tool for work, study, and various other purposes:
- Information Storage: Need to quickly save important information? Screenshots let you capture all the details without manual note-taking.
- Technical Support: When encountering device issues, a screenshot can help the support team understand your problem better.
- Instant Sharing: Want to share an article, image, or settings information? Screenshot and send it in seconds.
- Create Tutorials: Screenshots can be combined to create detailed and easy-to-understand instructional guides.
- Preserve Memories: Capture moments from social media or apps that you can’t download.
- Keep Evidence: In some situations, screenshots can provide necessary proof for transactions or legal purposes.
- Boost Productivity: Help organize information more efficiently when working with multiple sources simultaneously.
The screenshot function on iPhones makes information storage and sharing convenient and quick, and it has become an indispensable part of modern life.
.jpg)
Top 6 Ways to Take Screenshots on Your iPhone
1. How to Take a Screenshot on an iPhone Without a Home Button
Taking a screenshot on iPhones without a Home button, such as the iPhone X and later models, involves using the side/power button and the volume up button. Here’s a detailed guide:
- Step 1: Ensure your iPhone screen displays the content you want to capture.
- Step 2: Quickly press the side/power button (on the right side of your device) and the volume up button (on the left side) simultaneously. The screen will flash, accompanied by a camera shutter sound (if the sound is on), indicating a successful screenshot.
- Step 3: The screenshot will appear in the bottom-left corner of your screen right after capture. You can tap on it to view and edit if needed. If you don’t want to edit immediately, it will automatically save to the “Screenshots” album in the Photos app after a few seconds.
.jpg)
Taking a screenshot on iPhones without a Home button is a simple but quick and precise action to ensure you get the desired screenshot.
2. How to Take a Screenshot on Older iPhones with a Physical Home Button
If you’re using an older iPhone model, such as the iPhone 8 or earlier, the screenshot process is straightforward yet extremely useful. Here are the steps to capture your screen easily:
- Step 1: Press and hold the side/power button firmly and quickly press the Home button.
- Step 2: You will hear the camera shutter sound or see a flash, indicating that the screenshot has been taken.
- Step 3: After capturing, the screenshot will automatically be saved to the Photos app. You can tap on the small thumbnail that appears in the bottom-left corner of your screen right after capture to edit or share the screenshot.
.jpg)
Note:
- If you can’t take a screenshot, check if your buttons are stuck or damaged.
- Ensure you don’t press too long, which may turn off your device or activate Siri.
We often don’t think much about basic operations like screenshots, but sometimes these small features offer significant convenience in our daily lives. For those familiar with iPhones, this may be old news, but it’s an important first step to mastering your device.
3. How to Take a Screenshot on Your iPhone Using the Virtual Home Button
Using the Regular Virtual Home Button
Apart from the usual way of taking screenshots on your iPhone, you can also use the virtual Home button for a quicker capture. Here are the steps to set it up:
- Step 1: Go to Settings > Accessibility
- Step 2: Select Touch > AssistiveTouch and turn on the virtual Home button.
- Step 3: After enabling AssistiveTouch, tap on the virtual Home button on your screen, then choose Device, select More, and finally tap on Screenshot to complete the setup.
.jpg)
From then on, whenever you want to take a screenshot, simply tap the virtual Home button and select Screenshot, and the image will be automatically saved to your photo gallery.
Using the One/Two-Tap or Hold Virtual Home Button
- Step 1: Follow the similar setup steps as mentioned above (Settings > Accessibility > Touch > AssistiveTouch).
- Step 2: Under Custom Actions, choose Single-tap, Double-tap, or Long Press.
- Step 3: A list of customizable actions will appear. Select Screenshot.
- Step 4: To capture your iPhone screen, simply tap the virtual Home button the number of times you set, and the system will recognize it as a screenshot.
.jpg)
4. How to Take a Screenshot on Your iPhone by Tapping the Back of Your Phone (iOS 14 and later)
The “Back Tap” feature, introduced in iOS 14, allows Apple enthusiasts to perform specific actions by gently tapping the back of their iPhones. Here’s how to set up and use this feature to take screenshots:
- Step 1: On your iPhone’s home screen, find and open Settings > Accessibility > Touch.
- Step 2: Scroll down the Touch menu and select Back Tap (Double Tap or Triple Tap).
- Step 3: You can choose Double Tap or Triple Tap to set the number of taps required. Then, you’ll see a list of functions. Scroll down and select Screenshot.
.jpg)
After setting it up, simply double or triple-tap (depending on your preference) the back of your iPhone to capture your screen.
Note:
- Ensure you tap the back of your phone, not the camera area.
- Tap gently but with enough force for the system to recognize it.
- This feature may not work if you’re using a thick phone case or one that doesn’t transmit tap force well.
- Tapping the back of your phone to capture your screen is a convenient feature, especially when you only have one hand free.
.jpg)
5. How to Take a Screenshot on Your iPhone Using Siri
Taking a screenshot on your iPhone using Siri is a simple process. Here’s how to do it:
- Step 1: If your iPhone has a Home button, hold it to activate Siri. For iPhones without a Home button, hold the side/power button, or you can use the “Hey Siri” command if it’s enabled in your settings.
- Step 2: Once Siri is activated, simply say, “Hey Siri, take a screenshot,” and it will do it for you.
- Step 3: When Siri recognizes the command, it will automatically take the screenshot and save it to your iPhone’s Photos app.
.jpg)
Note:
- Ensure Siri is enabled on your iPhone before trying these steps.
- If Siri doesn’t recognize your command, try speaking more clearly and precisely.
- In some cases, Siri may ask you to unlock your iPhone before executing the screenshot command.
Using Siri to take screenshots is a convenient way to quickly save information displayed on your screen without using your hands or any physical interaction.
6. How to Manage Your iPhone Screenshots
All iPhone screenshots are saved to your Camera Roll. Simply open your Photos app to find your most recent captures.
Find Your Screenshots
- Open the Photos app on your iPhone.
- Look for the “Screenshots” folder, where all your screenshots are automatically saved.
Edit Your Screenshots
- Select the screenshot you want to edit from the folder.
- Tap “Edit” to crop, rotate, add text, or use other editing tools.
Delete Unnecessary Screenshots
- In the “Screenshots” folder, tap and hold the screenshot you want to delete, then choose “Delete Screenshot” to free up storage space.
.jpg)
Pros and Cons of Each Screenshot Method
While using the physical button combination is faster, it may cause button wear over time. On the other hand, using the virtual Home button, Assistive Touch, requires more steps: Assistive Touch > Device > More > Screenshot. You may miss capturing some moments with this method, so it’s best to use the physical buttons for urgent situations and the virtual Home button for everyday use.
Conclusion
No matter which iPhone screenshot method you choose, you can easily and quickly master it. Thank you for reading, and we hope you found this guide helpful.
Frequently asked questions


