Homes in humid climates or those that have experienced prolonged periods of rainfall often face the issue of damp walls, leading to the appearance of mold or peeling paint. If left untreated, this problem can not only cause aesthetic concerns but also become more severe over time and even impact the health of the occupants.
If your home is currently facing this issue, it’s essential to address it as soon as possible.
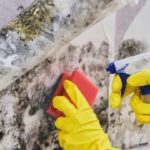
How to deal with black mold on walls
– Clean mold with vinegar
Vinegar is a familiar condiment, always available in the kitchen. Besides being used in cooking, vinegar is also a great cleaning agent for removing stains and mold. Vinegar contains acetic acid, which can break down the structure of dirt and mold. Using vinegar to clean mold is a safe, effective, and low-cost solution.
Simply pour vinegar into a spray bottle and spray it directly onto the moldy areas of the wall. Let it sit for about 30 minutes to allow the vinegar to penetrate and destroy the mold. Then, use a cloth to wipe the area clean, repeating as necessary to ensure all mold is removed.
Since vinegar is not a strong acid, this method is best suited for newly formed mold.
For more stubborn mold, you can combine vinegar with baking soda. Mix the two ingredients in a bowl to form a thick paste. Use a brush to apply the paste to the moldy surface and let it sit for about 15 minutes. Then, use a soft brush to gently scrub away the mold and finish by wiping the wall clean with a damp cloth.
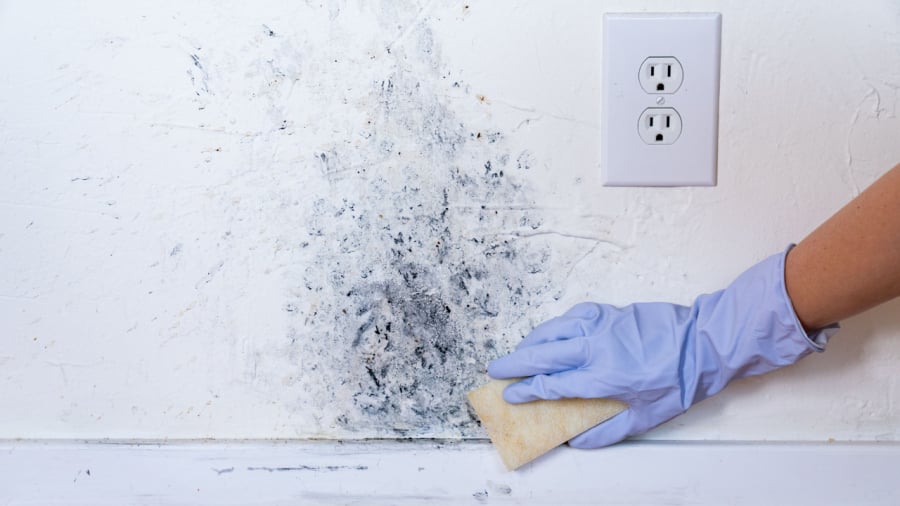
There are several methods to effectively clean moldy walls.
– Clean mold with lemon
Lemon also contains citric acid, similar to vinegar, making it another effective natural mold remover. However, due to its milder acidity, lemon is best suited for walls with less severe mold issues.
Cut a lemon in half and use it to scrub the moldy surface directly. Alternatively, you can squeeze the lemon to extract the juice, dip a brush into the juice, and scrub the wall. Let the lemon juice sit for a few minutes to allow its acidic properties to break down the mold. Finally, wipe the area clean with a damp cloth.
– Use bleach to clean mold
For more severe mold problems that vinegar and lemon can’t handle, you can turn to bleach. However, it’s important to note that bleach has a strong chemical smell, so be sure to wear gloves and a mask during the cleaning process. Keep the windows open to ensure proper ventilation.
Mix bleach with water in a 1:2 ratio and use a paint roller to apply the solution to the moldy areas. Let it sit for a few minutes to allow the bleach to work its magic. Then, use a brush to scrub away the mold and finish by wiping the wall clean with a damp cloth. Finally, use a fan to blow air onto the wall and speed up the dissipation of the chemical smell.
– Scrub and repaint the wall
For a more thorough solution, you can use a brush or steel wool to scrub the moldy areas directly. This method ensures the removal of both the mold and its roots. Afterward, use a cloth dampened with boiling water or 90-degree alcohol to wipe down the affected areas, helping to kill any remaining mold and prevent reoccurrence. Allow the wall to air dry for about 48 hours. Finally, apply a fresh coat of paint to restore the wall’s appearance and inhibit future mold growth.
How to handle blistering and peeling walls
Blistering paint, surface swelling, and white mold on walls are not only unsightly but also come with an unpleasant musty smell. High humidity and water infiltration are common causes of this issue. Additionally, salt efflorescence (the appearance of a white powder on the wall) can be due to bricks not being fired at a high enough temperature or containing excessive impurities, or it could be caused by the use of construction sand and plaster sand with high impurity content.
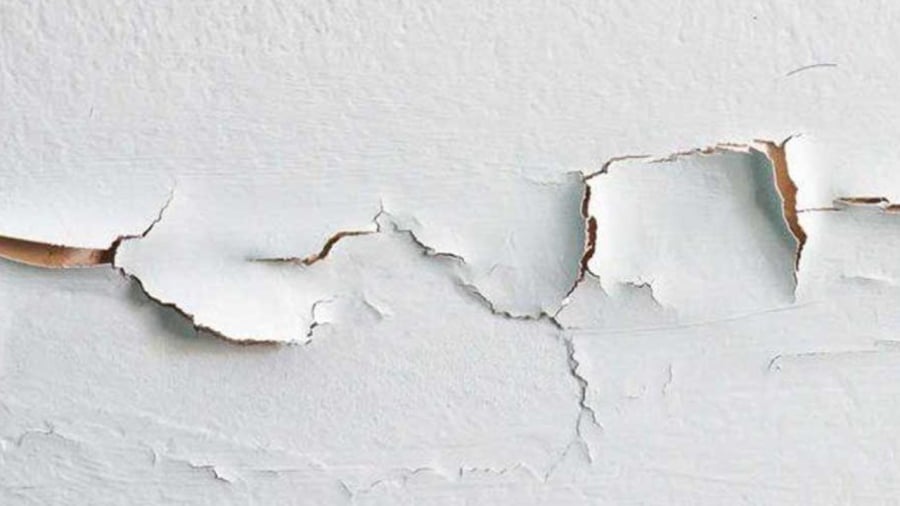
It’s best to address blistering and peeling walls as soon as possible.
To rectify this problem, scrape off the entire peeling plaster section and extend the area by about 10 cm. Then, apply a coat of oil-based primer to enhance adhesion between the bricks and the new plaster. Afterward, use fresh plaster to cover the scraped area. Once dry, apply an alkali-resistant paint and finish with a topcoat.
Note: It’s advisable to perform these tasks only during dry weather conditions.
The Ultimate Guide to Reviving Your Walls: Transform Peeling, Moldy Surfaces to Sparkling New
Many homeowners experience the frustrating issue of peeling paint and black mold on their walls. If you’re facing this problem, don’t despair! There are simple tips and tricks you can use to tackle this issue and restore your walls to their former glory. Keep reading to discover effective solutions that will leave your walls looking brand new.


