Effective Ways to Clean Grout with Vinegar and Lemon
Discover simple methods to clean and brighten grout lines using common household ingredients such as vinegar and lemon.
Using Vinegar and Lemon
Step 1: Prepare the Solution
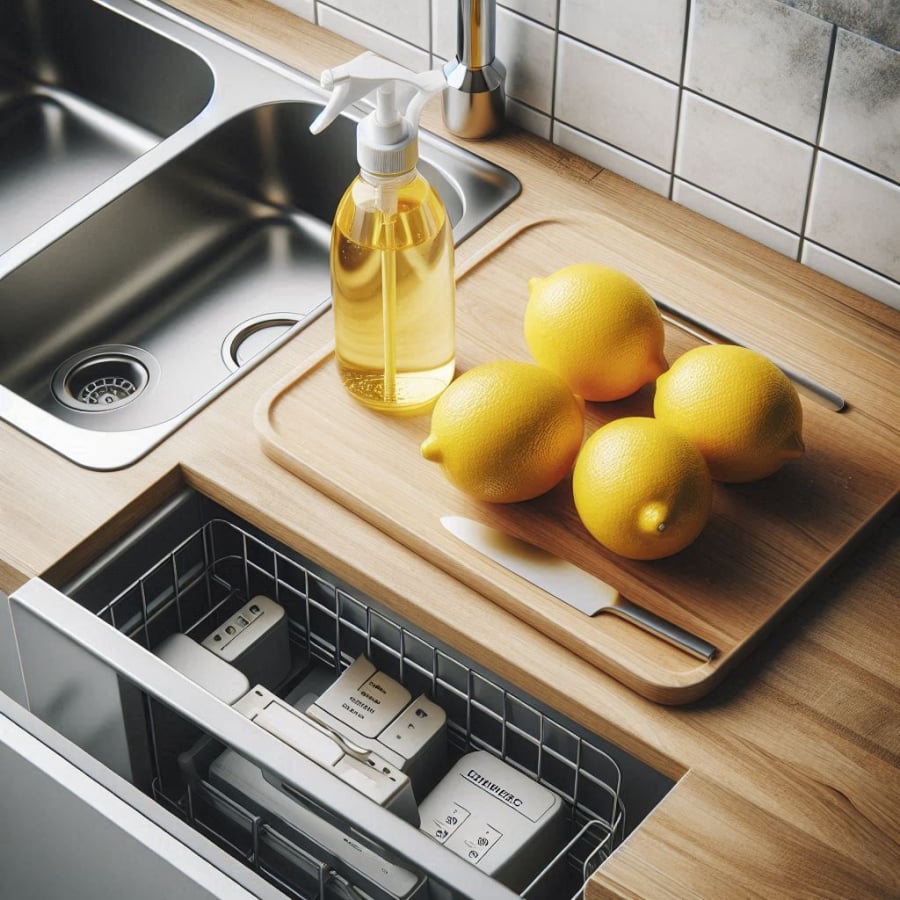
Mix 800ml of hot water with half a lemon and 3 tablespoons of white vinegar in a spray bottle. Shake the mixture well to ensure the ingredients blend together.
Step 2: Spray the Solution
Generously spray the prepared solution onto the dirty grout lines.
Step 3: Wipe Clean
After a few minutes, use a damp cloth to wipe down the grout lines. You’ll notice a visible difference with a shiny and clean surface.
Combining Baking Soda, Vinegar, and Water
Step 1: Prepare the Mixture
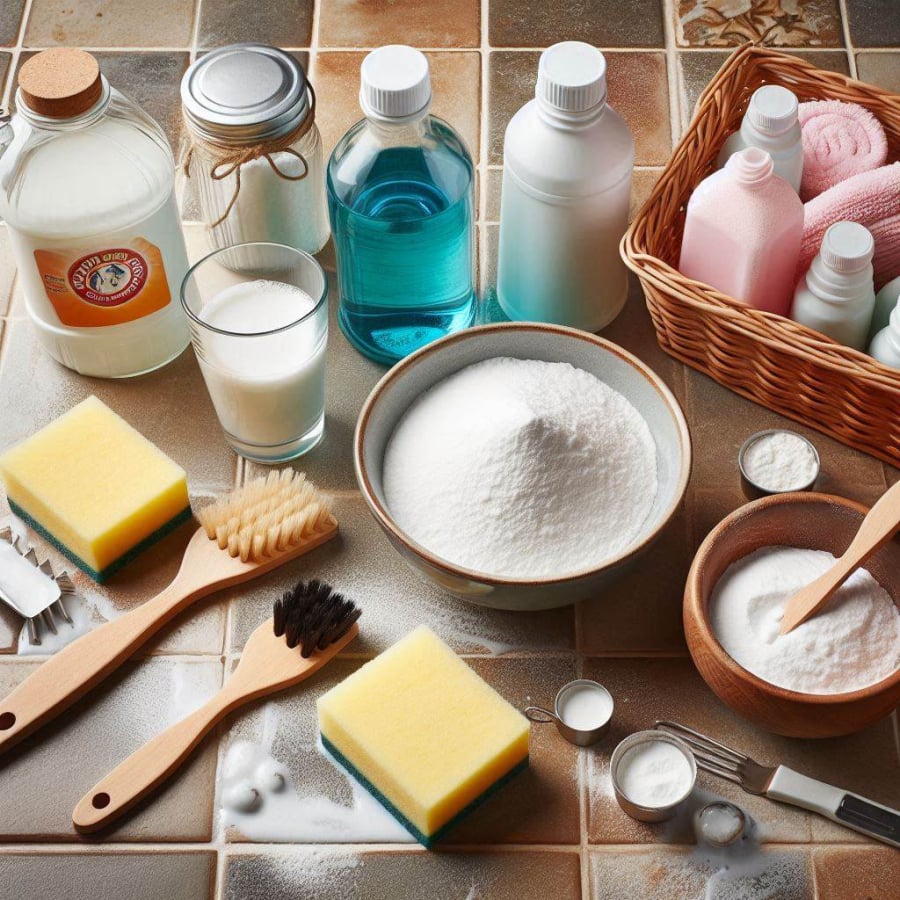
Combine baking soda, vinegar, and water in a 1:1:1 ratio, then spray it onto the grout surface.
Step 2: Wipe it Down
Use a dry cloth to wipe the grout lines, making them brighter and whiter.

These methods are not only simple but also environmentally friendly and safe for your health, giving a fresh look to your living space.
Secret to Clean Grout with Hydrogen Peroxide and Baking Soda
This grout-whitening method is ideal for cleaning grout lines in the kitchen, where grease and grime often build up during cooking.
Step 1: Mix Hydrogen Peroxide and Baking Soda
Combine hydrogen peroxide with baking soda in a 1:1 ratio. If you’re dealing with stubborn grease, add a few drops of dish soap to enhance its cleaning power.
Step 2: Apply and Let it Sit
Spray the mixture onto the grout lines and let it sit for about 10 minutes. The solution will soften the grease and grime, making it easier to clean.
Step 3: Wipe it Clean
Use a damp cloth to gently wipe down the grout lines. You’ll immediately notice a shinier and cleaner surface.
This method not only makes the grout look cleaner but also effectively removes grease, making your kitchen space more pleasant and comfortable.

Not only does this method make the grout look cleaner, but it also effectively removes grease, making your kitchen space more pleasant and comfortable.
Using Toilet Bowl Cleaner for Sparkling Grout
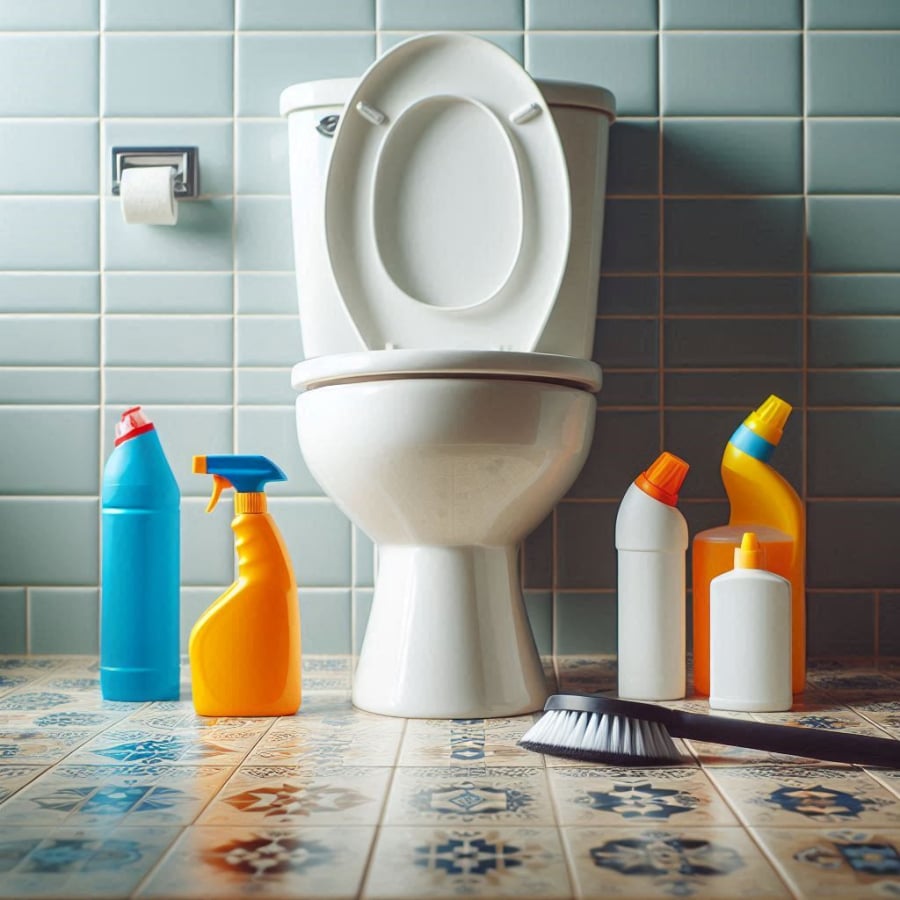
A simple toilet bowl cleaner can work wonders to make your grout lines look brand new and sparkling clean.
Step 1: Apply the Cleaner
Spray the toilet bowl cleaner directly onto the dirty grout lines in a straight line. Make sure the product is evenly distributed for maximum cleaning effect.
Step 2: Let it Sit and Wipe
Allow the cleaner to penetrate the grout lines for about 30 minutes. Then, use a damp cloth to wipe away the cleaning agent, removing grease and grime while leaving the grout shiny.
Step 3: Rinse and Protect
Remember to rinse with water to remove any residual cleaning agents on the walls and floor. This step not only protects the environment but also maintains a hygienic space after cleaning.

A simple toilet bowl cleaner can work wonders to make your grout lines look brand new and sparkling clean.
Cleaning Grout with Chlorine Bleach
When using chlorine bleach to clean grout lines, proceed with caution to avoid any unwanted consequences and to protect surrounding surfaces.
Step 1: Apply Undiluted Bleach
Apply undiluted chlorine bleach directly to the dirty grout lines. Be careful not to let the bleach come into contact with the entire floor surface, as it may damage it.
Step 2: Wait and Wipe
Let the bleach sit for a few minutes, then use a clean, dry cloth to wipe down the grout lines thoroughly. Make sure to wipe away any residual bleach and dirt.
Note:
– Avoid applying bleach to colored surfaces like carpets, curtains, or towels, as it may cause discoloration and damage.
– Always protect your eyes and skin when working with chlorine bleach, and ensure proper ventilation during the cleaning process.
The Ultimate Guide to Cleaning Your Blender: A Safe and Speedy Approach
As we embark on the task of cleaning our trusty blender, it’s important to exercise caution. The blades within are incredibly sharp, and one wrong move could result in a nasty cut. Safety must always come first when handling such equipment, so let’s approach this cleaning endeavor with care and precision.


