Add salt to the pot of boiling water for vegetables
Salt is one of the agents that helps increase the heat of the water, thus shortening the boiling time of the vegetables to the maximum. Therefore, the boiled morning glory is still evenly cooked, crispy and green without being mushy or turning red from overcooking. Moreover, adding salt to the boiled vegetables also helps enhance the flavor and appeal of your family’s boiled vegetable dish.
The appropriate amount of salt for boiling morning glory is about 1/2 – 1 small spoon of salt depending on the amount of water in the pot.

You should add salt to the water from the beginning and wait until the water is boiling before adding the morning glory. When the vegetables are cooked, remove them and soak them in a bowl of cold water to maintain their green color and ensure their crispness.
Add vinegar/lemon juice to the pot of boiling water for vegetables
When boiling morning glory, adding a little vinegar or lemon juice will make the boiled vegetable dish more vibrant and appetizing. Just using a little bit of vinegar/lemon juice helps preserve the color of the vegetables without affecting their original flavor.
The method is very simple, just add about 2 teaspoons of lemon juice or vinegar to the pot of boiling water for vegetables and let it boil. When the water is boiling, add the vegetables and remove them when they are cooked.

Boil the vegetables with submerged water
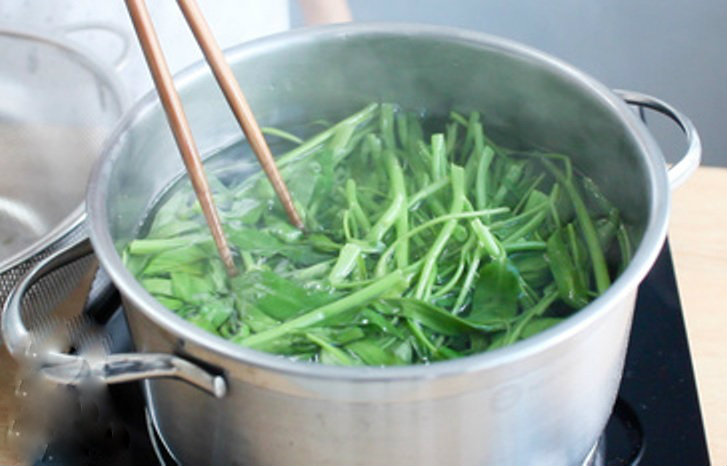
To keep the boiled morning glory green and crispy, it is necessary to submerge the vegetables in water. Boil the vegetables until they are properly cooked because if they are not fully cooked, the morning glory will turn black, and if overcooked, the boiled morning glory will turn yellowish.

Soak the vegetables in cold water after boiling
Prepare a bowl of cold water with ice (you can also add a few pieces of lemon peel to make the vegetables more fragrant) and soak the vegetables in this cold water immediately after boiling and soak until the water is no longer cold, then remove the vegetables to drain.
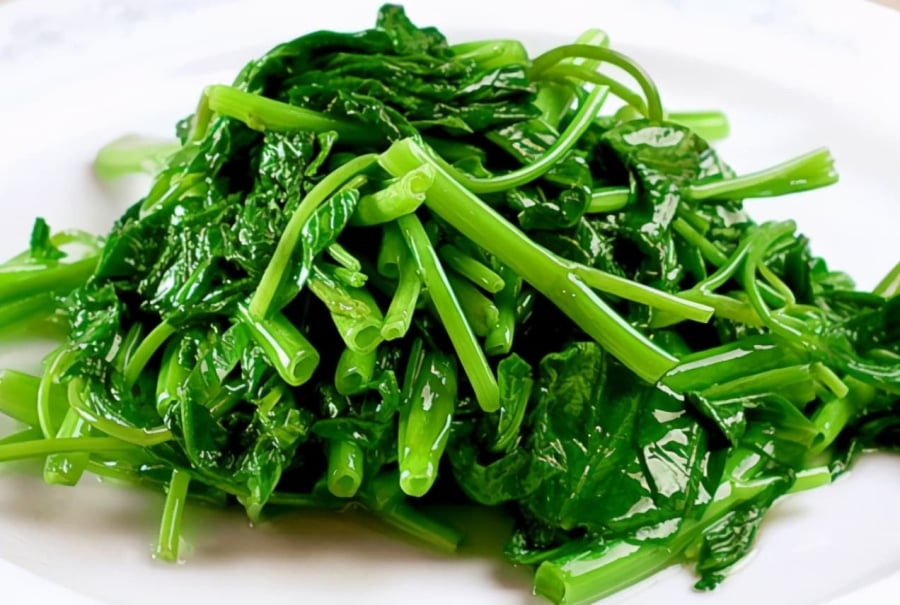
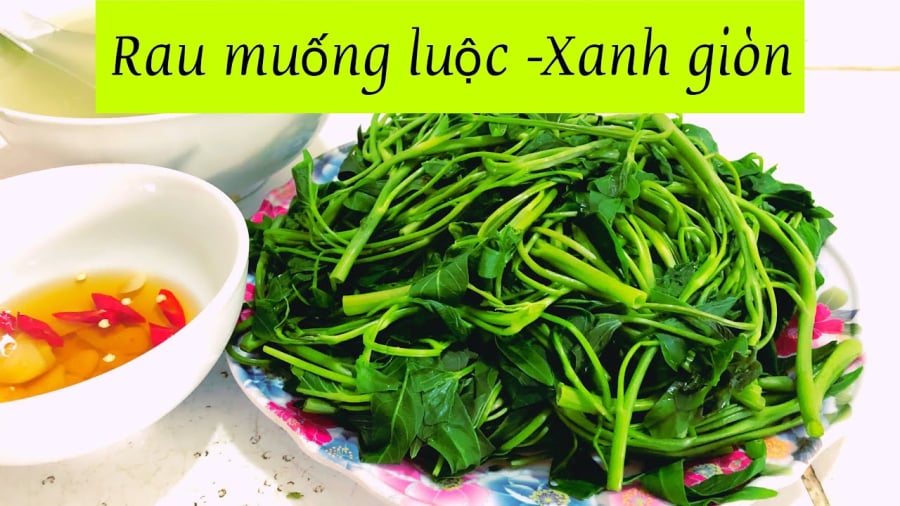
Above are some tips for boiling morning glory to help keep the dish fresh, crispy, and delicious.
The simplest method is to use plenty of water and less vegetables. This way, the water quickly reaches boiling point and cooks the vegetables quickly. If there are too many vegetables, the water takes longer to boil, resulting in the vegetables taking longer to cook and easily changing color. The reason why the vegetables turn red is that the prolonged boiling temperature causes polyphenols to oxidize and turn red, making the vegetables look unappetizing and not delicious.


