


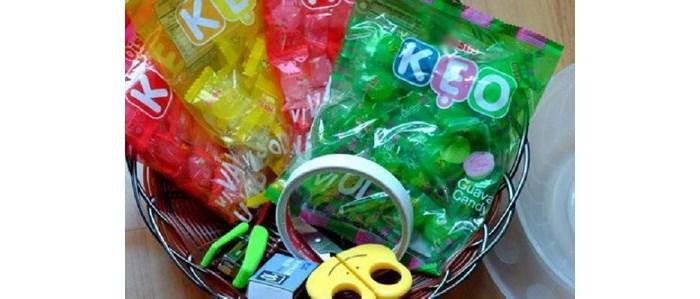
- 1 pack of Oishi lemon candy
- 2.5 packs of Oishi lychee candy
- 1.5 packs of Oishi guava candy
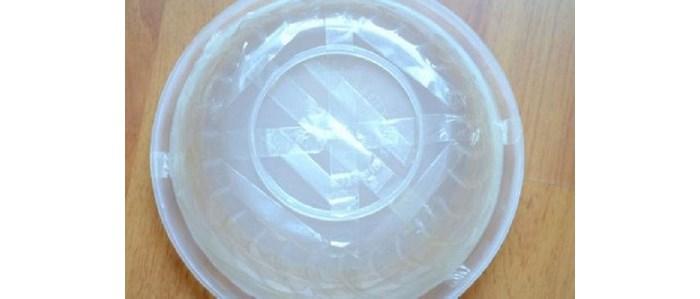
- 1 bowl or plastic bowl
- 1 plastic plate with a larger diameter than the plastic bowl
- 2 rolls of double-sided tape
- 1 small thumbtack
- 1 pair of scissors
- 1 roll of small width tape
The quantity of candy required will depend on the size of the flower and the diameter of the plastic bowl. You can substitute Oishi candy with your preferred candy, ensuring that they have similar colors!
Procedure for Creating a Lotus Flower with Oishi Candy
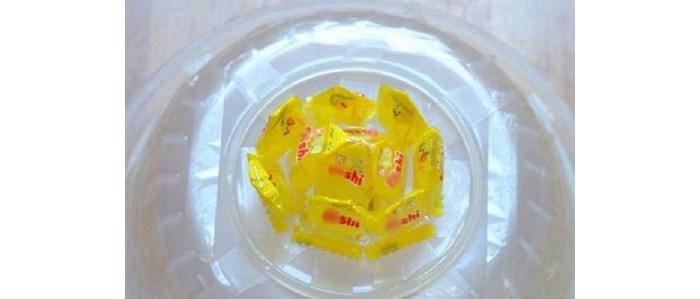
Begin by preparing the petals. Fold the end of each candy into a triangular shape, making sure to fold at the end with writing. Unfold the candy to display the word “Oishi” on all pieces. Secure the folded triangular part using a thumbtack. Repeat this process for all the candies.

Subsequently, arrange and attach each candy petal to the plastic bowl. Start by sticking a group of 4 yellow candies in the middle, forming the flower stamen. Add a second circle of yellow candies around the center to enhance the stamen.
Proceed to attach red candies around the yellow stamen to form the lotus petals. When attaching, ensure that each layer overlaps the previous one, using small tape to wrap the candy stems after each layer. This will promote better adhesion between the candies and enhance the appearance of the flower bouquet.
Tips for wearing high heels all day without foot pain

High heels are always a favorite fashion accessory for women. However, wearing high heels all day without experiencing any foot pain is not an easy task. Below are some simple tips to help ladies conquer this worry.


