-
Cleaning with a brush
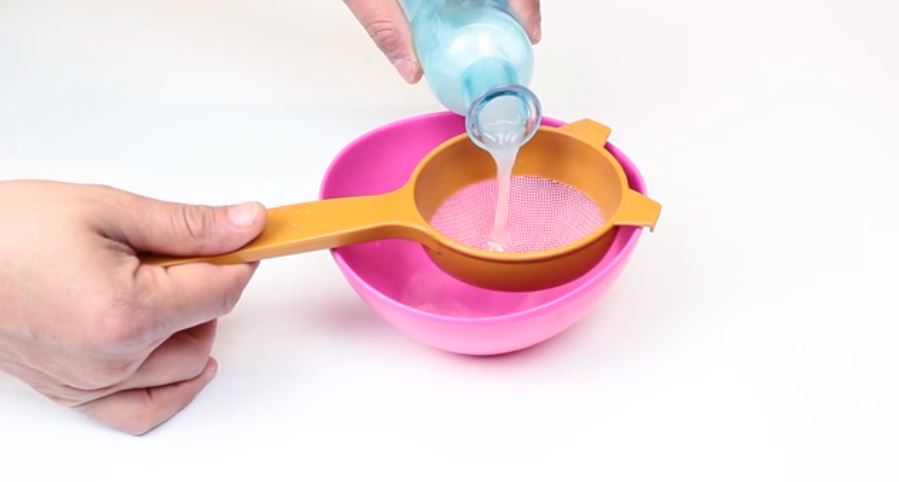
Step 1: Pour a small amount of dish detergent into a bottle and fill it halfway with warm or cold water. If the bottle has accessories, remove them for easy cleaning. Avoid soaking the bottle in the sink to prevent bacteria from entering. If soaking is necessary, use a separate basin.
Step 2: Insert a brush into the bottle and scrub the inside, making sure to reach the bottom. Ensure the brush fits snugly into the bottle mouth.
Step 3: Rinse the bottle thoroughly with water, repeating the process if necessary to remove all soap residue.
Step 4: Allow the bottle to air dry by placing it mouth down on a dry cloth or drying rack. Do not use a towel to wipe the inside, as it can introduce bacteria or germs.

-
Cleaning with stones or rice
Step 1: Place stones or uncooked rice into the bottle. Choose small stones or any type of uncooked rice.
- This method is suitable for bottles with unique shapes to clean hard-to-reach corners.
- Ensure the stones are not sharp to avoid scratching the inside of the bottle. Use rice as an alternative if unsure.
Step 2: Add a small amount of dish soap to the bottle. Dishwashing soap is sufficient for mildly dirty bottles.
Step 3: Pour warm water into the bottle, approximately one-third full. Hot water is ideal for removing residue.
Step 4: Shake the bottle vigorously, covering the mouth with your hand to prevent spills. Shake the bottle horizontally and vertically.
Step 5: Empty the mixture from the bottle, checking for any remaining stones or rice. Repeat the steps if needed, avoiding pouring stones or rice down the drain to prevent clogging.
Step 6: Rinse the bottle with clean water, repeating multiple times for thorough cleaning. If using the bottle for drinking water, wash it with antibacterial dish soap and dry by placing the mouth down on a dry cloth or drying rack. Avoid using a towel to wipe the inside, as it can introduce bacteria or germs.
-
Cleaning with vinegar and salt
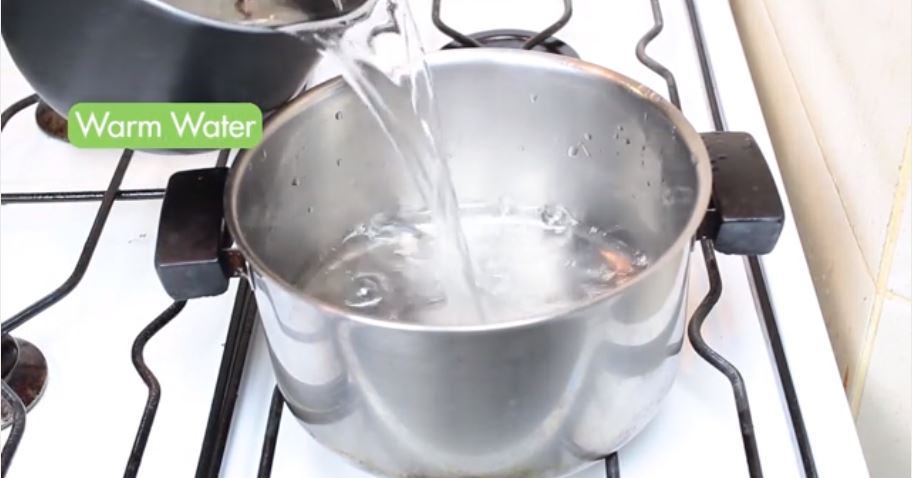
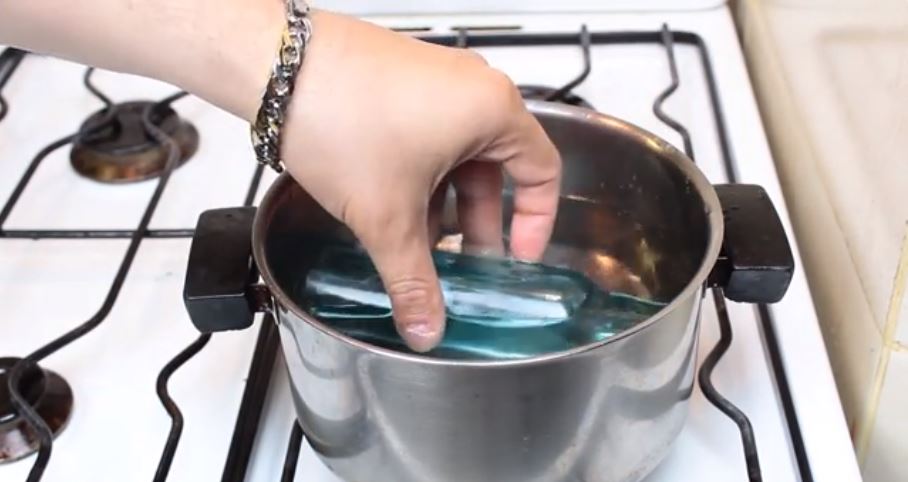
Step 1: Pour warm water into a pot, filling it halfway. Do not fill it completely to avoid overflow when the bottle is added (recommended for glass bottles only, as plastic bottles may warp).
Step 2: Add approximately 1 tablespoon of vinegar to the pot and stir well.
Step 3: Place the bottle in the pot, ensuring it is filled with water beforehand to prevent floating.
Step 4: Heat the pot on the stove, ensuring the solution does not boil. Moderate heat helps vinegar clean the bottle effectively.
Step 5: Allow the bottle to soak overnight with the stove turned off. This enhances vinegar’s ability to remove stubborn stains.
Step 6: Remove the bottle from the pot and empty the water.
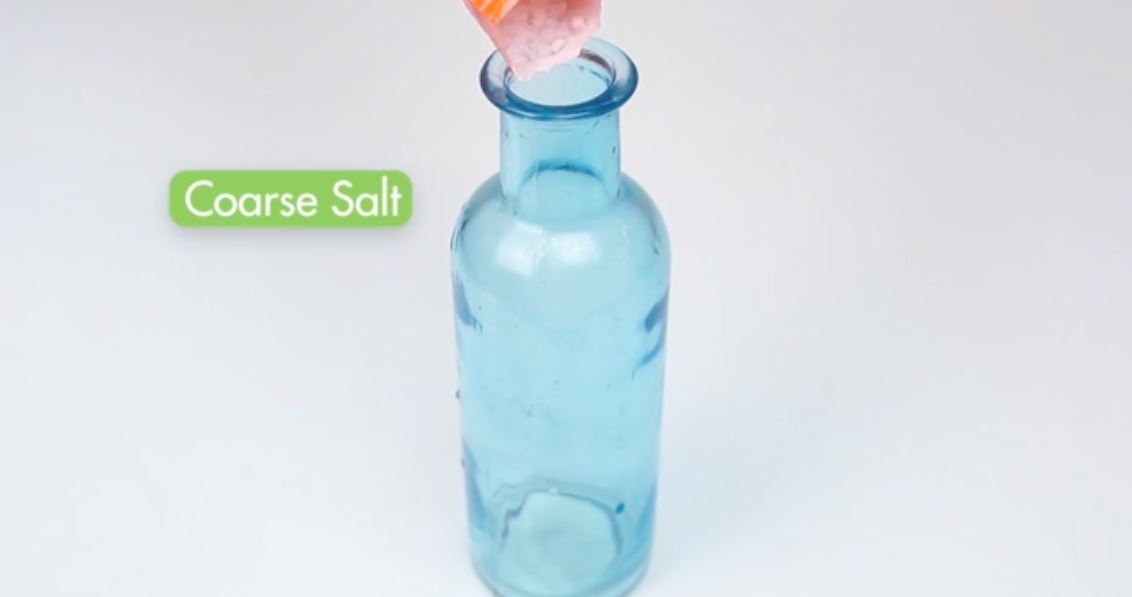
Step 7: Add 10g or 20g of coarse salt to the bottle.
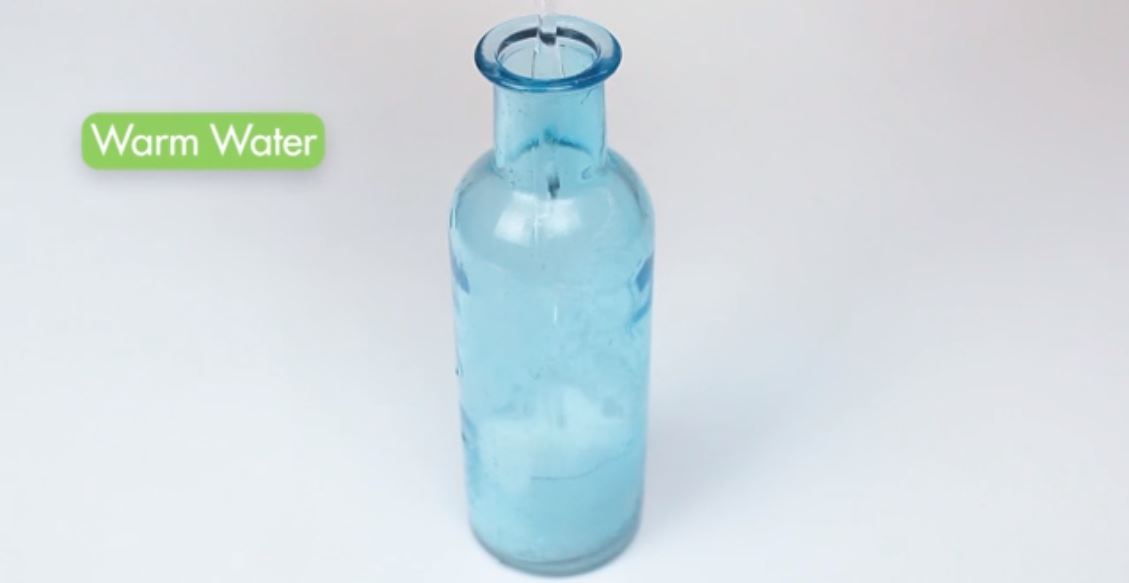
Step 8: Fill the bottle with a small amount of warm water.
Step 9: Shake the bottle vigorously, covering the mouth with your hand to prevent spills. Shake the bottle horizontally and vertically.
Step 10: Rinse the bottle with water, paying special attention to clean the bottle mouth using antibacterial dish soap or cleaning agents.
Step 11: Let the bottle air dry by placing it mouth down on a dry cloth or drying rack. Avoid using a towel to wipe the inside, as it can introduce bacteria or germs.
-
Cleaning with Alka-Seltzer acid reducer tablets
Step 1: Fill the bottle halfway with water. Do not fill it completely to avoid overflow when the tablets dissolve.
Step 2: Drop 1 or 2 Alka-Seltzer tablets into the bottle.
Step 4: Rinse the bottle with warm water, washing it multiple times to ensure thorough cleaning.
Step 5: Let the bottle air dry by placing it mouth down on a dry cloth or drying rack. Avoid using a towel to wipe the inside, as it can introduce bacteria or germs.
Conclusion
These are various methods for cleaning bottles at home. Choose the appropriate method based on your bottle type and cleanliness needs. Remember to thoroughly rinse the bottles with water and air dry them to ensure proper cleanliness.


