


Pickled Spring Onions – A Traditional Vietnamese Dish

1 Choosing the Best Spring Onions
For this recipe, I used 1kg of spring onions, specifically Hue spring onions (also known as cinnamon spring onions). These onions have larger bulbs, more roots, slender leaves, rounded stems with a distinct waist, and a tail that connects to the stem. They have a strong, pungent flavor.
Using Hue spring onions will result in a more fragrant and crisp pickle compared to buffalo spring onions, which have a thinner shape and a longer stem without the distinct waist of the Hue variety.
Additionally, choose spring onions that are moderately sized, evenly white, fresh and green, and free from scratches, bruises, or dents.

2 How to Make Delicious Pickled Spring Onions
Step 1 Prepare the Spring Onions
Soak the spring onions in water for at least 8 hours to clean them thoroughly and reduce their pungency.
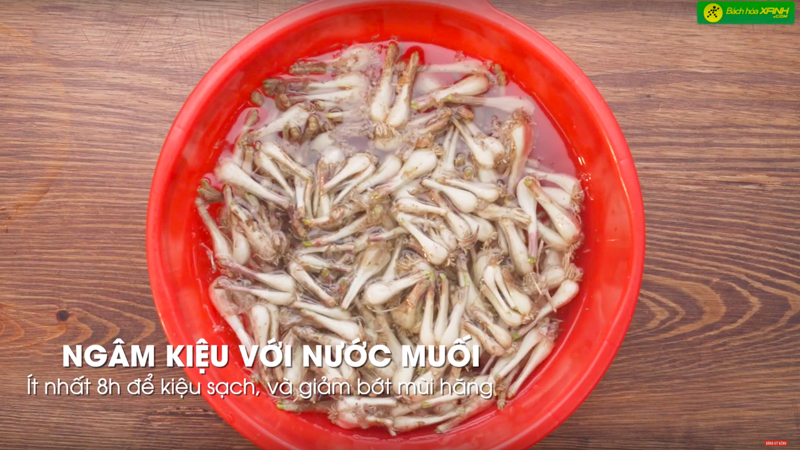 Soak the spring onions in salted water
After soaking, rinse the spring onions thoroughly with clean water several times.
Next, prepare a basin of water with a chunk of alum and soak the spring onions in it for at least another 4 hours. This step will help keep the pickled spring onions crisp, white, and suitable for long-term storage.
 Soak the spring onions in alum water
Now, it’s time to peel the spring onions. Trim the roots first, being careful not to cut into the flesh of the onion, as this will make the pickled onions soft. Then, cut off the stems, again being mindful not to cut too deeply.
Finally, peel off the outer layer of the spring onions. By now, it should be soft and easy to remove. This method makes peeling a large quantity of spring onions quick and effortless. Once peeled, rinse the spring onions thoroughly under running water.
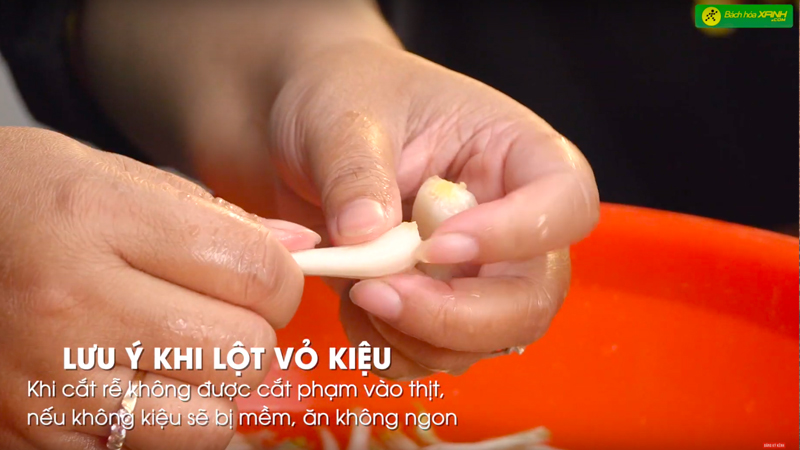 Important notes when peeling spring onions
Step 2 Sun-Drying
After rinsing the spring onions, spread them out on a tray and sun-dry them in a shaded area for about 4-5 hours until they are slightly wilted. Avoid direct sunlight, as it can burn the outer layer of the onions and reduce the water content, affecting the taste and texture of the pickles. Remember to cover the tray with a fine mesh or cloth to keep dust and insects away.
 Sun-drying the spring onions
Step 3 Sugar Marinade
In a bowl, create layers of spring onions and sugar, starting with a layer of onions, followed by a layer of sugar. Repeat this process until all the onions are used up. Then, cover the bowl with plastic wrap and let it sit until the sugar dissolves.
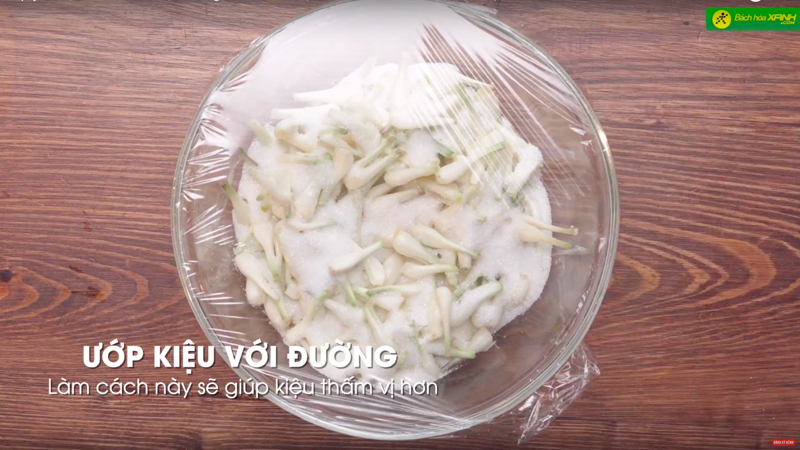 Layering spring onions and sugar
Usually, I would boil vinegar and sugar together and then soak the spring onions in this mixture. However, I recently learned a trick from a colleague that takes this recipe to the next level.
Once the sugar has dissolved, remove the spring onions and set them aside. We will use the sugary liquid to make the pickling brine.
Step 4 Making the Vinegar Brine
In a pot, combine 325ml of good-quality vinegar (preferably naturally brewed vinegar) with 275ml of the sugary liquid from the previous step and 300g of sugar. Stir and heat the mixture until everything is dissolved. Then, turn off the heat and let it cool down completely.
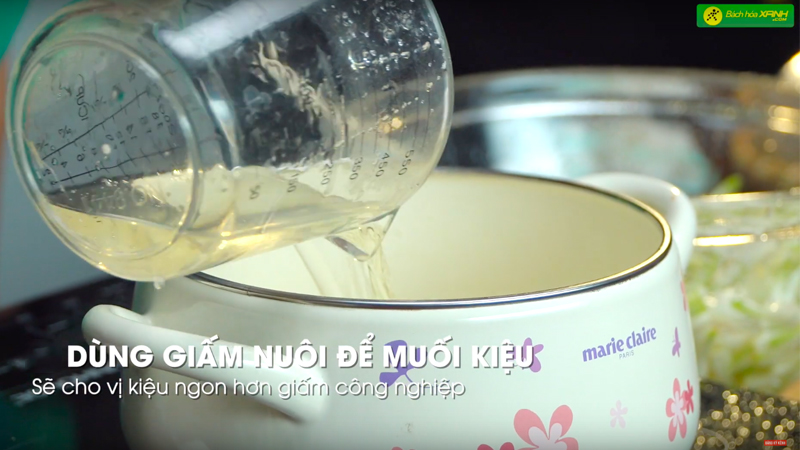 Making the vinegar brine
Step 5 Pickling the Spring Onions
 Pickling the spring onions
Finally, arrange the spring onions in layers in a glass jar and pour the pickling brine over them. Seal the jar tightly and let it sit for about 2-3 days before enjoying your homemade pickled spring onions.
3 The Final Product
This method produces spring onion pickles that are not only quick and easy to make but also crisp, flavorful, and suitable for long-term storage. By following these steps carefully, you can be sure that your homemade pickles will turn out perfectly every time.
 The final product
I hope these tips will help you create delicious pickled spring onions for your family this Tet holiday. Don’t hesitate to give it a try!
Fresh and Crispy Asian Kale Salad with a Twist

Cải chíp, a nutritious vegetable, is often dismissed by many for its bland taste. However, when combined with these ingredients, the dish becomes incredibly enticing.
Simple tips for growing scallions on your balcony: Abundant leaves, eat for a month without running out

By knowing this simple trick of growing onions on the balcony, your onions will grow fast and healthy, giving you an abundant supply to enjoy throughout the winter season.
The Ultimate Guide to Peeling Kiệu (Asian Shallots) and How to Create a Crisp, White, and Delicious Pickle
 and How to Create a Crisp, White, and Delicious Pickle")
For Tet, pickled onions are a must-have side dish to enjoy with the traditional meat and egg stew. Learn how to select the best onions and master the art of pickling them to perfection in the article below.


