


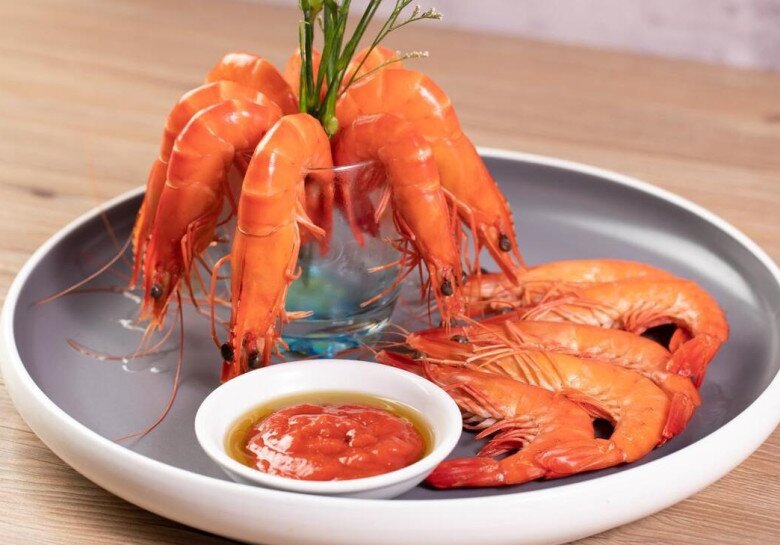
Shrimp is an excellent source of high-quality protein, low in fat and cholesterol, making it an ideal choice for a healthy diet. It’s also packed with vitamins B12, D, and E, as well as minerals like zinc, magnesium, and phosphorus. Boiling shrimp retains its natural sweetness and freshness, making it a perfect option for those conscious about their health and growing children.
However, not everyone knows the right way to boil shrimp to perfection. Some people use boiling water, which results in rubbery shrimp with a lingering fishy odor. These issues can be attributed to overlooking small but crucial details during preparation.
Here are some tips to help you master the art of boiling shrimp:
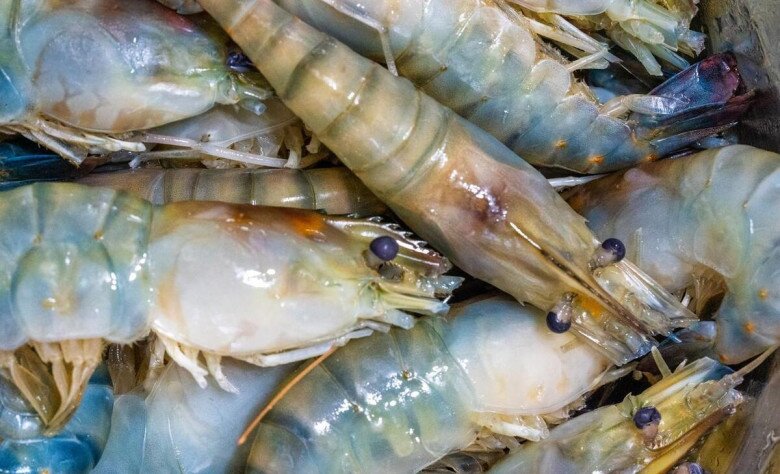
1. Selecting and Preparing Shrimp
For fresh shrimp: Once you’ve purchased fresh shrimp, place them in the freezer for about 30 minutes to induce a “deep sleep,” making it easier to handle and clean them without the hassle of them jumping around.
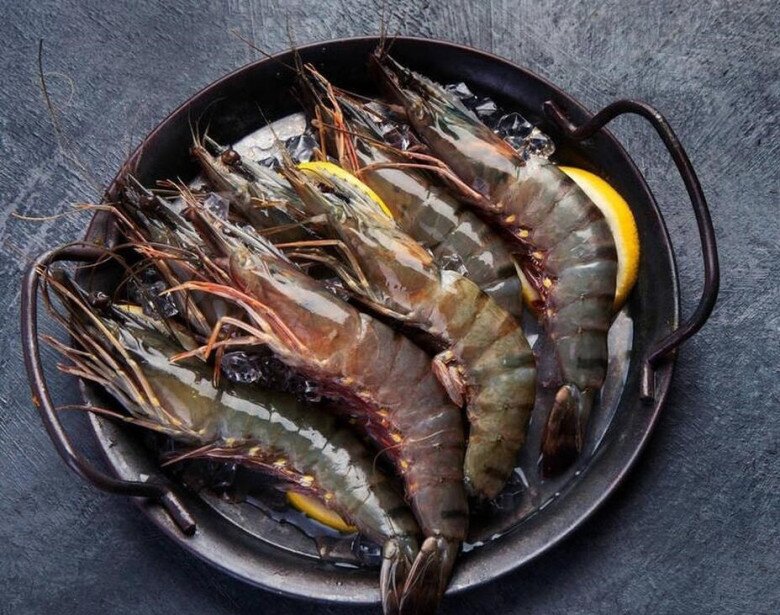
For frozen shrimp:
– When buying frozen shrimp, carefully examine if the shell is tightly adhered to the meat. Gaps indicate that the shrimp has been frozen for a long time.
– Avoid shrimp with an odd fishy smell.
– Steer clear of shrimp that are completely straight and rigid, as this indicates they were dead before freezing.
– Thick layers of ice on the shrimp will result in significant weight loss upon thawing.
2. Cleaning and Deveining Shrimp
For fresh shrimp: After chilling, gently separate the head from the body. Squeeze the head to remove the green (hepatic pancreas) and yellow (stomach) substances, which will also help pull out the vein. Removing the vein reduces the fishy taste and enhances the overall flavor.
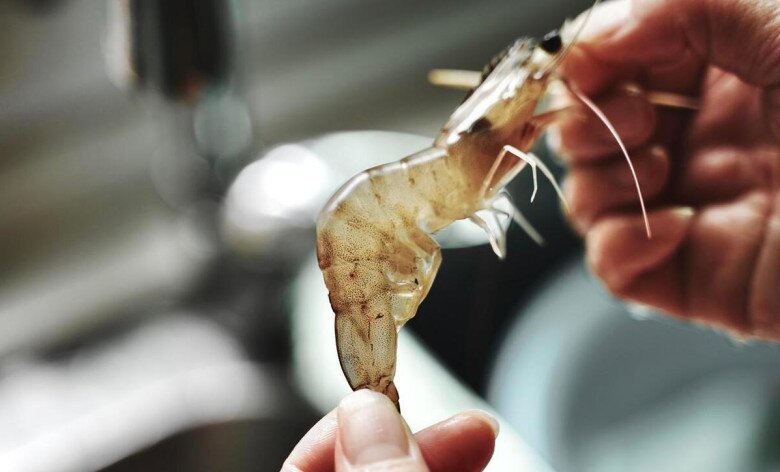
For frozen shrimp: The organs of frozen shrimp tend to lose their elasticity, making it challenging to remove the vein intact. It’s best to slit the back of the shrimp to ensure thorough cleaning.
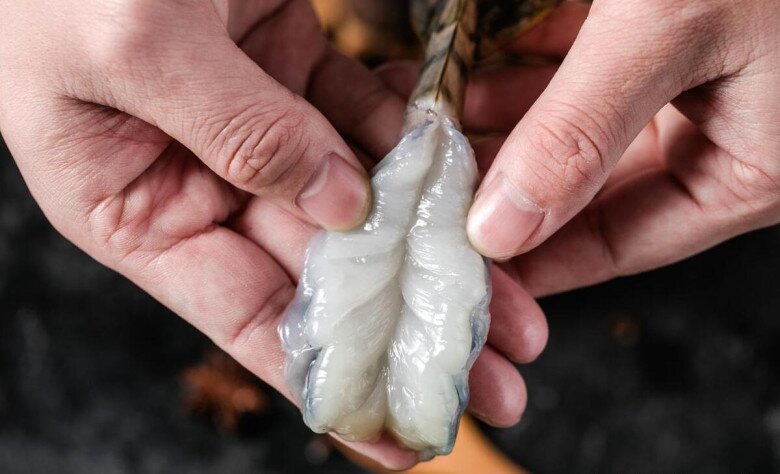
If you wish to extract the meat from the shell (for shrimp cocktail, for example): Freeze the shrimp for an hour to slightly harden them.
Separate the head from the body, then squeeze from the bottom up, similar to squeezing a tube of toothpaste. This technique quickly pushes the meat out of the shell while also removing the vein.
3. Odor Removal and Pre-Boil Cleaning
After deveining, you can trim the shrimp’s whiskers and place them in a bowl with 2 teaspoons each of salt and baking soda. Gently massage the shrimp to remove any slime, then rinse them under running water.
4. Boiling Shrimp: Avoid Using Boiling Water
Many people wait for the water to boil before adding shrimp, but this method causes the shells to cook faster than the meat. As a result, the shrimp becomes rubbery, retains a fishy odor, and may contain impurities. The correct way is to start with cold water and gradually increase the temperature. This technique, similar to blanching meat, ensures that impurities are expelled from the shrimp.
5. Detailed Boiling Instructions
Line the bottom of the pot with ginger, scallions, and a few peppercorns. Add about 250ml of water (just enough to cover the aromatics), along with 1 gram of baking soda and a splash of white wine.
Arrange the shrimp in a single layer, avoiding stacking them. Cover the pot and turn on the heat to high.
Do not add salt to the boiling water, as it causes the shrimp’s protein to coagulate, resulting in tough and dry meat.
Once the water reaches a rolling boil, cook the shrimp for approximately 5 minutes, depending on their size. To determine doneness, observe their shape:
– C-shaped: Perfectly cooked.
– O-shaped: Overcooked and rubbery.
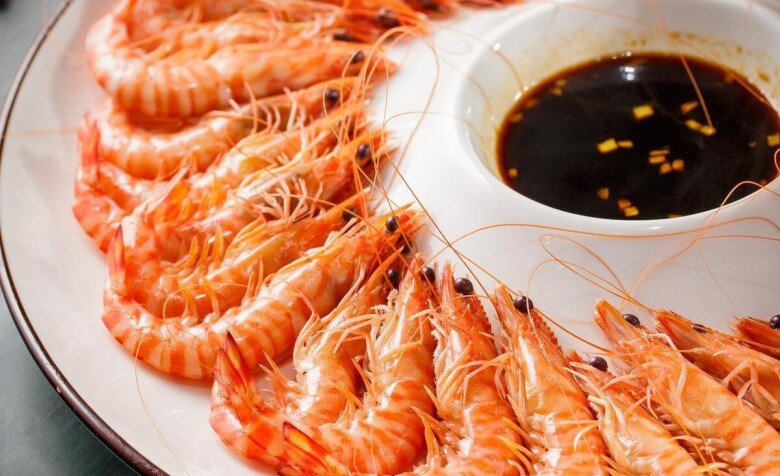
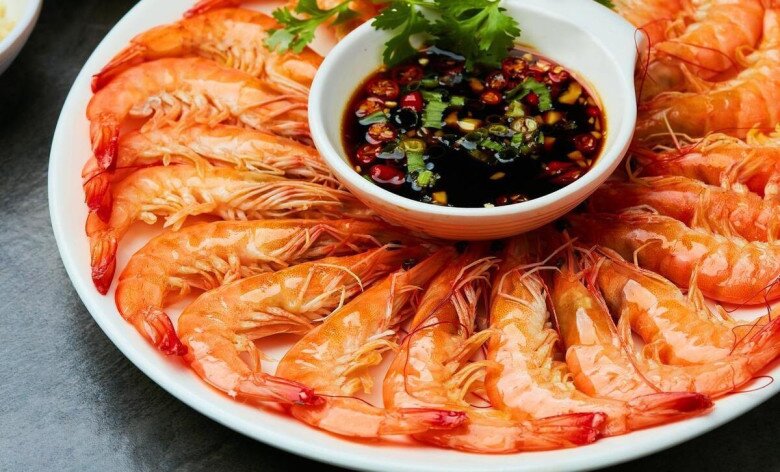
6. The Ultimate Dipping Sauce
Combine chili powder, white pepper powder, and sesame seeds, then drizzle hot oil over the mixture to unlock its aroma. Add chopped scallions, cilantro, garlic, soy sauce, and rice vinegar to create a mouthwatering dip that’s both spicy and tangy.
This sauce pairs exceptionally well with boiled shrimp, eliminating any fishy odor.
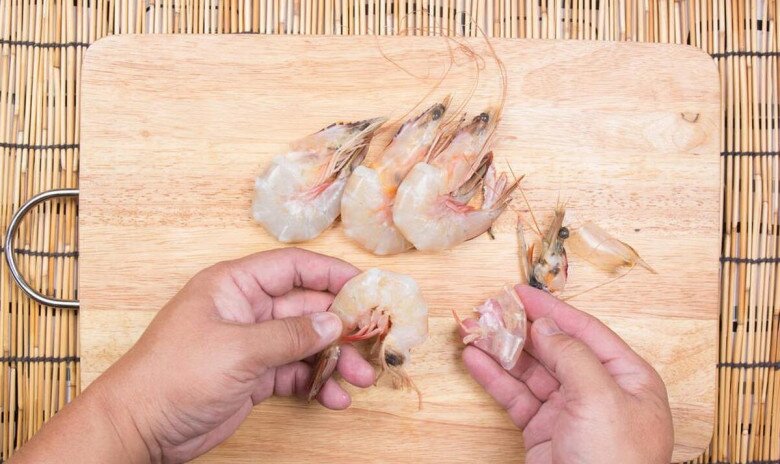
7. Quick Shrimp Peeling Technique
Instead of peeling each shrimp individually, start by separating the head from the body. Identify the area between the second and third segments, then pull the shell upwards from the top and downwards from the bottom. This method allows you to peel a shrimp in just one second, leaving it perfectly intact.
With these tips, you’re now equipped to prepare boiled shrimp that’s fresh, delicious, and free from rubberiness and fishy odors!
The Ultimate Guide to Cooking Crispy Fried Shrimp: A Tasty Treat

The ultimate guide to cooking crispy and delicious fried shrimp, a restaurant-worthy dish that will impress anyone.
“The Ultimate Guide to Making Delicious Seafood Spring Rolls at Home”

The following seafood nem recipe will tantalize your taste buds and leave you wanting more.
How to Boil Shrimp: Hot or Cold Water for the Sweetest Meat?

The temperature of the water does play a role in determining the taste and texture of boiled shrimp. It is a little-known fact that the water temperature can make a significant difference in the final dish, and many home cooks are unsure whether to use hot or cold water for boiling shrimp.
The Secret to Crispy Shrimp: Avoid This Liquid to Prevent Soggy Shrimp and Preserve Their Delicious Flavor

Shrimp stir-frying may seem simple, but one tiny mistake can ruin the dish’s signature crispness and aroma. There’s a common liquid ingredient that people often add during stir-frying, which results in soggy shrimp with shells that lose their desirable crunch. Steer clear of this blunder if you want to perfect the art of stir-fried shrimp and achieve that mouthwatering crunch with every bite.
The Secret to Perfectly Boiled Shrimp: Add This Magic Ingredient for a Delicious, Succulent Treat!

Discover the ultimate way to boil shrimp with lemongrass that will leave them perfectly cooked, a vibrant red, and tantalizingly delicious!


