


")


Most bathroom faucets with two handles are cartridge-style faucets. Each faucet handle (hot and cold) has its own cartridge, a rotating valve that controls the flow of water into the faucet. If you have a very old two-handled faucet, it may be a compression-style rather than a cartridge. You’ll recognize this when you remove the handle, as cartridges are usually made of plastic and held in place with a metal retaining nut, while compression faucets typically have a metal stem with a flat rubber washer at the bottom.
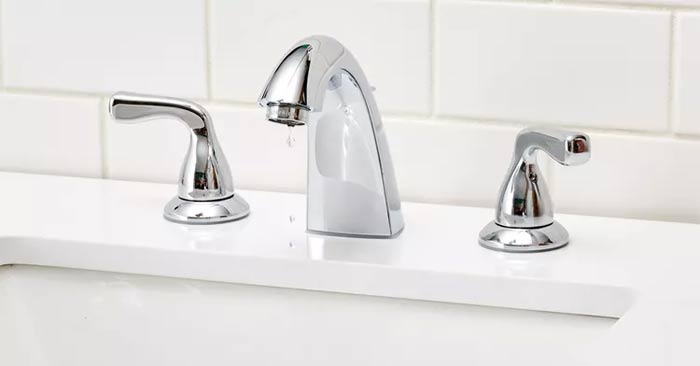
If your two-handled faucet is leaking, feel the water to determine if the problem is coming from the cold or hot side. You only need to replace the cartridge on the leaking side. However, the problem sometimes originates from both sides.
How to Fix a Leaky Faucet
Before You Begin
Look underneath the sink to find the shut-off valves on the water supply lines of the faucet. Most shut-off valves have small oval or circular handles. Turn off the valve for the faucet you will be working on by turning the handle clockwise until it stops. If the shut-off valve has a lever instead of a knob, turn the lever until it is perpendicular to the water line (pointing toward the flow of water).
If your home doesn’t have shut-off valves under the sink, turn off the main water supply to the house at the main shut-off valve. After turning off the water, turn on the faucet all the way to release any pressure in the lines and let the water drain out.
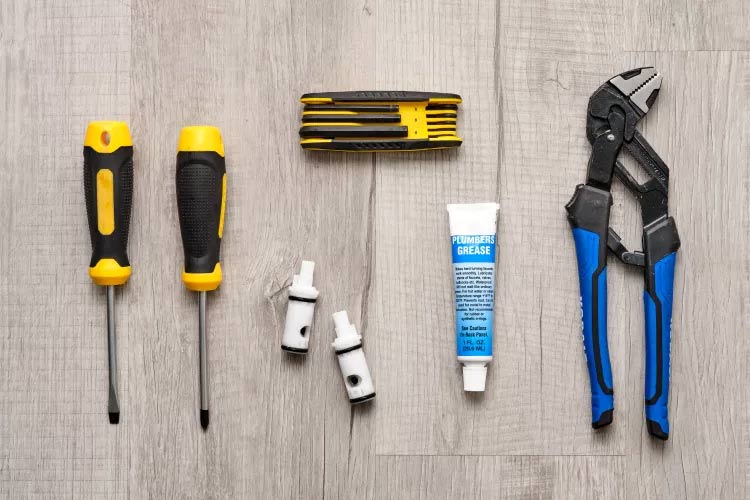
Tools You’ll Need
- Flathead and Phillips screwdrivers
- Hex key or wrench
- Pipe wrench or tongue-and-groove pliers
- Replacement cartridge
- Pipe thread sealant or plumber’s grease
Step-by-Step Guide
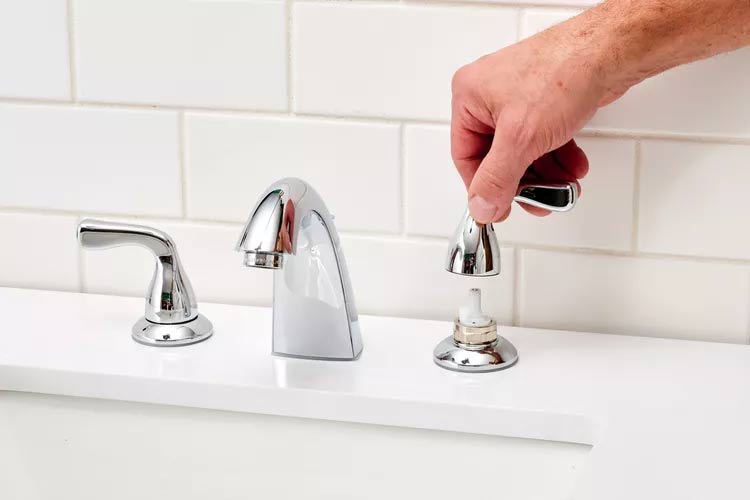
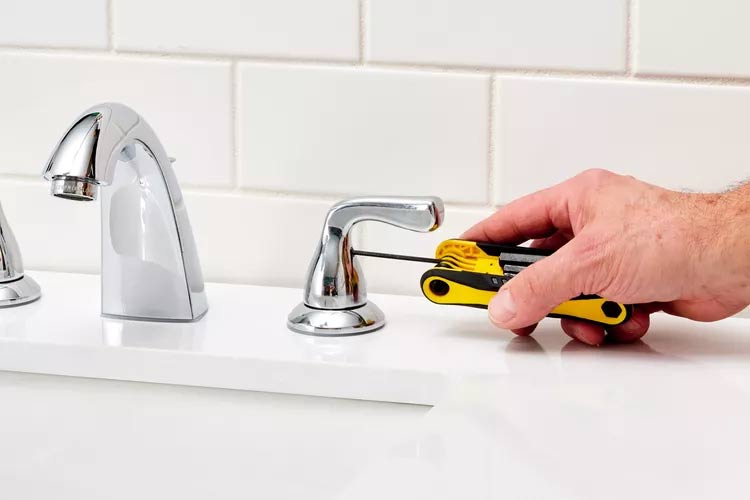
Step 1: Remove the Faucet Handle
Examine the faucet handle to determine how it is attached. Some handles have a screw on the side or back. Others have a decorative cap (usually plastic) that covers a screw holding the handle in place. Your faucet may also have a removable lever that, when removed, allows access to the screw securing the handle to the faucet body.
If the faucet has a decorative cap, pry it off with a small flathead screwdriver, then remove the handle screw with a Phillips screwdriver. If the faucet has a side screw, use a hex key to remove the screw.
Pull the handle straight up to remove it from the faucet body.
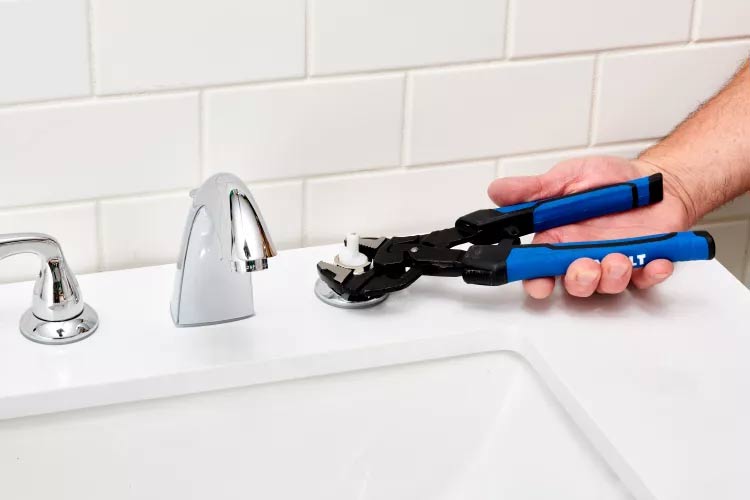
Step 2: Remove the Retaining Nut
Loosen the retaining nut that holds the cartridge in place with a pipe wrench or tongue-and-groove pliers. Turn the nut counterclockwise and unscrew it completely, then remove it from the faucet body.
Note the brass screw at the top of the faucet, if present. Its purpose is to secure the cartridge stem when the retaining nut is tightened onto the faucet body. You may need to remove this old screw and reinstall it on the new cartridge, as not all replacement cartridges come with a new screw.
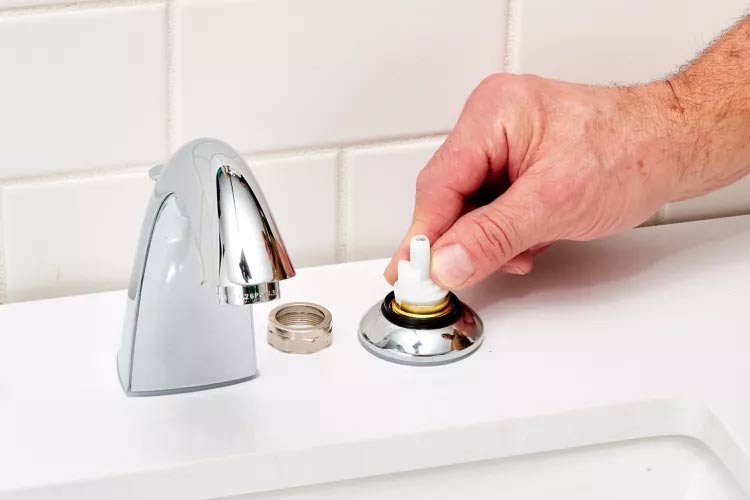
Step 3: Remove the Old Cartridge
Note the orientation of the old cartridge. You must install the new cartridge in the same way. Most cartridges have one or two notches that align with grooves in the faucet body.
Pull the cartridge straight up to remove it from the faucet body. If necessary, use tongue-and-groove pliers to grip the stem at the top of the cartridge and pull it out.
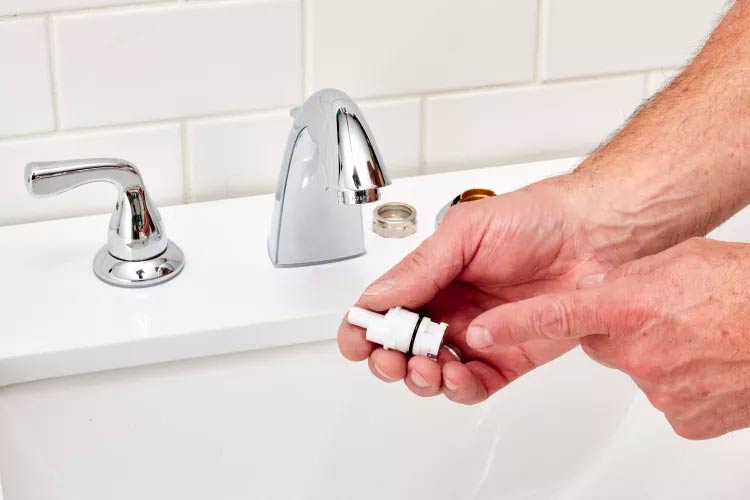
Step 4: Purchase a Replacement Cartridge
Take the old cartridge to a hardware store or home improvement center to find a matching replacement. The new cartridge should include a new set of O-rings for the cartridge. You can also purchase pipe thread sealant or plumber’s grease, if desired. This will help seat the cartridge into the faucet body and is especially useful if the old faucet was difficult to remove.
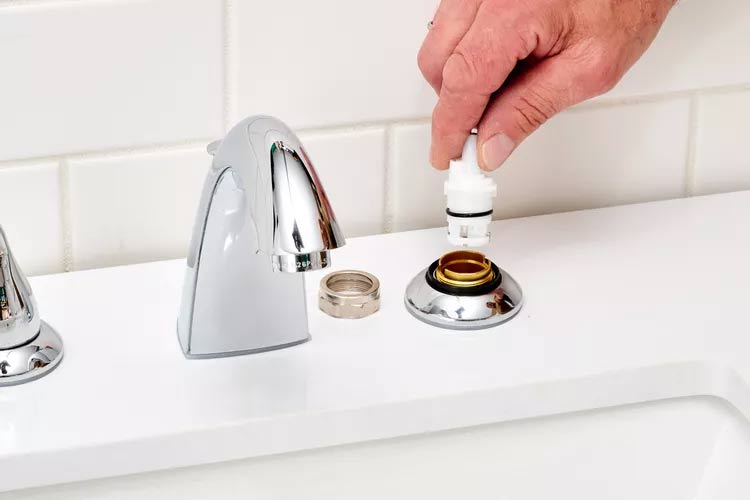
Step 5: Install the New Cartridge
If necessary, tighten the small brass screw at the top of the faucet stem. If using pipe thread sealant or plumber’s grease, apply a small amount to the O-rings on the new cartridge with your finger.
Insert the new cartridge into the faucet body in the same orientation as the old cartridge, aligning the notches on the cartridge with the grooves in the faucet body. Push the cartridge in as far as it will go.
Step 6: Reassemble the Faucet
Tighten the retaining nut by hand, then use a wrench or pliers to carefully tighten it further. Do not overtighten. Reinstall the faucet handle and the securing screw or Phillips screw, as well as the decorative cap, if applicable.
Turn on the shut-off valve by turning it counterclockwise all the way. Check if the faucet is working properly.
6 Common Feng Shui Mistakes in the Kitchen That Drain Wealth and Luck

There are numerous Feng Shui mistakes that people often make in their kitchens without even realizing it. Let’s uncover and explore these common Feng Shui pitfalls and discover ways to create a harmonious and positive energy flow in the heart of your home.


