


1. Create a Christmas Tree from Dry Branches
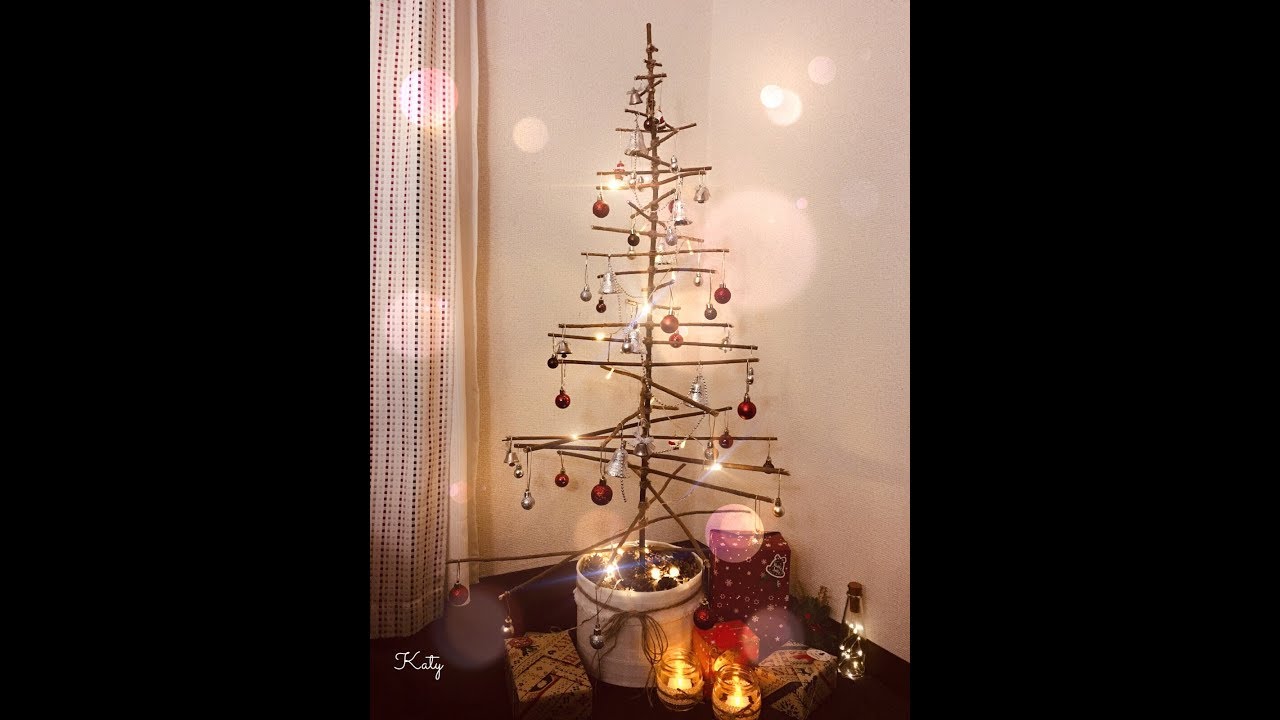
- Step 1: Select wooden sticks of varying lengths, so that when arranged, they form the shape of a Christmas tree.
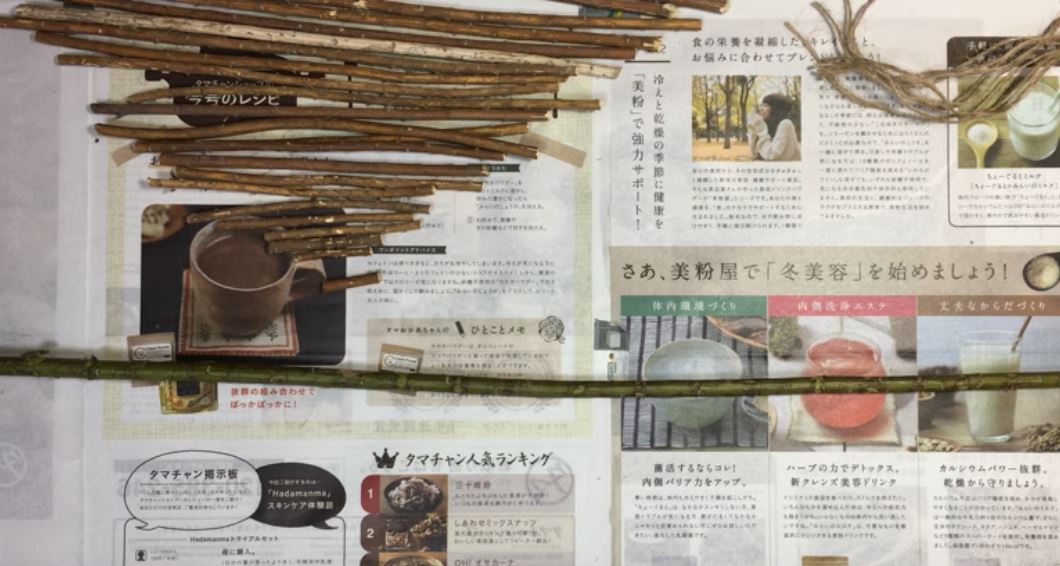
- Step 2: Place the sticks parallel and close to each other, then tie them together with twine or rope.
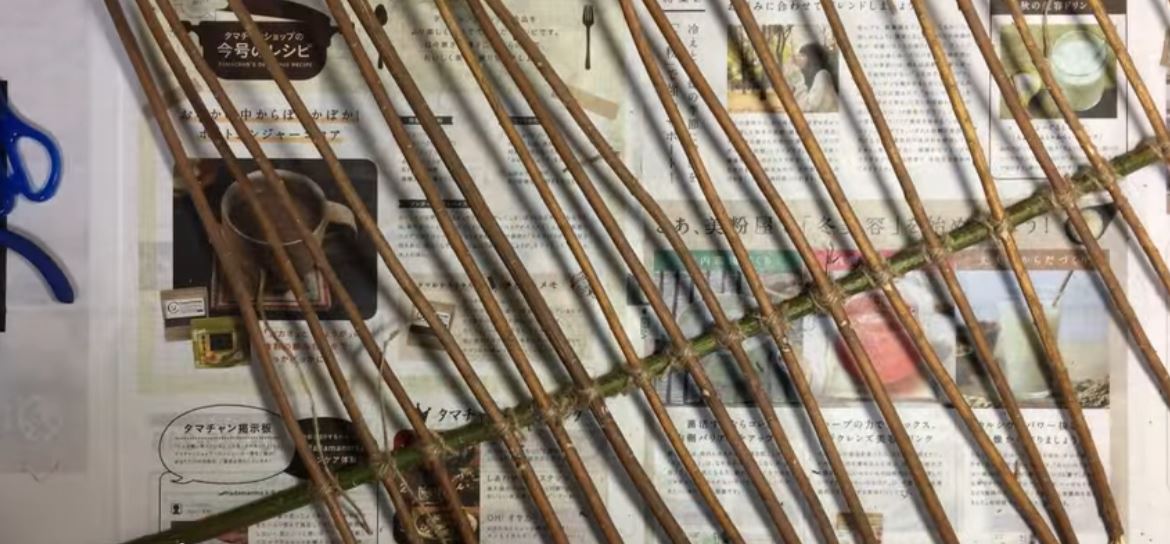
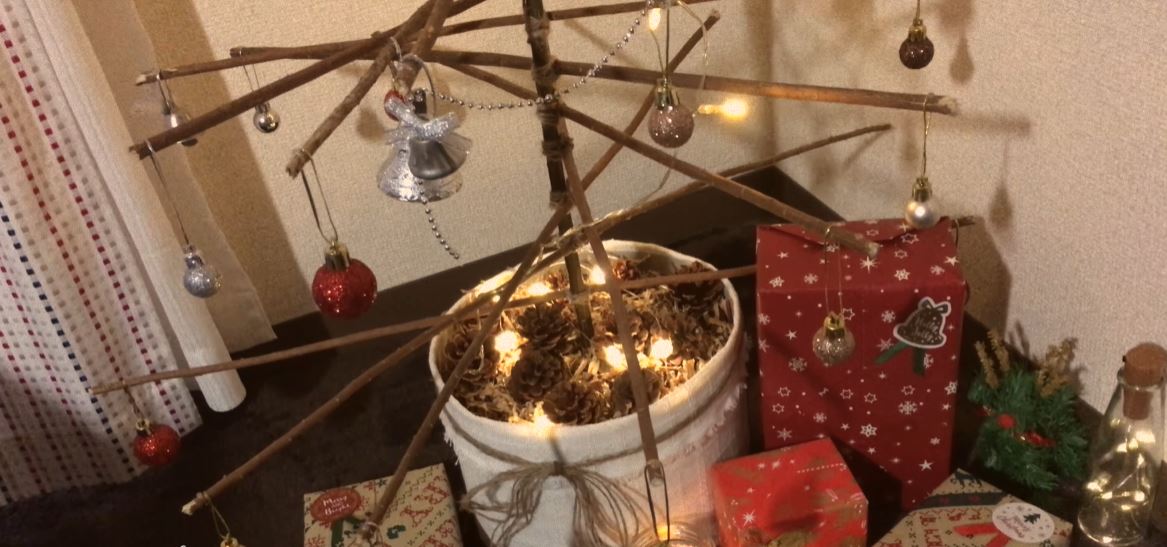
- Step 3: You can shape the tree by rotating the bound sticks, and finally, add lights and decorations.
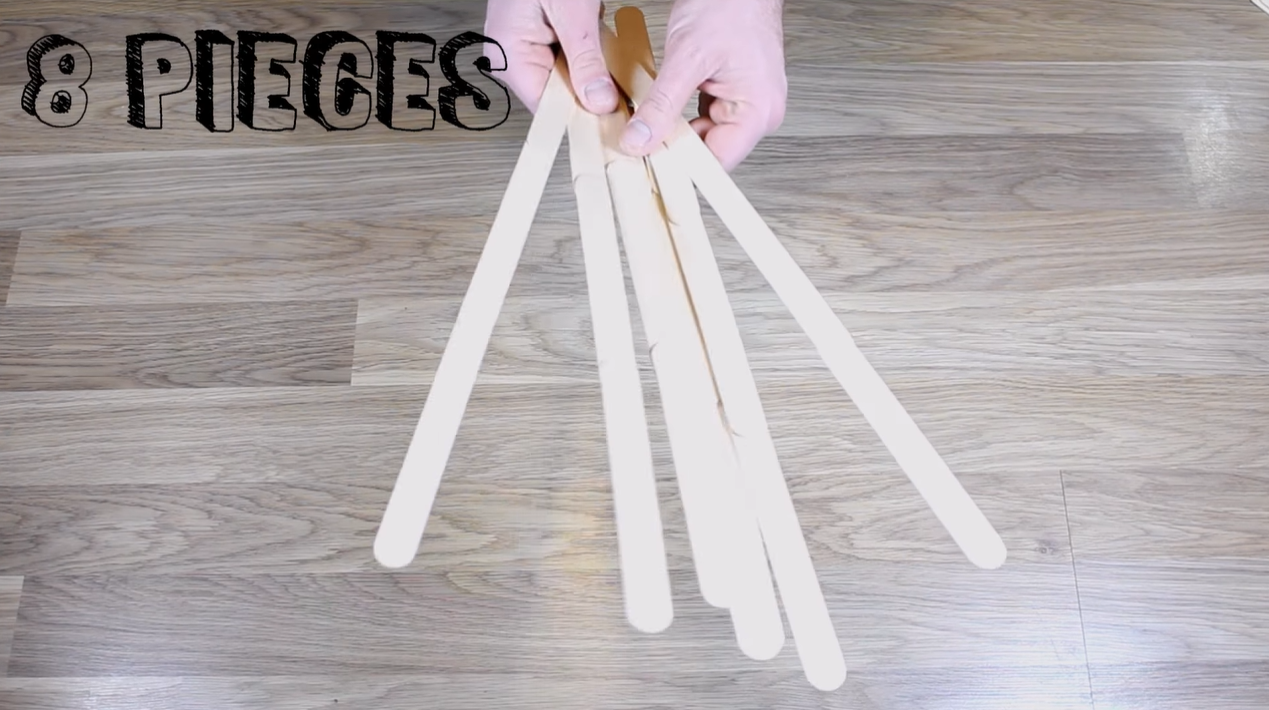
2Make Snowflakes from Ice Cream Sticks

You will need ice cream sticks or tongue depressors (available at pharmacies), glue, and paint if desired. Check out the video tutorial below to get started.
Step 1: Use a glue gun to join 3 ice cream sticks in a straight line, and make 8 similar lines.
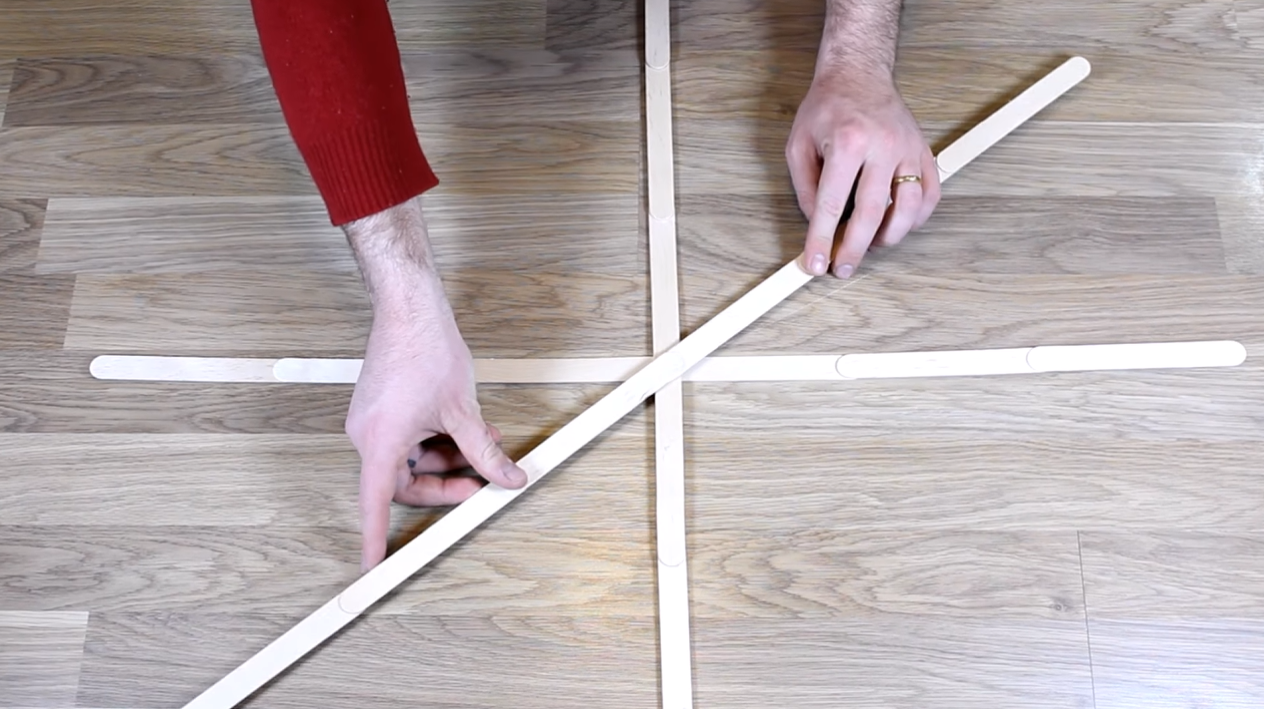
Step 2: Use 2 long sticks and glue them on top of each other and perpendicular to each other. Place them in a crisscross pattern and space them evenly.
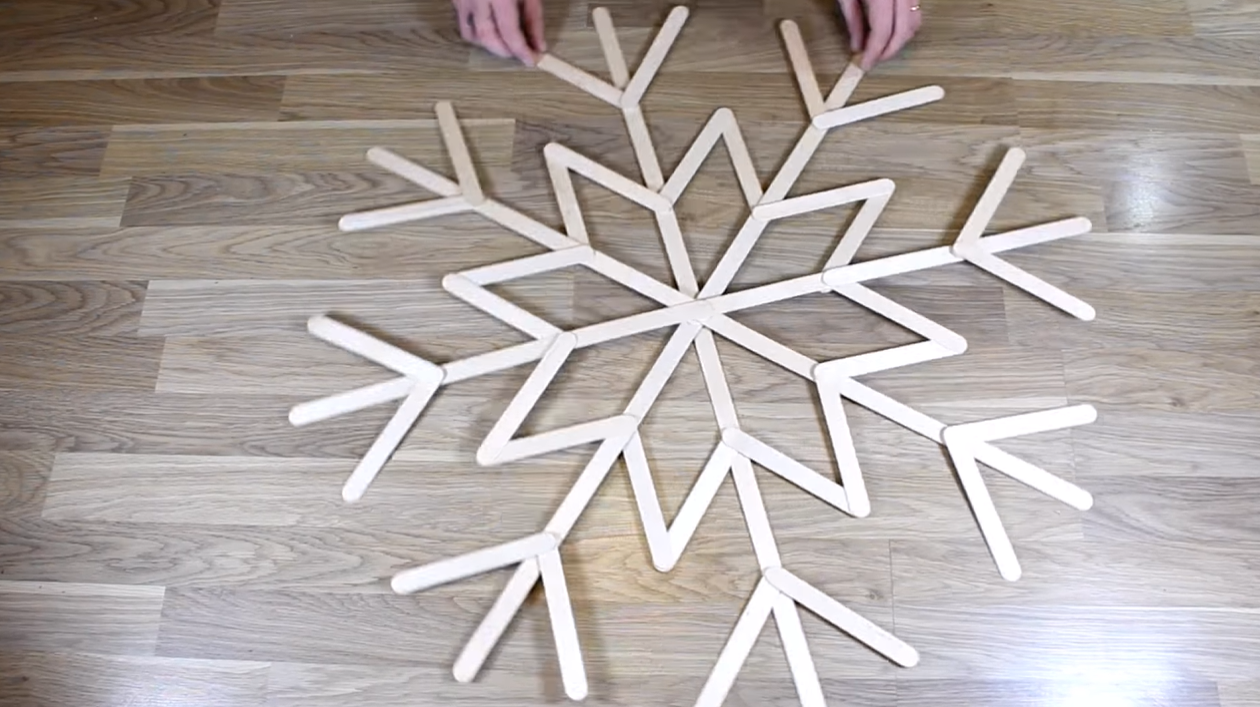
Step 3: Use short ice cream sticks to decorate and make the snowflake look prettier.
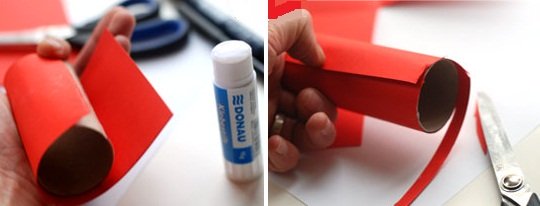
Make Santa Claus from Toilet Paper Rolls

Santa Claus is an important and indispensable part of Christmas. With an old toilet paper roll, colored paper, pens, scissors, and glue, you can create a cute Christmas decoration.
- Step 1: Cut red paper and glue it around the toilet paper roll (preferably red construction paper), then cut off the excess.
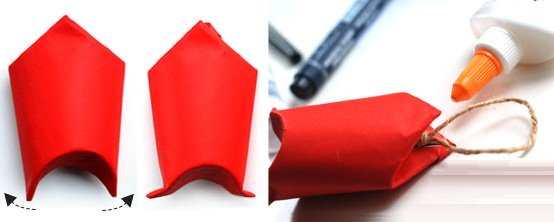
- Step 2: Use your fingers to press two points on the open end of the roll about 1cm deep, smoothing the indent towards the sides. Repeat on the other end, then gently squeeze the upper half of the roll so that the edges come together to form a triangle, resembling a hat.
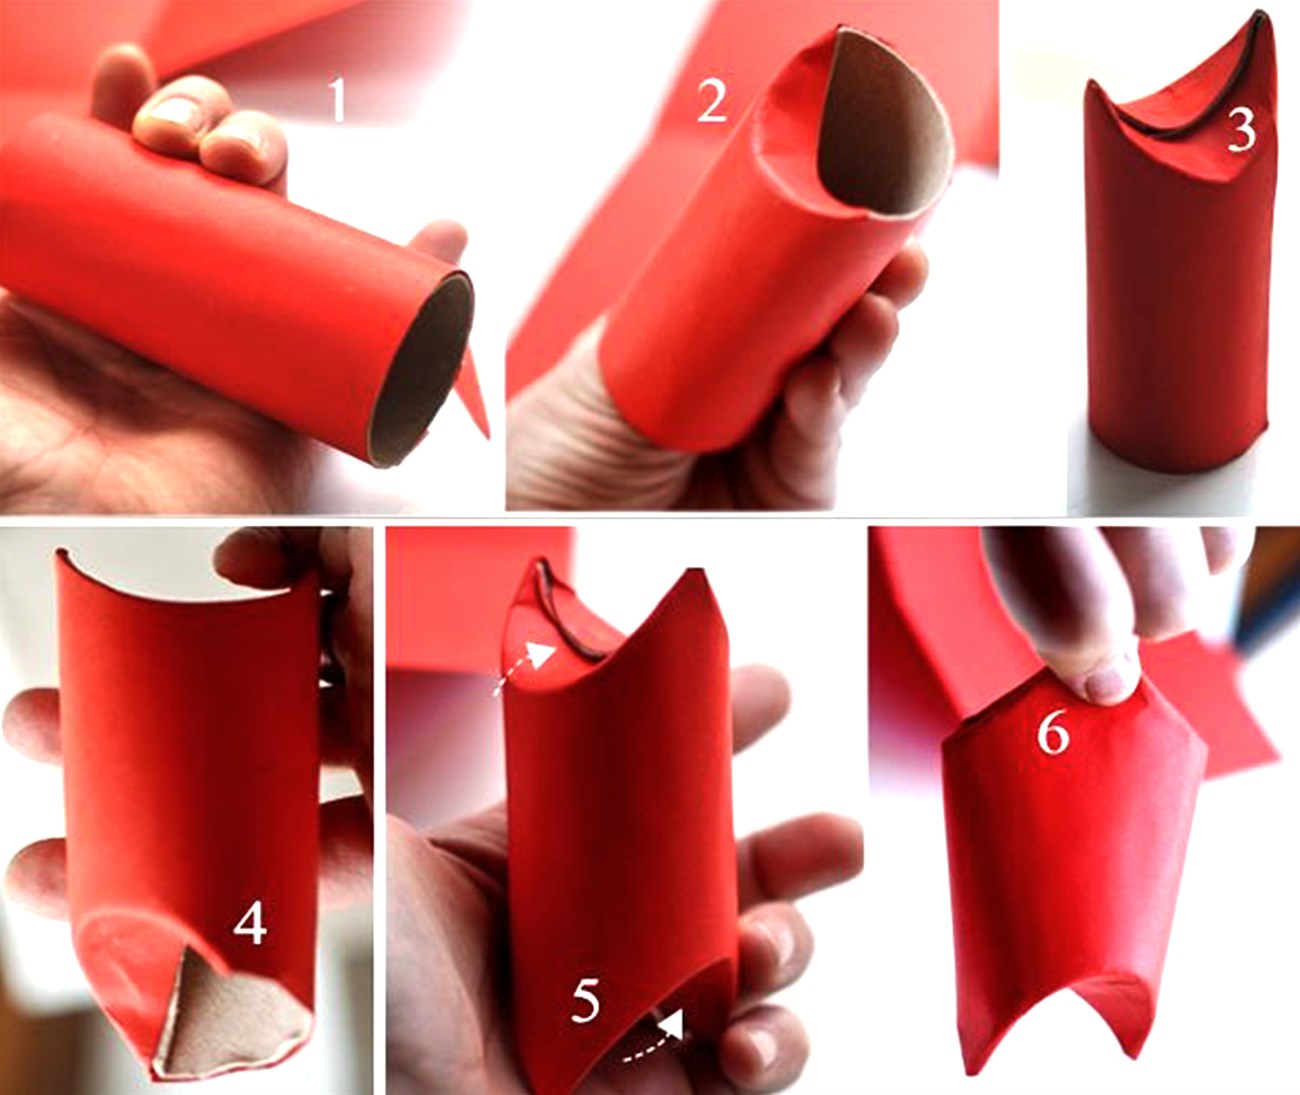
- Step 3: Attach a hanging string, then glue the edges together. At the other end, flatten the edges and fold them to form Santa’s feet.
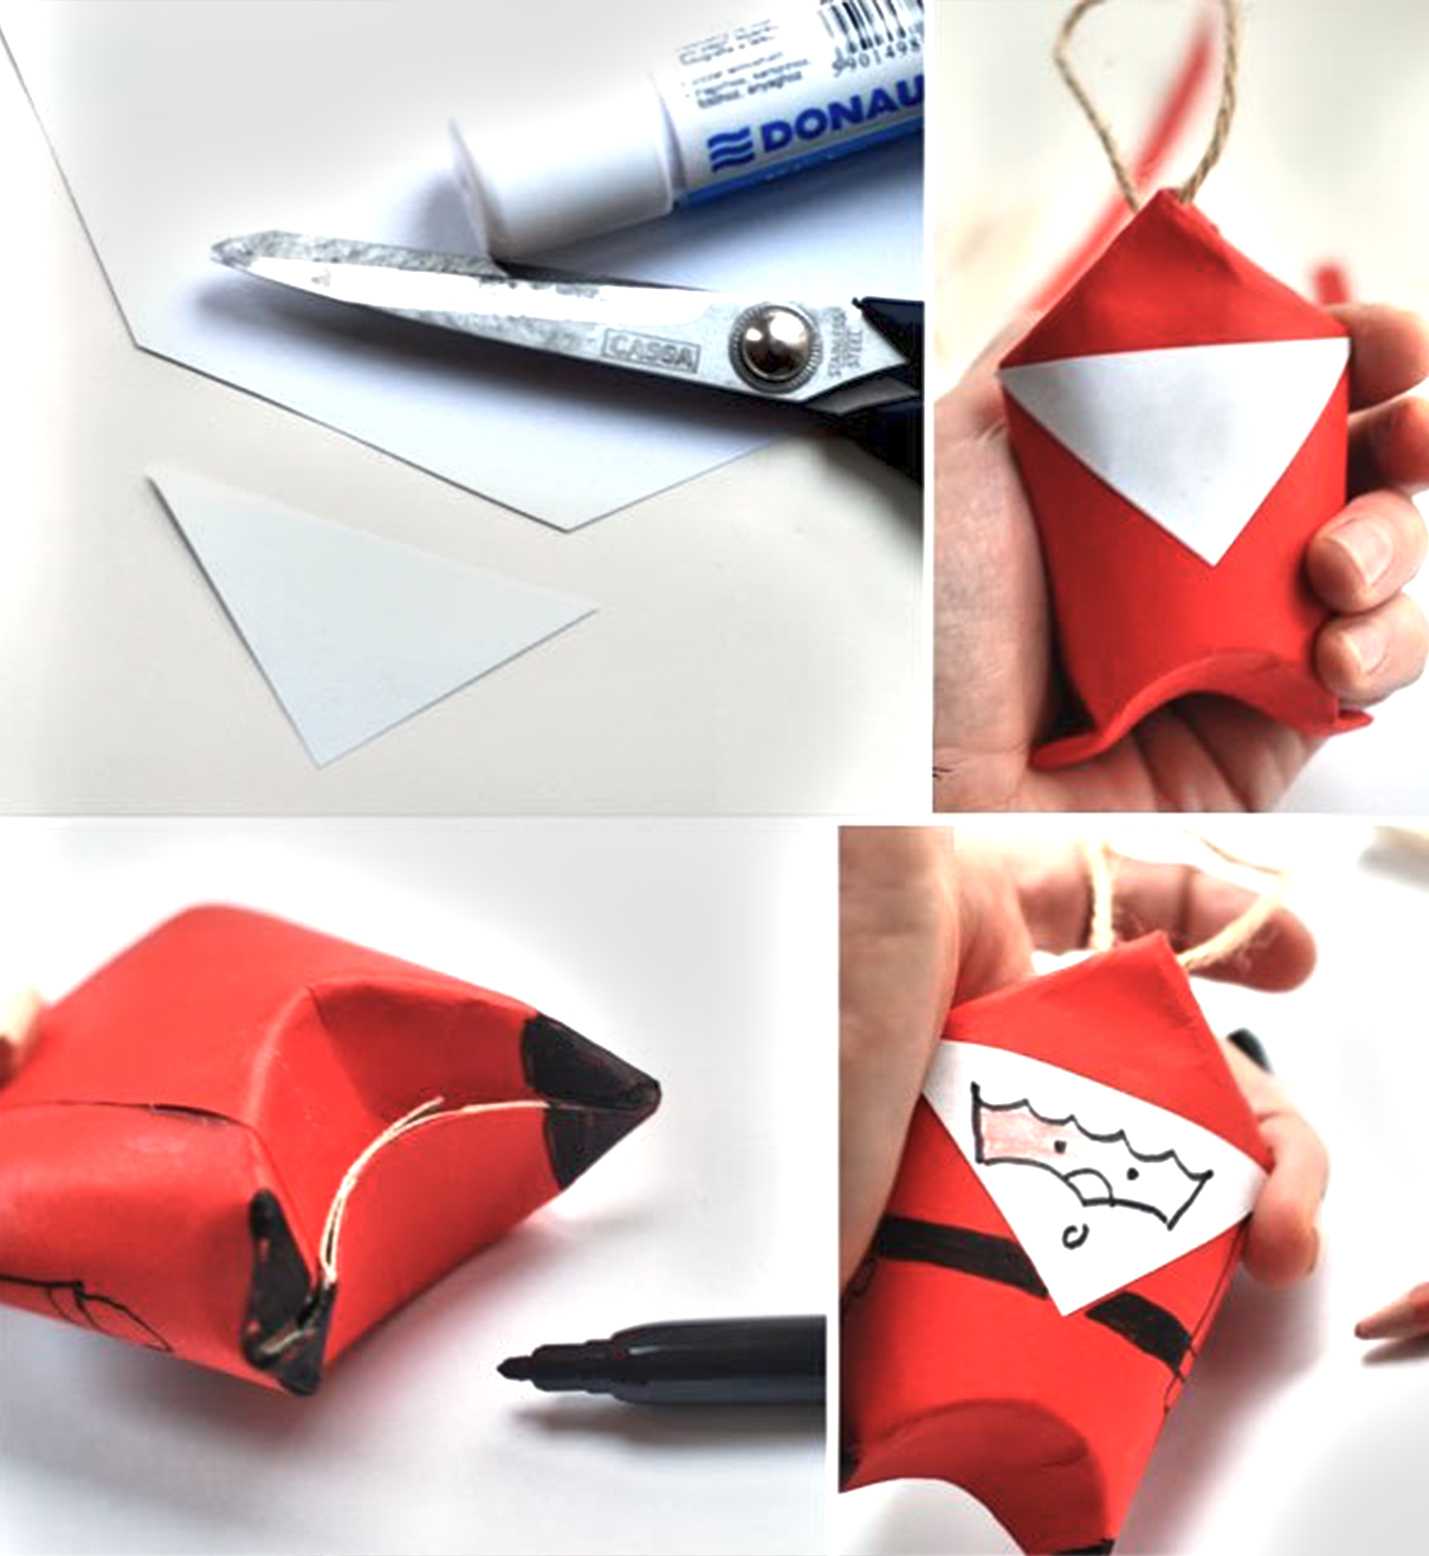
- Step 4: Use white paper to cut out a triangle for Santa’s face. Finally, draw the eyes, nose, and mouth as you like to make it look lively and cute.
3Make a Snowman from Old Plastic Cups
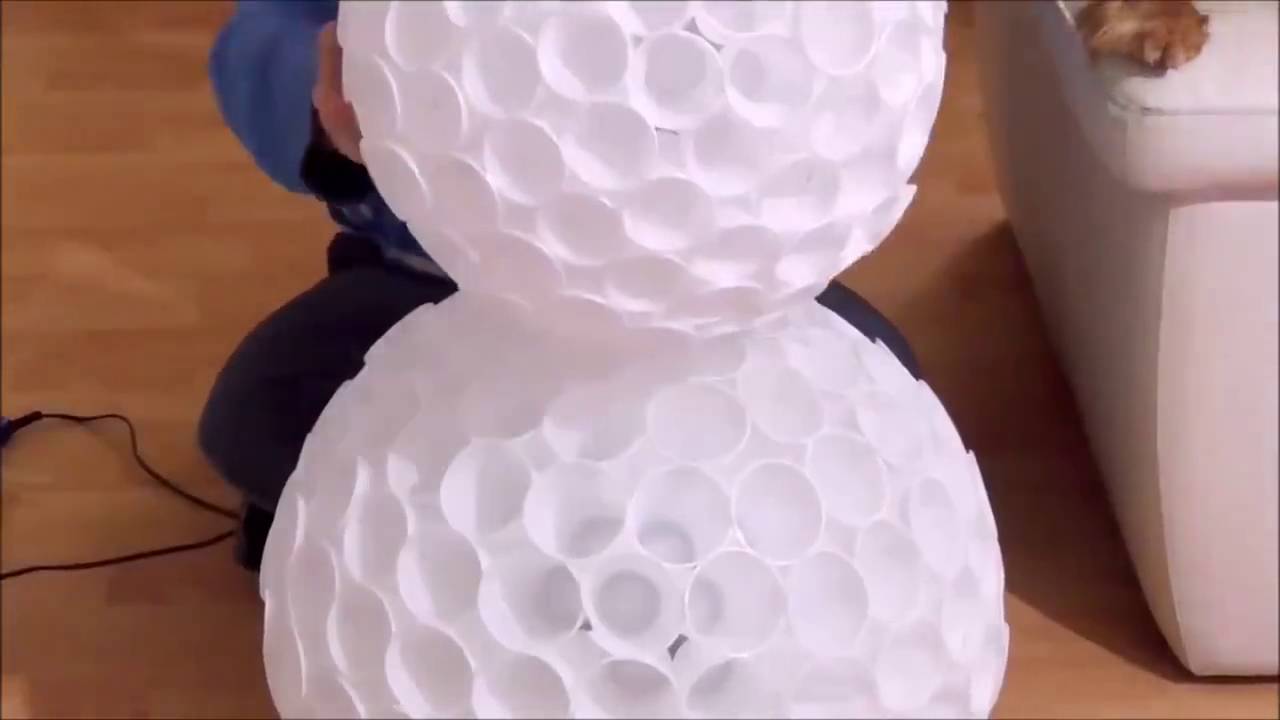
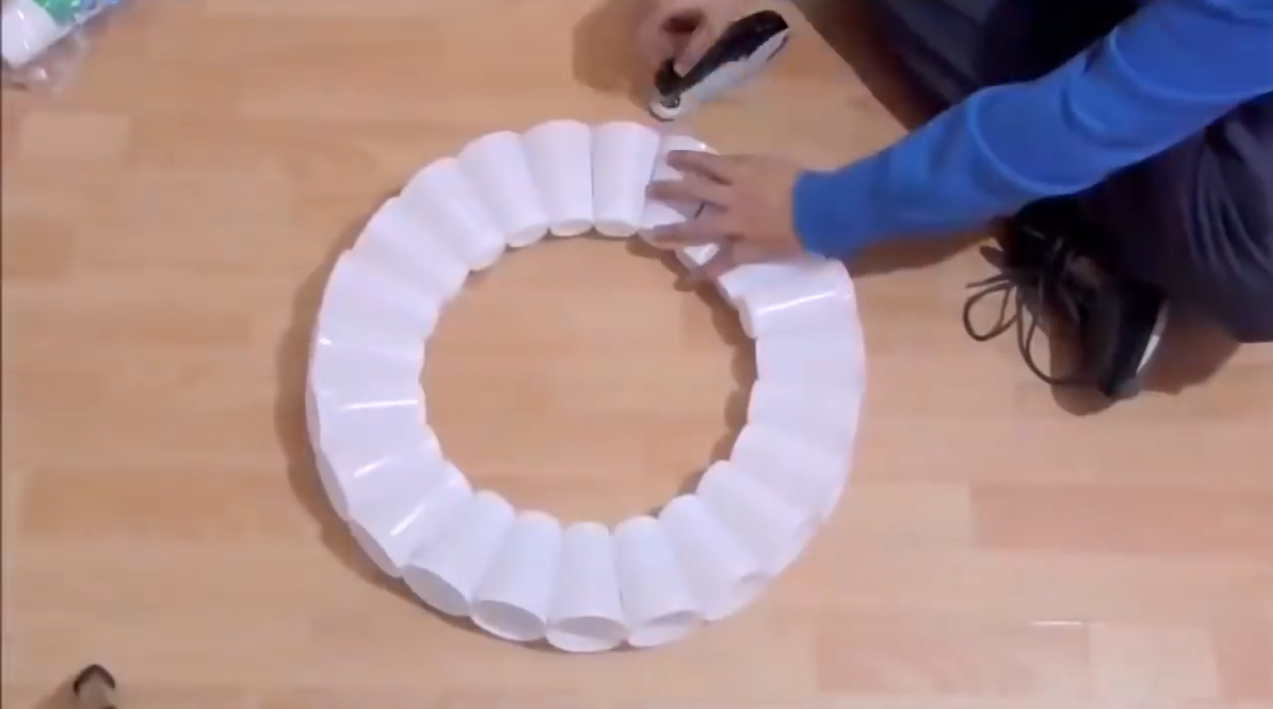
You don’t need snow to build a snowman. Just save some plastic cups or paper cups to make a snowman that “never melts”.
Step 1: Find a flat surface and arrange the cups in a circle, then secure them with glue or pins at the contact points.
Step 2: Continue stacking the cups in layers, repeating step 1 to form the body of the snowman.
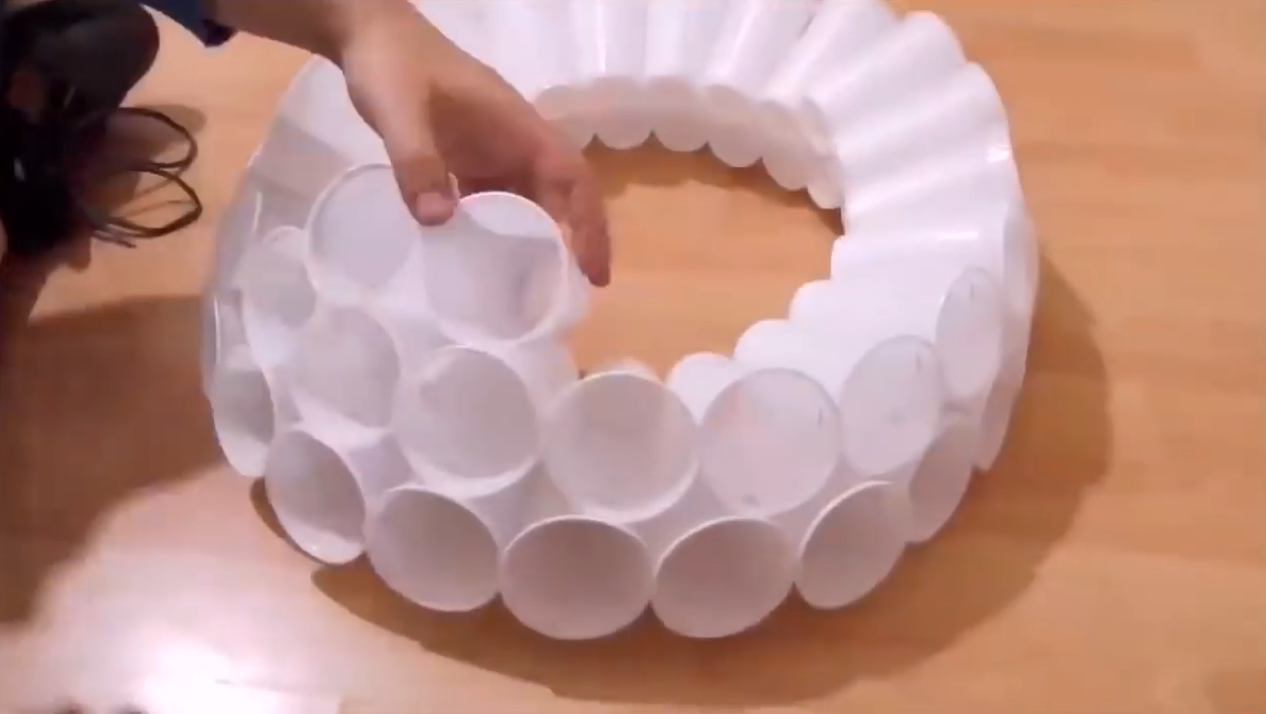
Step 3: Repeat steps 1 and 2 with a smaller diameter to create the head of the snowman.
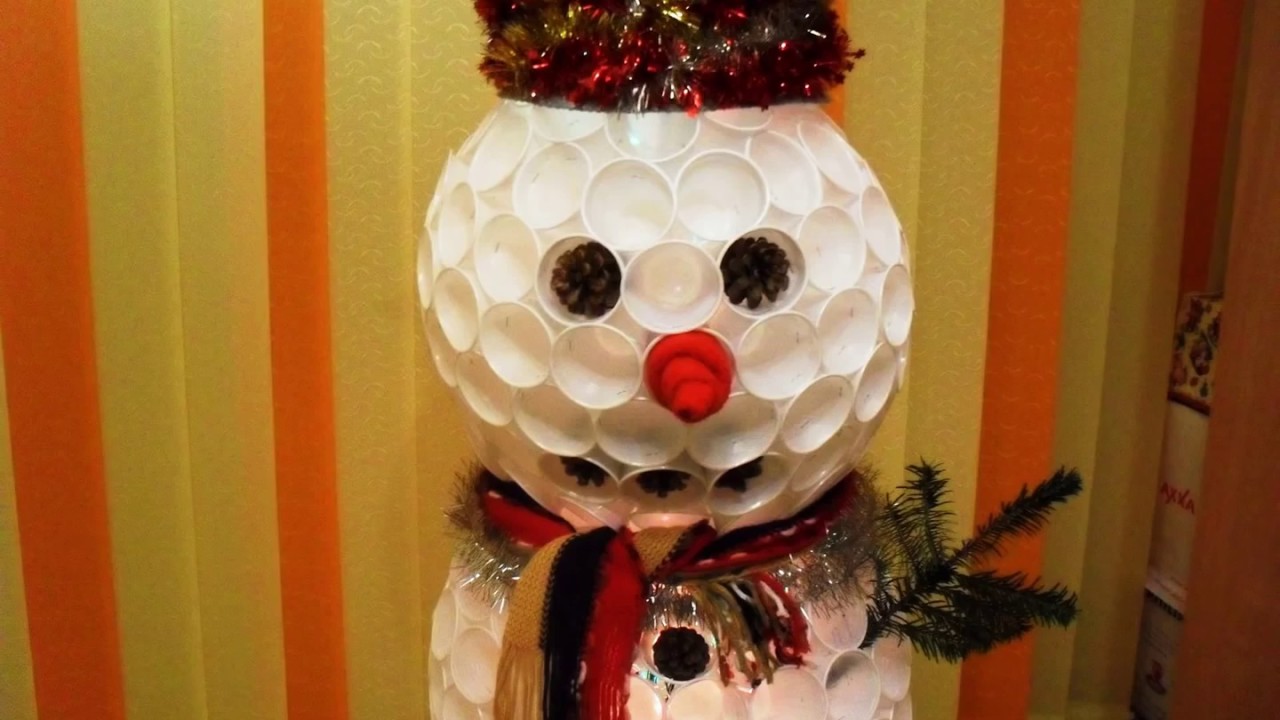
Step 4: Decorate the snowman’s face and add any accessories.
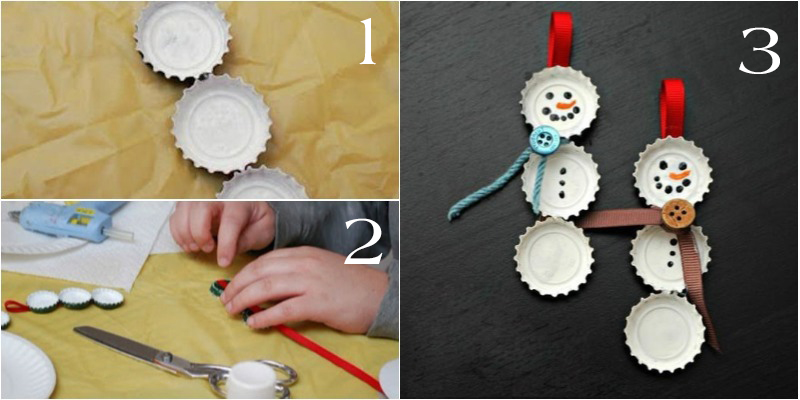
4Make Christmas Decorations from Old Bottle Caps
Bottle caps from soda or milk cartons, which are usually thrown away, can be repurposed to create beautiful Christmas decorations. Simply use a glue gun to secure them together and decorate as you like.
The above are 5 simple, beautiful, and unique ways to make Christmas decorations at home. If you have any questions, please leave a comment below, and we will get back to you as soon as possible!
10 Adorable DIY Christmas Ornaments for Families with Young Children

Instead of heading out to buy something pre-made, get the kids involved in making your own Christmas tree decorations.


