How to Properly Clean Newly Purchased Thermal Cups
To ensure the cleanliness and durability of your newly purchased thermal cup, follow these steps:
1. Clean the cup: Use clean water or specialized soap for cleaning bottles and cups to clean the thermal cup. Rinse the cup with hot water and it will be ready for use.

After Use
If the thermal cup is used to hold normal filtered water, simply clean and dry it with dish soap or let it air dry before using again.
However, if the thermal cup is used to store drinks with odor or residue, such as tea, porridge, or fruit juice, it needs more thorough cleaning to prevent moisture, mold, bacteria, and corrosion over time. Here are some methods you can apply to clean the cup:
- Method 1: Pour hot water into the cup, covering about 2/3 of it. Shake the cup vigorously in all directions for 5 minutes. Pour out the water and rinse the cup again with clean water.
- Method 2: Add 3-4 teaspoons of coffee grounds into the thermal cup. Pour in cold water and tightly cover the cup. Wait for about 30 minutes before pouring out the coffee grounds and rinsing the cup with clean water. The coffee grounds will eliminate unpleasant odors and leave a pleasant coffee scent.
- Method 3: Mix specialized bottle and cup cleaner with clean water. Pour it into the cup and brush or shake the cup vigorously for about 5 minutes. Pour out the water and rinse the cup with clean water.
- Method 4: Dilute 1 spoon of baking soda with warm water and pour it into the cup. Tightly close the lid and let it sit overnight. The next day, rinse the cup with warm water and let it dry in a dry place to eliminate unpleasant odors.
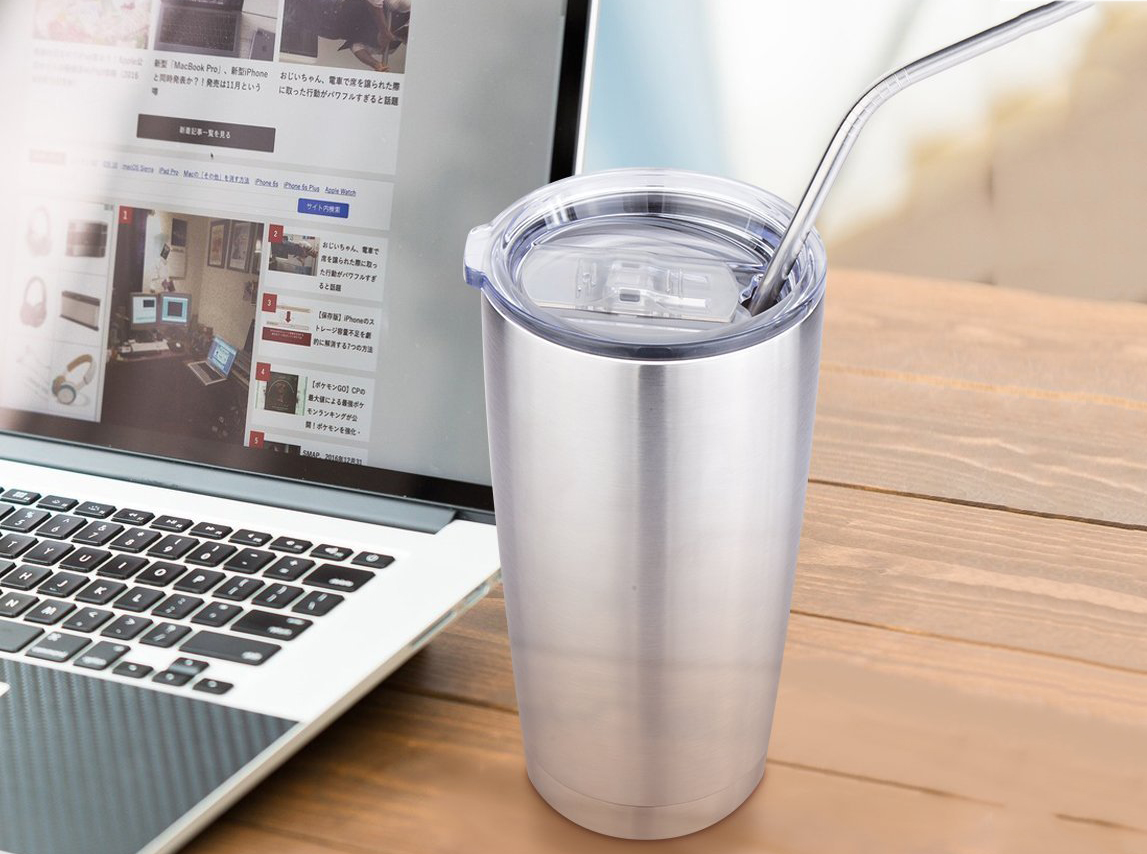
By following these effective cleaning methods, your thermal cup will remain clean and durable for long-term use.


