Growing watermelon on your rooftop requires some careful considerations to yield large, round, and juicy fruits. Here are some essential tips to follow when growing watermelon on your rooftop to ensure a bountiful and delicious harvest:
1 Choose the Right Watermelon Variety
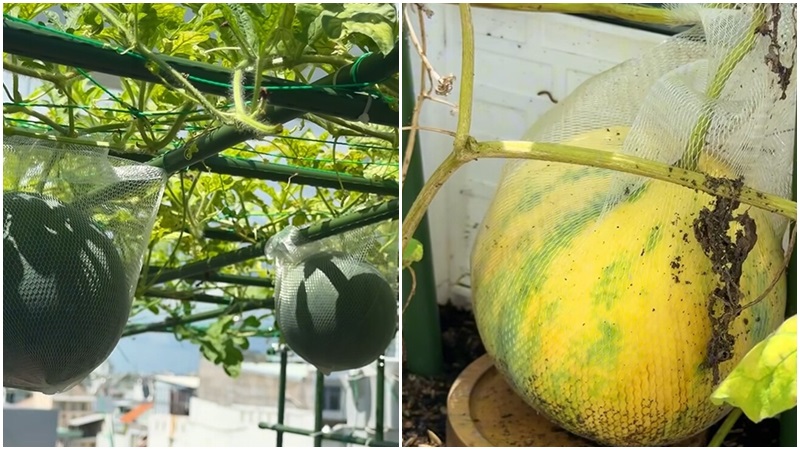 Choose the Right Watermelon Variety
Selecting the right watermelon variety is crucial for a successful harvest. Opt for high-yielding varieties that are suitable for the climate in your area. Some popular choices include seedless watermelons with a sweet taste or mini watermelons, which are perfect for small spaces. Additionally, learn about the growth habits and maturity times of different varieties to choose one that aligns with your timeline.
2 Prepare the Soil
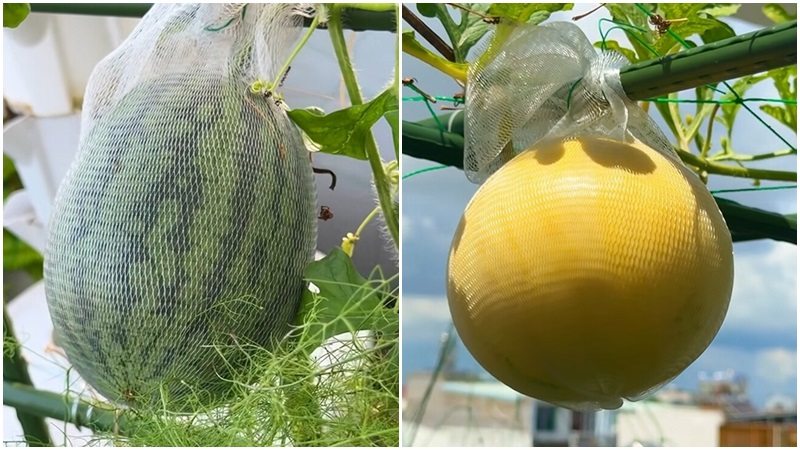 Prepare the Soil
Watermelons thrive in well-drained, nutrient-rich soil with a pH level between 6 and 6.8. You can use a mix of potting soil and compost, such as worm castings or well-rotted manure. Ensure the soil has excellent drainage to prevent waterlogging, as watermelons do not tolerate waterlogged conditions. If using containers, make sure they have drainage holes to prevent water buildup.
3 Sowing Seeds and Caring for Seedlings
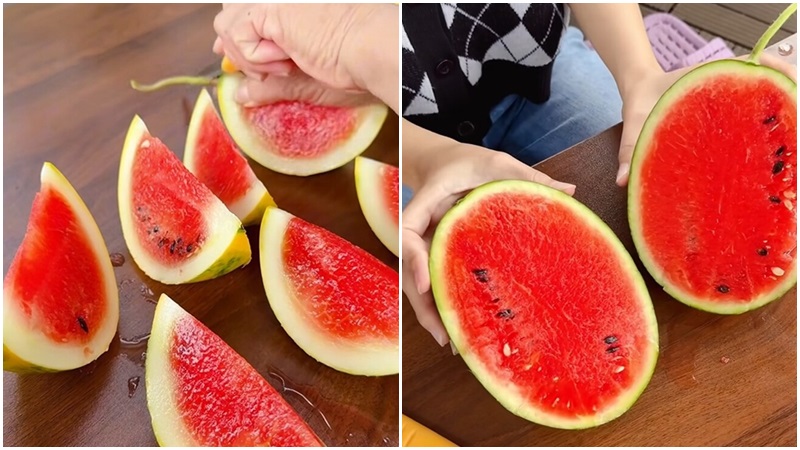 Sowing Seeds and Caring for Seedlings
Sow watermelon seeds in spring or early summer when the weather is warm. Consider starting the seeds indoors in pots to give the seedlings a strong start before transplanting them into larger containers or raised beds. When sowing, plant the seeds about 2-3 cm deep and space them 30-50 cm apart to provide ample room for growth.
After sowing, gently water the soil to keep it moist without causing erosion. Ensure the seedlings receive ample sunlight, at least 6-8 hours daily, for healthy growth. Once the seedlings reach about 15 cm in height, thin them out by removing weaker plants to reduce competition for nutrients.
4 Watermelon Care Techniques
 Watermelon Care Techniques
Watermelons require ample water during their growth but do not tolerate waterlogging. Water regularly, about 2-3 times per week, preferably in the morning or evening to minimize evaporation. To check moisture levels, gently press your finger into the soil; if it feels moist, refrain from watering.
Fertilization is crucial to provide watermelons with the necessary nutrients for growth. Apply NPK fertilizer periodically, every 2-3 weeks, starting from when the seedlings develop true leaves until they begin to flower. Opt for organic fertilizers to encourage natural and safer growth.
5 Pest and Disease Control
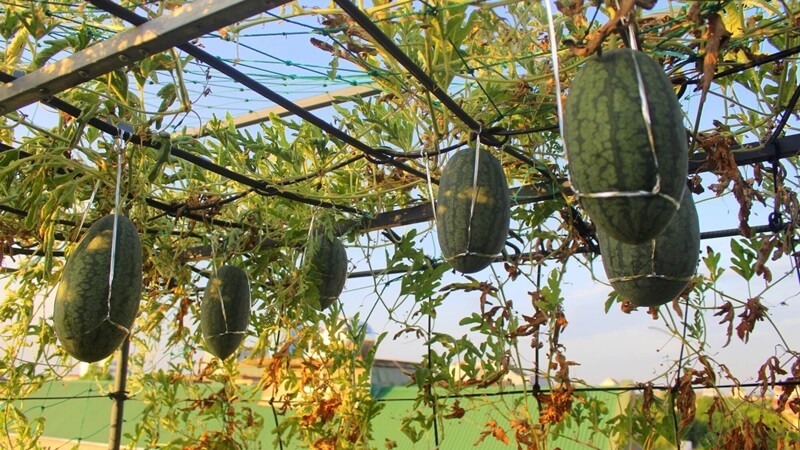 Pest and Disease Control
Regularly inspect your plants for signs of pests and diseases, such as aphids, spider mites, or fungal infections. If you spot any issues, use organic pesticides or biological controls to protect your plants without compromising your health. Remember, prevention is better than cure, so maintain good hygiene in your growing area and regularly remove dry or damaged leaves.
Implement companion planting with pest-repelling plants around your watermelons, and ensure there is no standing water to prevent fungal growth.
6 Harvesting
 Harvesting
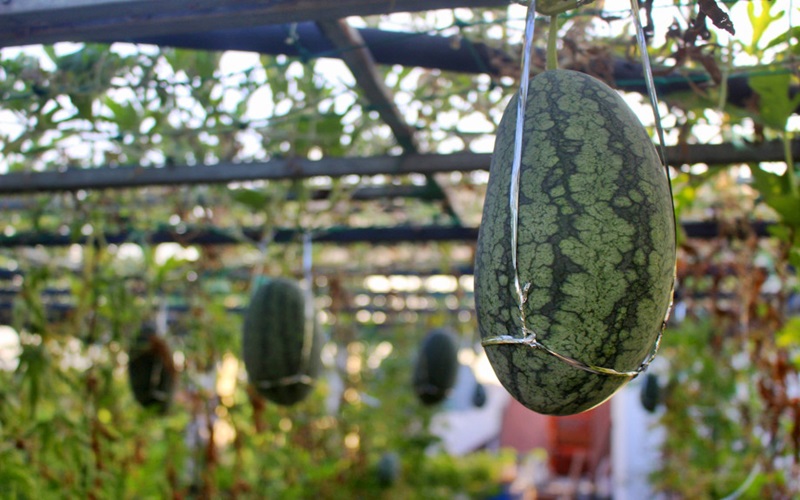
Watermelons typically take around 70-90 days to mature, depending on the variety. To determine the right time to harvest, consider the color of the rind, the size of the fruit, and the sound it makes when knocked on. Ripe watermelons usually have bright-colored rinds, hard shells, and dry stems. If the stem is still green, the fruit may not be ready yet.
When harvesting, use scissors or pruning shears to carefully cut the fruit from the vine. Harvest in the early morning or evening when the temperatures are cooler to maintain the freshness of the fruit. After harvesting, store the watermelons in a cool, ventilated area until you’re ready to enjoy them.
By following these tips, you’ll be well on your way to growing sweet and juicy watermelons on your rooftop. Happy gardening, and we hope you enjoy the fruits of your labor!


