1
Why Install a Remote Control for Your Fan?
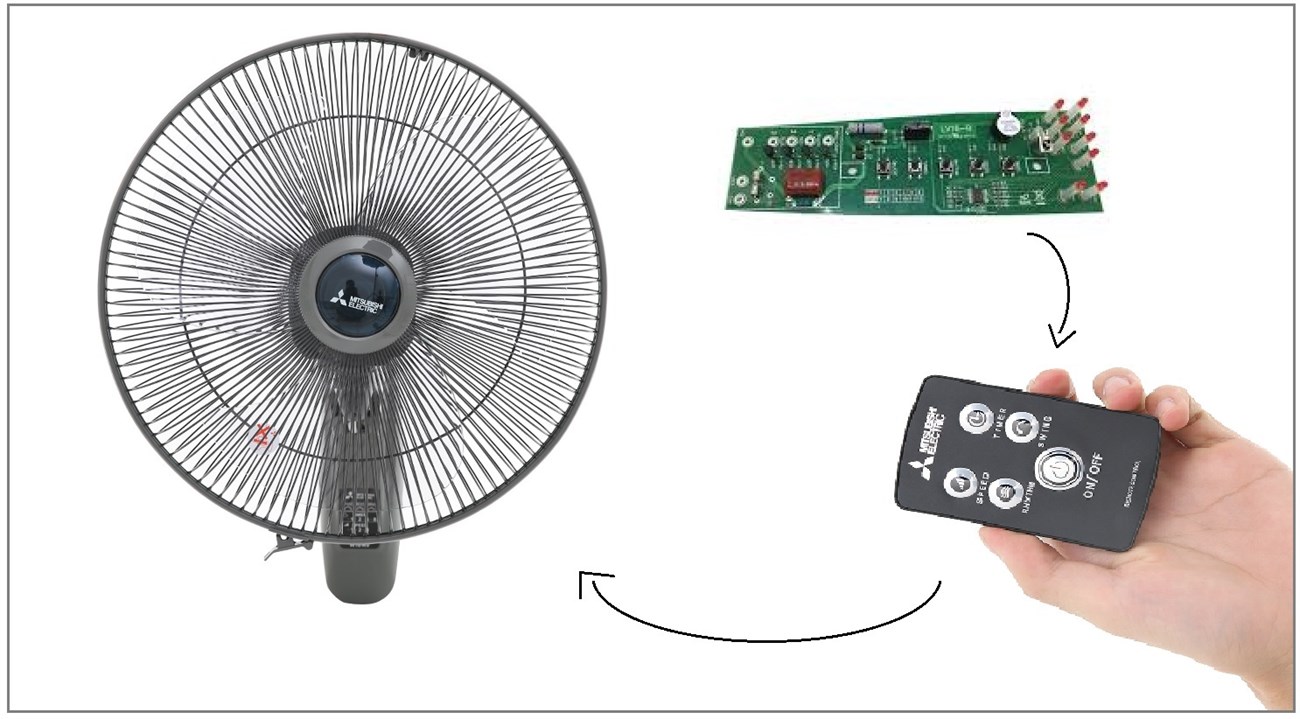
Nowadays, many fans come equipped with remote controls, allowing users to easily adjust settings without being in close proximity to the fan.
For those without a remote control or with a broken one, installing an additional remote control is a convenient solution.
2
How to Install a Remote Control for Your Fan
To install a remote control for your fan, you will need to purchase a control circuit board and a fan remote control. These circuit boards typically have an infrared eye that can be extended for easier control.
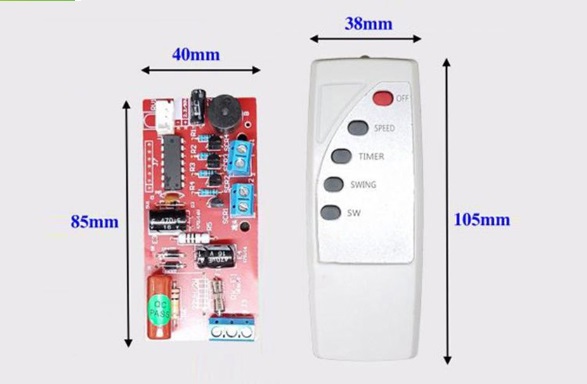
Additionally, wire connection terminals with screws are used instead of soldering, making it easier for users to connect the wires. These components can be easily found at electrical stores for installation at home.
Wire Diagram:

Installation Steps:
Step 1: Open the fan’s base to access the gearbox and power supply.

Step 2: On the circuit board, there are numbered terminals (1, 2, and 3) corresponding to the fan’s speed control buttons. Cut the wires connecting the speed buttons on the fan and connect them in order to the numbered terminals on the circuit board.
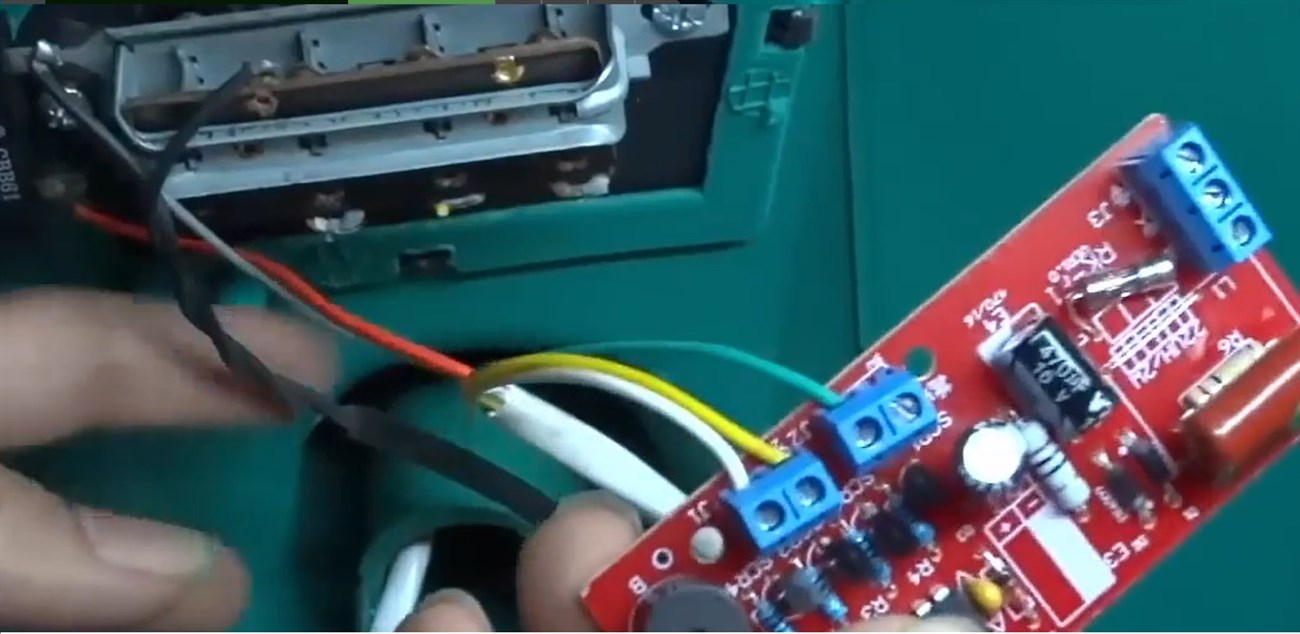
Step 3: Cut and connect the power cord from the gearbox to the outermost pin. Cut the remaining ends of the power cord and connect them to the remaining 2 adjacent pins.
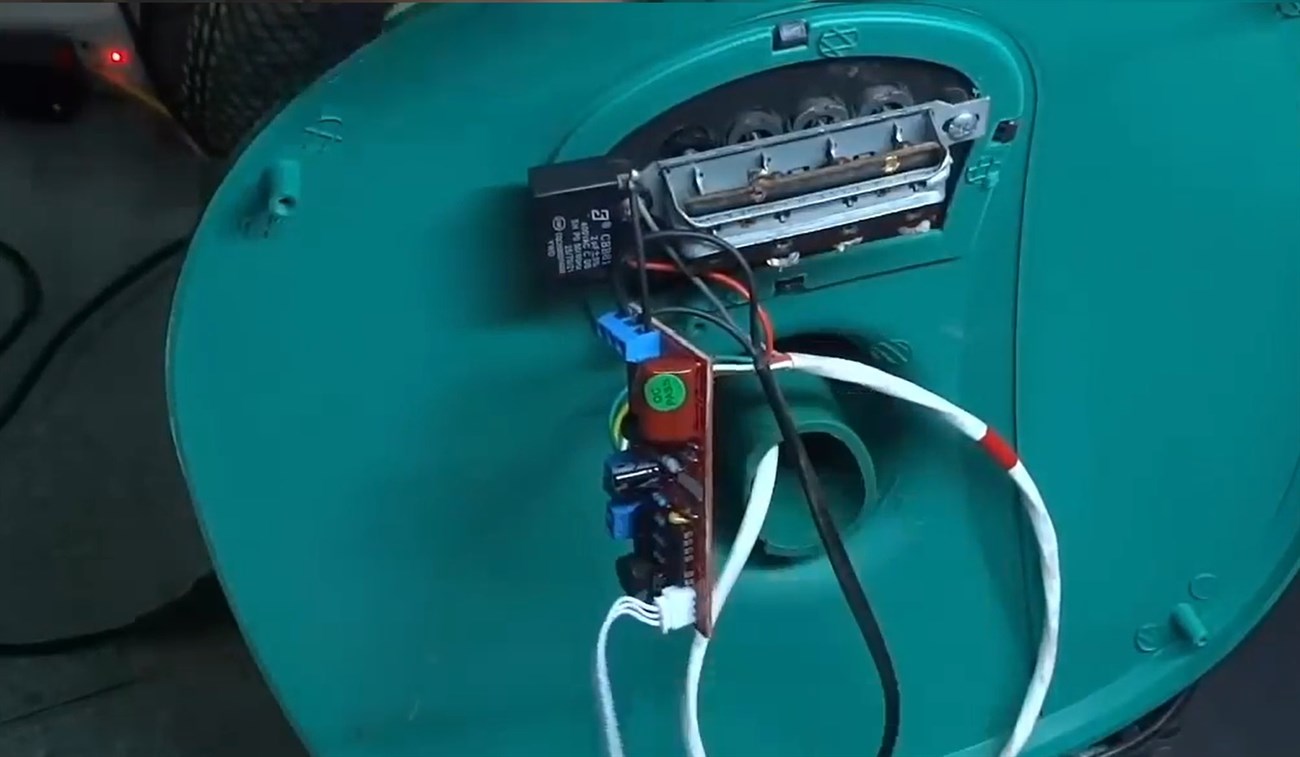
Step 4: Install the circuit board inside the fan box, ensuring that the infrared eye is positioned for optimal sensing with the remote control.
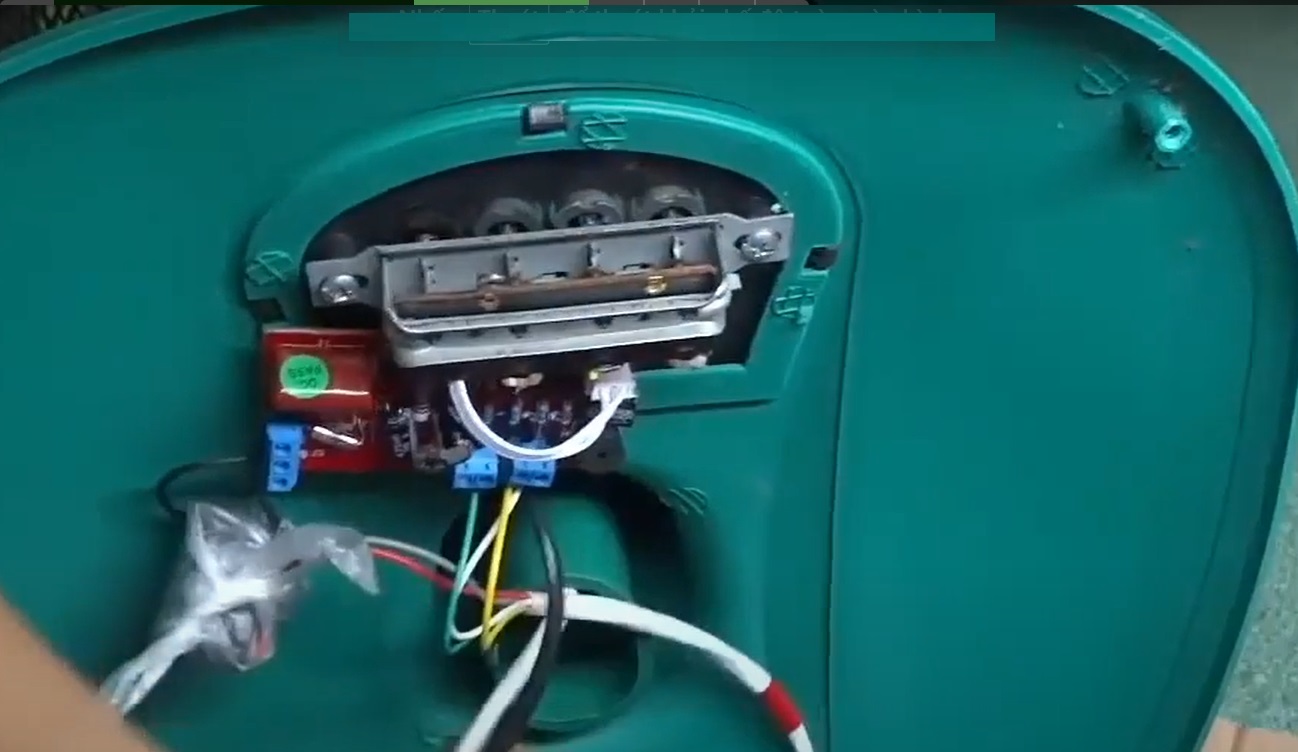
Once the installation is complete, the remote control will be able to control the following functions on the fan:
- Off: Turn off the fan
- Speed: Turn on and control 3 different speeds
- Timer: Set a timer for 1, 2, or 4 hours
- Swing: Activate the wind function (strong or weak)
- SW: Rotate the fan
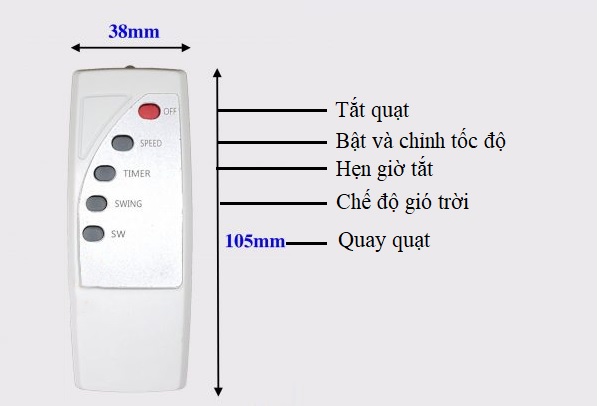
The above instructions detail how to install a control circuit board for your fan, turning it into a remote controlled fan. If you have any questions or comments, please leave them below!


