Yardlong beans are a popular vegetable in many Vietnamese households. Due to their ease of cultivation and high yield, they are often chosen for home gardening. Today, let’s explore how to grow yardlong beans in pots for a bountiful harvest with minimal pests and diseases!
1 Tools for Growing Yardlong Beans
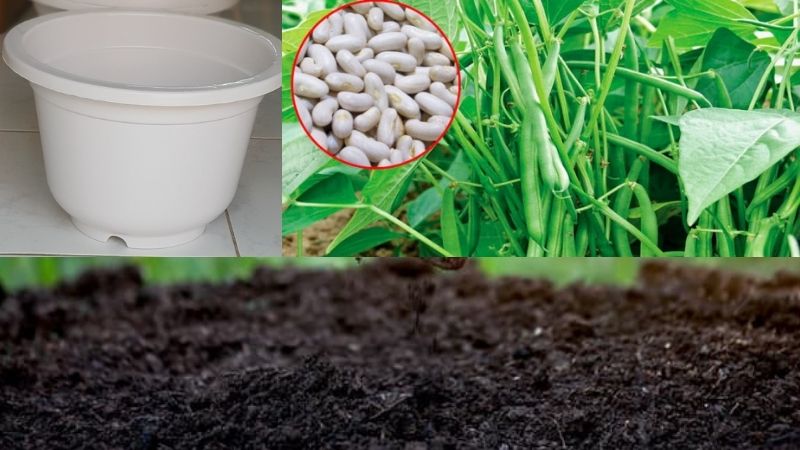 Gardening tools
- Yardlong bean seeds
- Plastic pots with a height of 30cm and a diameter of 20-30 cm
- Potting soil
Tip:
– You can easily find gardening tools and seeds at agricultural supply stores or large supermarkets.
– For the best results, choose high-yielding yardlong bean varieties such as RADO 557 or RADO 11, which are robust and well-suited for home gardens.
– Opt for plastic pots with ample drainage holes to ensure the soil remains airy and well-drained.
– Enrich the potting soil with a mix of compost, coconut coir, and organic fertilizer to provide your plants with sufficient nutrients.
2 Steps to Grow Yardlong Beans in a Container
Step 1 Sowing Seeds
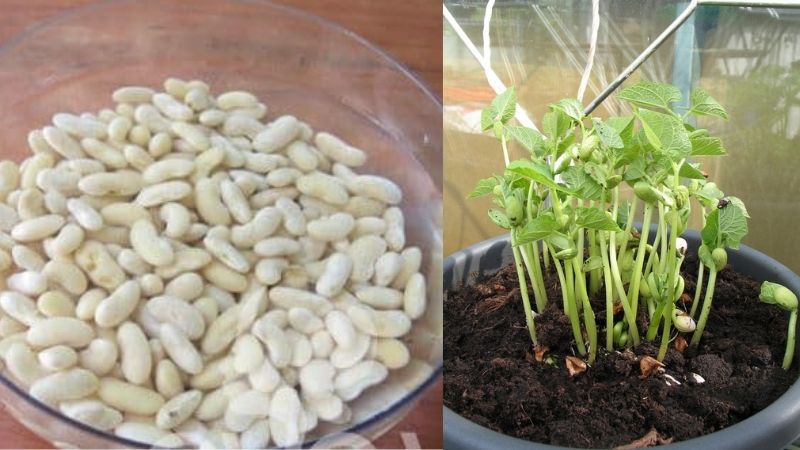 Sowing seeds
Soak the yardlong bean seeds in warm water at about 50°C for 30 minutes to encourage germination and eliminate any potential pathogens.
Next, wrap the seeds in a warm, damp cloth for approximately one day until they begin to sprout.
After that, place 2-3 seeds in each pot and cover them with a thin layer of soil. If you live in a hot climate, consider covering the seeds with a light layer of straw and gently misting them with water.
Step 2 Care
The seeds will germinate in 4-5 days. Maintain a consistent moisture level in the soil by watering twice a day, preferably in the morning and evening.
Once the seedlings have developed their first true leaves, remove any weak or stunted plants.
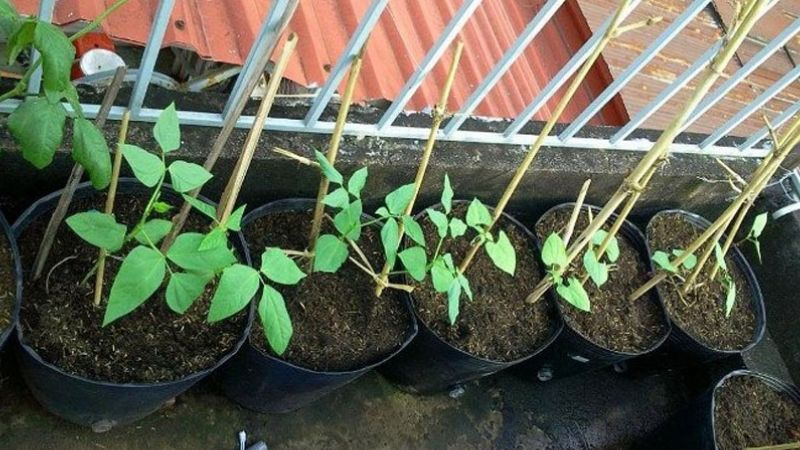 Caring for yardlong bean plants
Yardlong beans are relatively low-maintenance, but for optimal growth, consider providing additional nutrients. After 15 days of sowing the seeds, water the plants with a diluted solution of urea and potassium, applied 5-7 cm away from the base of the plant. Repeat this process 10 days later, adding potassium to the mixture. Continue this routine every 10 days for the best results.
Step 3 Provide a Trellis
Yardlong beans are vining plants, so they require support to climb. Create a trellis using bamboo or plastic pipes, about 2.5 meters tall, arranged in an A-frame shape. Alternatively, you can train the vines to climb up a balcony railing or fence.
Once the trellis is in place, remember to regularly loosen the soil around the base of the plant to promote healthy root growth.
Step 4 Harvest
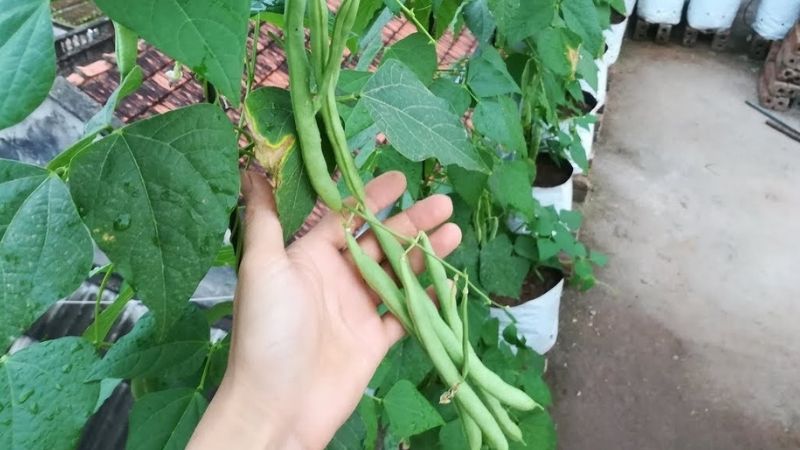 Harvesting yardlong beans
You can start harvesting your yardlong beans after 40-50 days. The beans can be picked in 4-5 batches to ensure a continuous supply.
Use a sharp knife to cut the beans rather than pulling them off by hand, as this can damage the plant and flowers.
3 Additional Tips for Growing Yardlong Beans
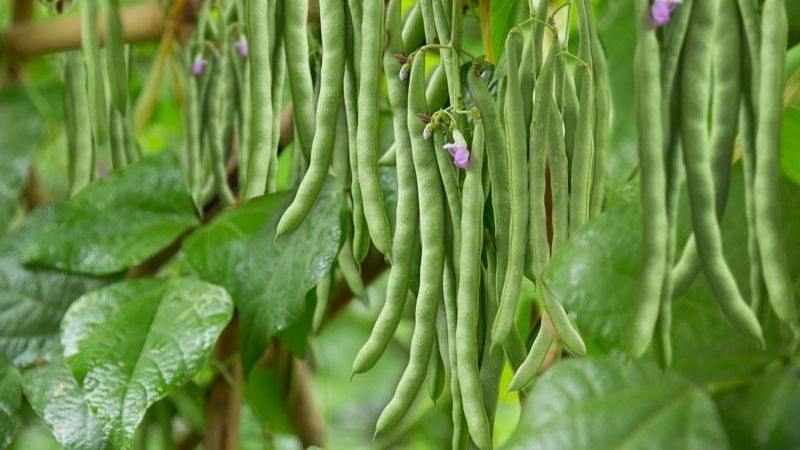 Tips for growing yardlong beans
Yardlong beans thrive in sunny conditions, so make sure they receive ample sunlight.
While you can grow yardlong beans year-round, planting them in August or September will result in healthier plants with fewer pests and diseases.
Maintain consistent moisture in the soil, especially during the flowering stage, when the plants require more water.
Harvest the beans when they are young and tender to ensure the best flavor and nutritional value. Avoid letting them mature fully before picking.
During the harvesting period, apply additional nitrogen-rich fertilizer to boost productivity.
Homegrown yardlong beans are incredibly fresh and flavorful, perfect for a variety of dishes such as stir-fries, salads, and more!
We hope that with these tips, you’ll be able to successfully grow yardlong beans at home and enjoy a bountiful harvest!


