Cải thìa, also known as Chinese cabbage, is a delicious and nutritious vegetable with multiple health benefits. In this guide, we’ll show you how easy it is to grow your own Cải thìa at home in a simple plastic container.
1 What You’ll Need
- Cải thìa seeds
- Plastic container (minimum size: 40x60x15cm)
- Potting soil
- Fertilizer
- Water
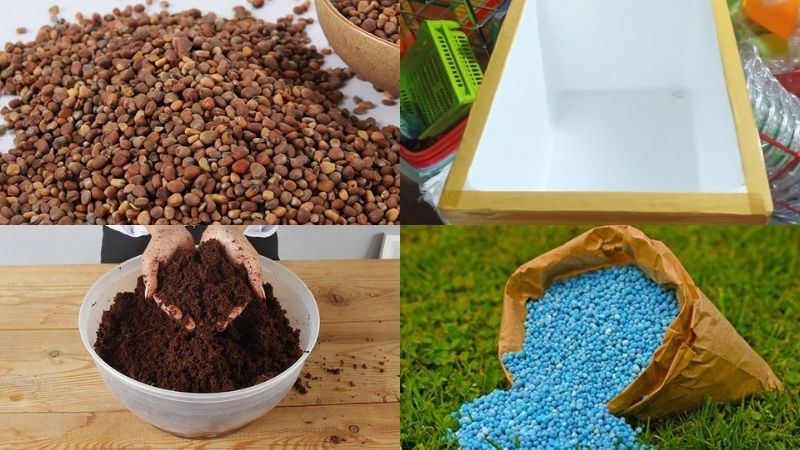 Essential tools and materials for growing Cải thìa
Tip:
Choosing the Right Seeds:
Opt for a reputable agricultural store to ensure high-quality seeds with a good germination rate.
Soil Selection:
– Cải thìa can be grown in a variety of soils, from sandy to loamy. For home gardening, consider using organic Tribat soil, which is ideal for growing healthy vegetables.
– If reusing old soil, mix in some lime and let it sit for 7-10 days before planting to eliminate any potential pests or diseases.
Container Choice:
Choose a container with a minimum size of 40x60x15cm to allow sufficient root growth. Don’t forget to puncture holes in the bottom to prevent waterlogging.
2 Step-by-Step Guide to Growing Cải thìa
Step 1 Seed Preparation
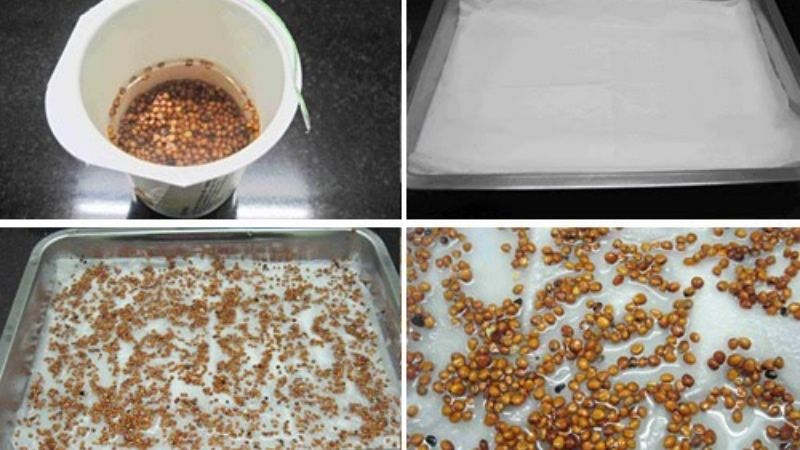 Soaking Cải thìa seeds before planting
Soak the seeds in warm water (ratio 2:3 of hot to cold) for 5-6 hours. Then, wrap them in a damp paper towel and leave for 24 hours. After that, rinse off any remaining sticky coating and re-wrap in a damp towel until the seeds sprout.
Step 2 Sowing Seeds
Fill your container with soil, leaving a 2cm gap from the rim. Even out the surface and directly sow the seeds. You can either scatter the seeds or space them 15cm apart, in rows 20cm apart.
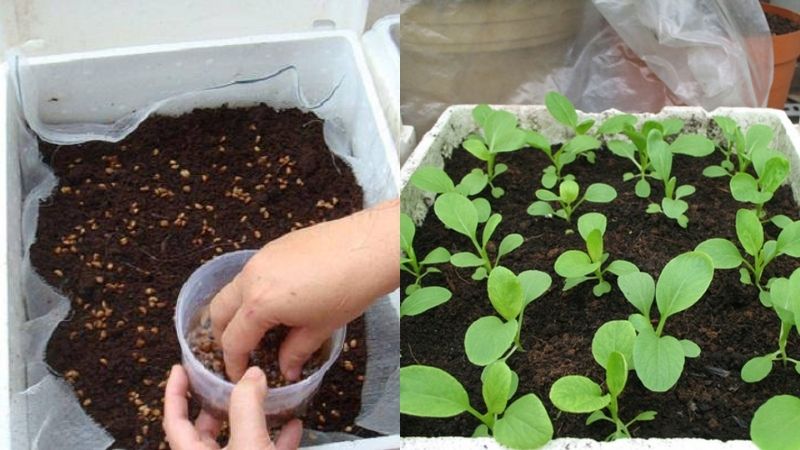 Planting Cải thìa seeds in a container
Cover the seeds with a thin layer of soil, approximately 2cm thick. Water the soil to moisten it, then place the container in a cool, shaded area, away from direct sunlight and rain.
3 Caring for Your Cải thìa
Watering
Initially, water your seedlings twice a day, once in the early morning and again in the evening. Avoid night-time watering to prevent the growth of pests and diseases.
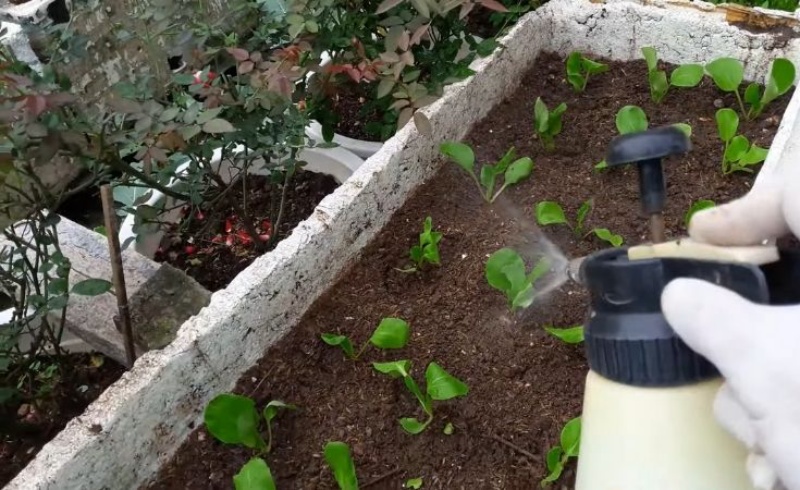 Using a spray bottle to water Cải thìa
Once the plants are established, reduce watering to once a day or every other day, depending on the moisture level of the soil.
Note:
As Cải thìa stems are quite fragile, water gently at the base of the plant. Using a spray bottle is a great way to water these vegetables.
Fertilizing
After 7-10 days, apply your first dose of fertilizer. You can use cow, chicken, fish, goat, or worm castings, or organic fertilizer. Repeat this process every 7-10 days, combining it with mound-building around the base of the plant.
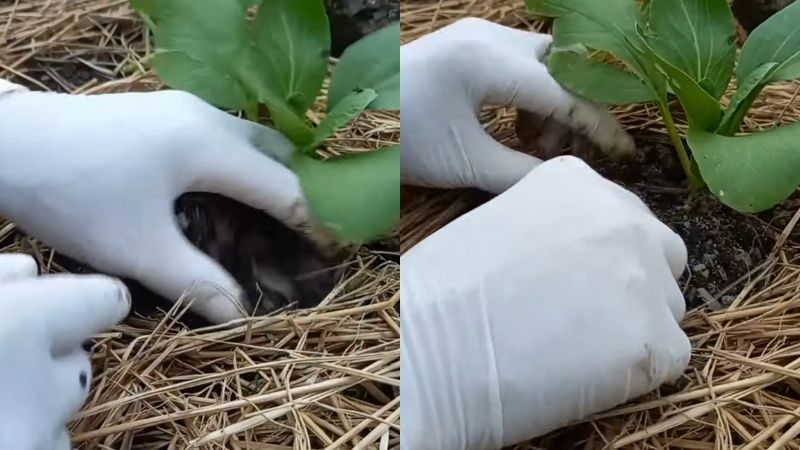 Applying fertilizer to the base of the Cải thìa plant
Pest and Disease Control
Keep the area around the base of the plant clear of weeds to prevent pests and diseases. If an issue arises, use biological control agents to eliminate the problem effectively.
Harvesting
Your Cải thìa will be ready to harvest in approximately 30-35 days. Use a sharp knife to cut the vegetables at the base, then remove any remaining roots.
After harvesting, loosen the soil, and let it dry in the sun for 2-3 days to kill any potential diseases. Add more organic fertilizer and start the process again for a new batch of healthy Cải thìa.
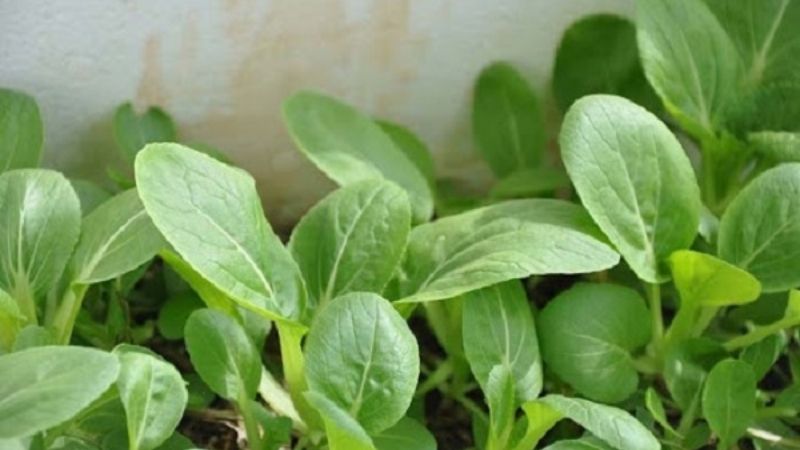 Freshly harvested Cải thìa
With your harvest, you can cook delicious and nutritious meals for your family, such as , , , ,…
Growing your own Cải thìa at home is a rewarding experience, especially for those with limited garden space. Take the time to care for your plants, and you’ll be rewarded with fresh, healthy vegetables.


