1 Reasons to Replace Blender Blades
Over time, blender blades tend to wear down and lose their sharpness, impacting their ability to effectively blend ingredients to meet users’ expectations. Additionally, old blades may show signs of rust and deterioration, which can negatively affect your health.
Therefore, replacing blender blades is essential to ensure uninterrupted food preparation and, most importantly, to safeguard your and your family’s health.
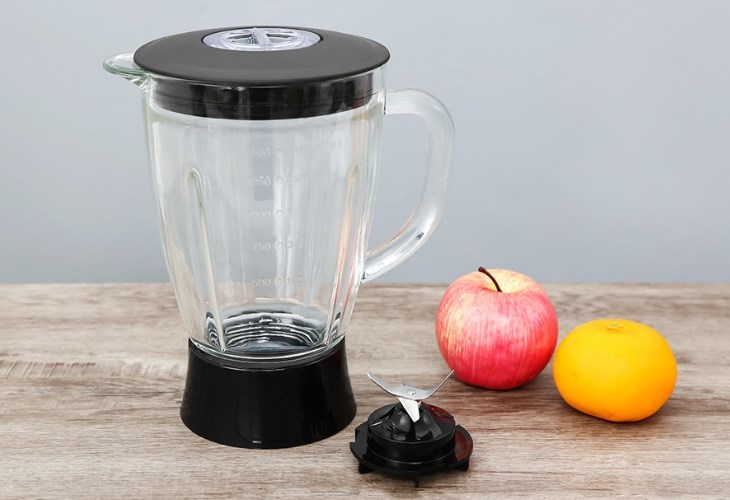
Replace the blades of your AVA BL1055-CB Multi-Function Blender when they show signs of rust.
2 How to Properly Replace Blender Blades
- Step 1: For safety, ensure that your blender is unplugged and disconnected from any power source before beginning.
- Step 2: Detach the base of the blender from the food container.
- Step 3: Carefully rotate the base attached to the blades counterclockwise to detach it easily.
- Step 4: Install the new blades into the blending jar and secure them by rotating clockwise.
- Step 5: Reassemble the remaining parts of the blender in their original order.
- Step 6: Reconnect the blender to the power source and test it by turning it on.
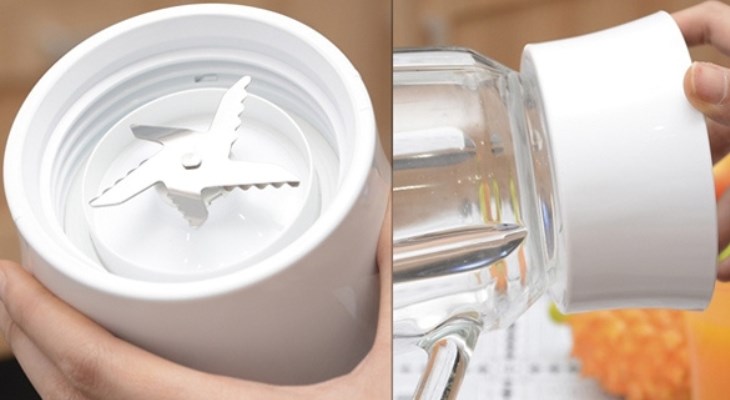
To remove the blender blades, turn the base counterclockwise.
3 Important Notes When Replacing Blender Blades
- Wash the blender blades immediately after use and ensure they are completely dry before storage.
- Avoid storing the blades in a damp environment to prevent rust and deterioration over time.
- Do not attempt to sharpen the blades yourself as this can alter their original shape and reduce blending efficiency.
- Do not soak the blades in water for extended periods, especially with oily dishes, as they may be difficult to clean.
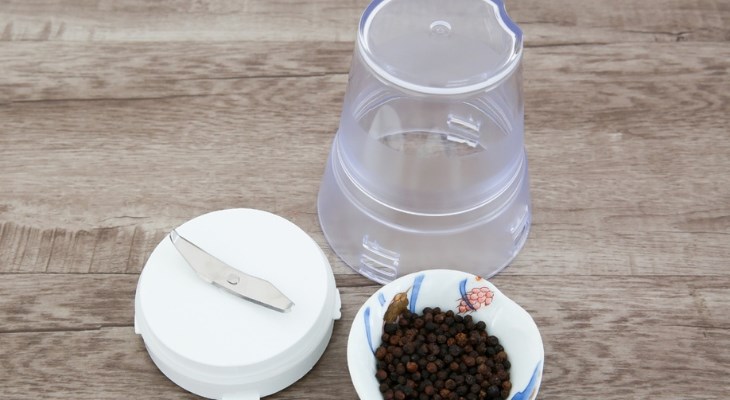
Wash and air-dry the blades of the Toshiba MX-60T(H) Multi-Function Blender and its other components after each use.
We hope this guide has provided you with a simple and safe way to replace your blender blades. If you have any further questions, please don’t hesitate to leave a comment below, and we’ll get back to you soon!
1. Unplug your blender and disconnect it from any power source.
2. Detach the blender base from the food container.
3. Rotate the base attached to the blades counterclockwise to remove it.
4. Install new blades into the blending jar and secure them by rotating clockwise.
5. Reassemble the remaining parts of the blender in their original order.
6. Reconnect the blender to the power source and test it to ensure it’s functioning properly.
– Always wash the blender blades immediately after use and ensure they are completely dry before storing them.
– Avoid storing the blades in a damp environment to prevent rust.
– Do not attempt to sharpen the blades yourself as it can alter their shape and reduce blending efficiency.
– Do not soak the blades in water for extended periods, especially after blending oily substances, as they may be difficult to clean.


