The Monstera plant, with its unique shape and vibrant dark green leaves, has become a favorite among houseplant enthusiasts. In this article, we’ll share a simple method for propagating this striking plant at home, a must-know for any plant lover.
1. Tools and Materials
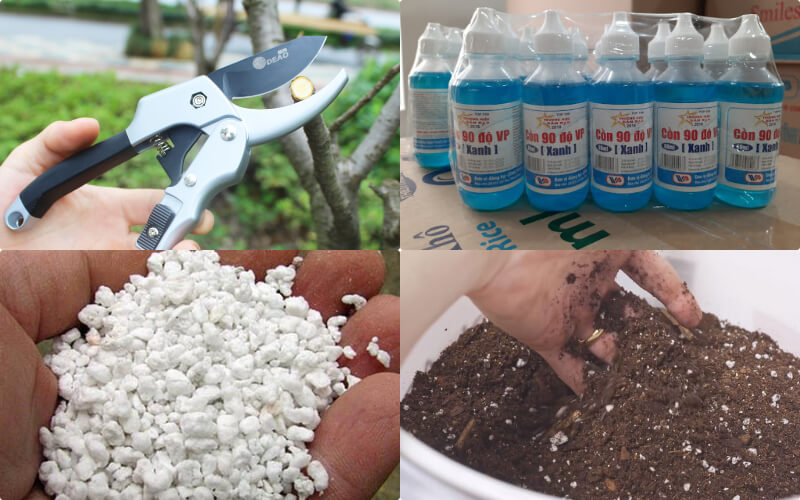 Gather your tools for cutting
- Sharp scissors or pruning shears specifically designed for houseplants.
- Disinfectant such as 70% isopropyl alcohol or povidone-iodine.
- A growing medium such as seedling soil, perlite, or clay pellets.
- A small pot, regular potting soil, and water for irrigation.
2. Propagation Steps
Step 1 Select a Node for Cutting
Begin by identifying a node on the stem, which are the brown rings on the stem where new leaves and roots will form. Ideally, choose a stem section about 20cm long with 2-3 nodes, as this will increase the chances of successful propagation.
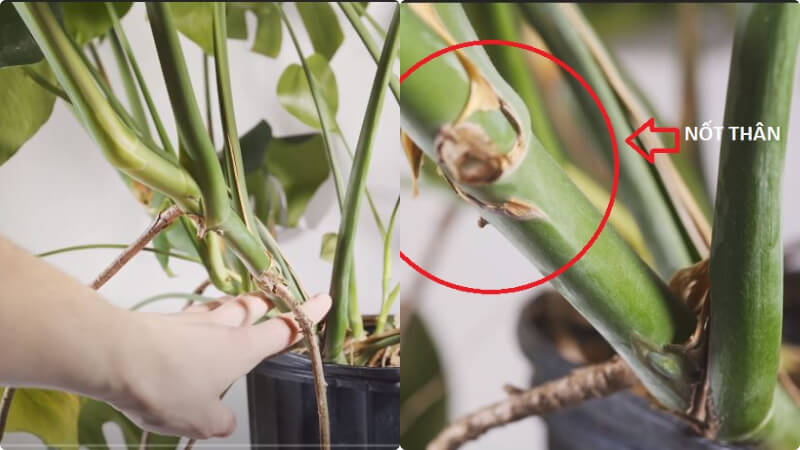 Locate a node on the stem for cutting
Tips for choosing the right node: Opt for a node with 1-2 leaves or aerial roots, as these features will enhance the chances of successful propagation by providing photosynthesis and moisture absorption capabilities.
Step 2 Sterilize Your Tools and Cut the Node
Before making your cut, sterilize your pruning tools with alcohol or povidone to prevent any potential infections. Then, carefully cut the selected node from the mother plant, taking care to include a portion of the stem below the node.
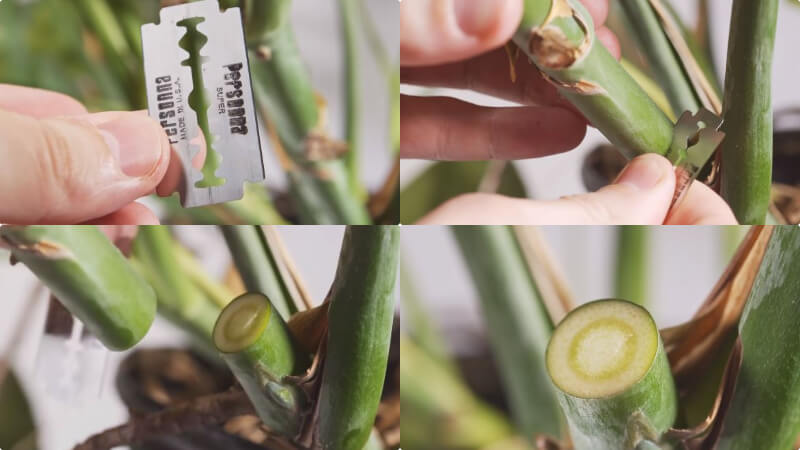 Sterilize your tools and separate the cutting from the mother plant
Step 3 Prepare the Cutting for Rooting
Once you’ve made your cut, place the cutting in a cool, dry place for a day to allow the cut end to callous over. After this, you can root the cutting in water or a growing medium like seedling soil or perlite.
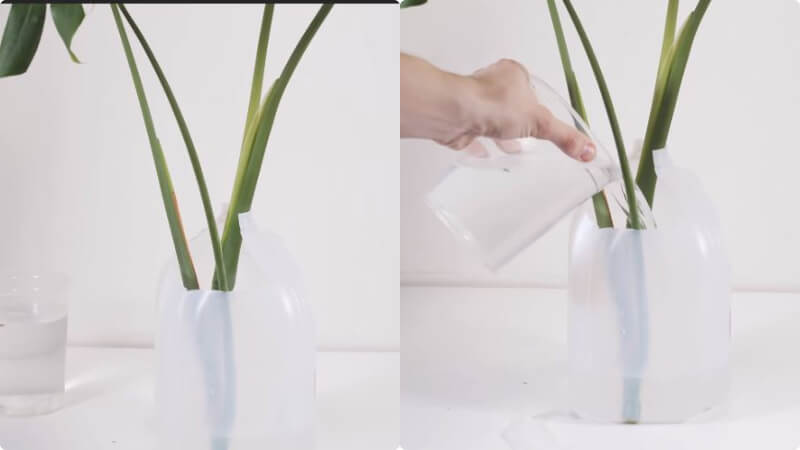 Rooting the cutting in water encourages root growth
Note: Rooting the cutting in water is often more successful, but if using a growing medium, consider adding perlite or clay pellets to improve drainage and reduce the risk of rot.
Step 4 Provide Optimal Conditions for Root Growth
Place your cutting in a bright, indirect light location, such as near a window or on a covered porch. Avoid direct sunlight and drafts from air conditioners, as these can harm the developing roots.
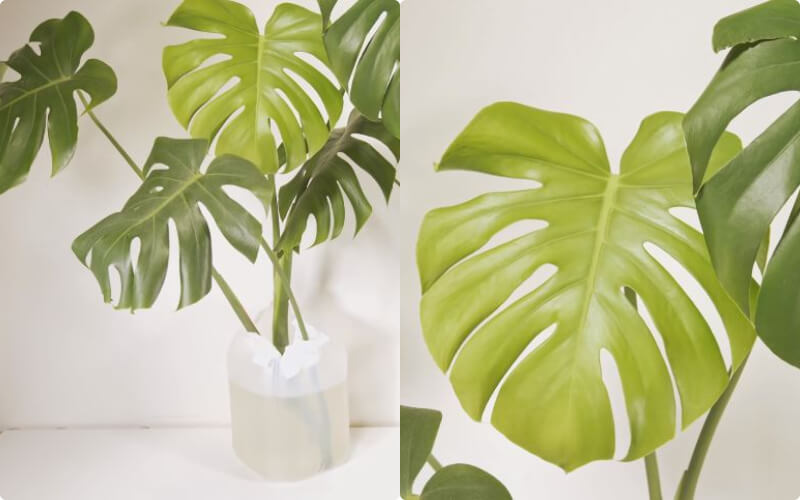 Provide bright, indirect light for optimal growth
Step 5 Care for Your Cutting
Regular care is essential for successful propagation. If rooting in water, change the water every day or at least every 2-3 days to prevent stagnation and bacterial growth. If using a growing medium, maintain moisture without overwatering to avoid rot.
Note: Avoid overwatering before roots develop. Only water when the growing medium feels dry to the touch.
Step 6 Pot Your New Plant
Once your cutting has developed roots and new leaves, it’s time to pot it into a mixture of regular potting soil and compost, along with a support stake to help it grow upright. Care for your new plant as you would any other houseplant, and enjoy its unique beauty!
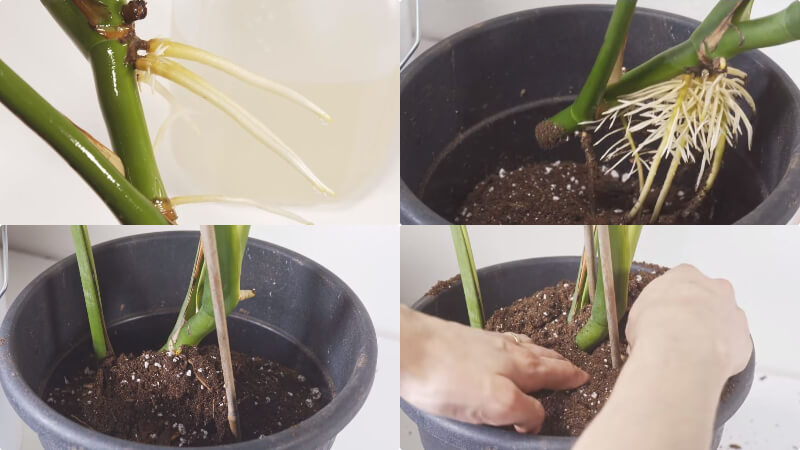 Pot your new plant once it has developed roots and new leaves
Note: The time it takes for roots and new leaves to develop can vary depending on the health of the cutting and environmental factors. Be patient, as it can take up to 2 months for some cuttings to fully root and grow.
What to do if your cutting rots or turns black: Don’t worry if your cutting develops rot or turns black. Simply cut away the affected areas until you reach healthy, firm tissue. If your cutting is too short to salvage, start over with a new cutting, ensuring you follow the steps outlined above.
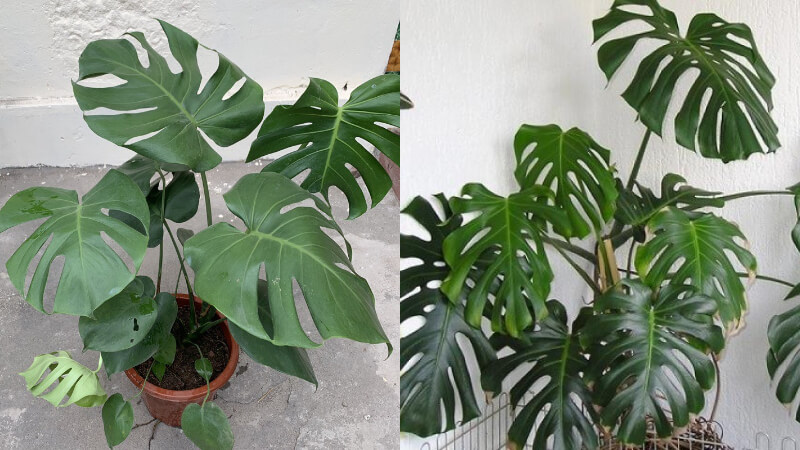 Remove any rotten or blackened sections until you reach healthy tissue


