


")


It’s inevitable to get minor cuts and scrapes in our daily lives, and the quickest fix is usually with adhesive bandages. However, removing them for cleaning or replacement can be a painful experience. Check out these handy tips to make the process easier!
1. Use Physiological Saline
To painlessly remove a band-aid, start by warming it up with a hairdryer. Then, use physiological saline and a lubricating technique to loosen the adhesive. Although it may take some time, the warmth will reduce the stickiness, and any remaining adhesive can be gently wiped away with water or oil.
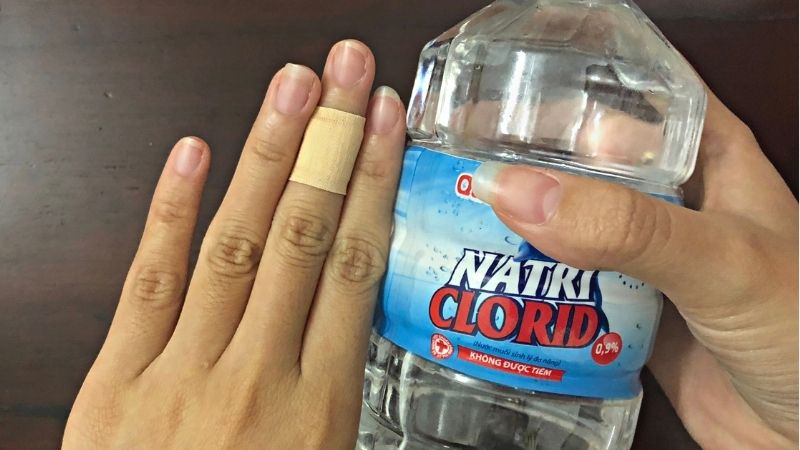 Physiological Saline
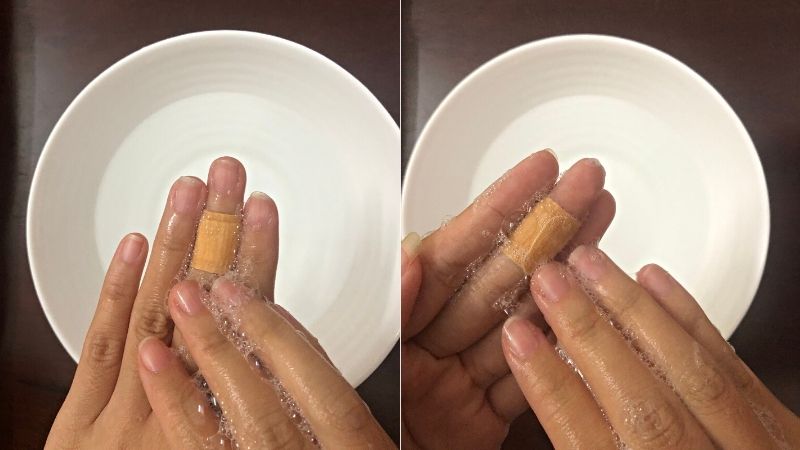
2. Soak in Water
Soaking in water is an extremely effective method as it gradually weakens the adhesive. You can take advantage of shower time or simply soak the area with the band-aid in a basin of water, then try peeling it off. You can also use a warm, damp cloth and place it over the band-aid, waiting for the water to penetrate before removal.
3. Use Oils or Soap
Products like oils, petroleum jelly, or soap can create a slippery surface, making it easier to break the adhesive bonds. With this method, use a cotton ball, Q-tip, or your fingers to apply the substance around the edges of the band-aid. Once evenly applied, slowly start peeling it off to see if the stickiness has reduced. If it still feels tacky, continue applying more oil or soap. When it feels loose enough, quickly remove the band-aid in one swift motion.
 Oils or Soap
We hope these tips help make band-aid removal a less painful experience! Remember to always be careful and gentle when dealing with wounds.
How to Clean Bathroom Mirrors to Keep Them Shiny like in a Hotel

“Never use a wet towel to wipe, or else the mirror will become blurry, and the glass will be easily corroded…”
The Ultimate Guide to Restoring Your Yellowing Sink to its Former Glory

With a few familiar household ingredients such as lemon, vinegar, and salt, you can easily restore your dull and stained sink to its former glory. These simple and natural ingredients pack a powerful punch, leaving your sink sparkling clean and shining like new.


