


Candles with sunken surfaces are often discarded as people assume they can no longer be used. However, this common issue has led many to wonder about the cause of these indentations in scented candles. So, let’s explore the reasons behind this phenomenon and discover some solutions together.
1 Reasons for Sunken Scented Candles
 Reasons for Sunken Scented Candles
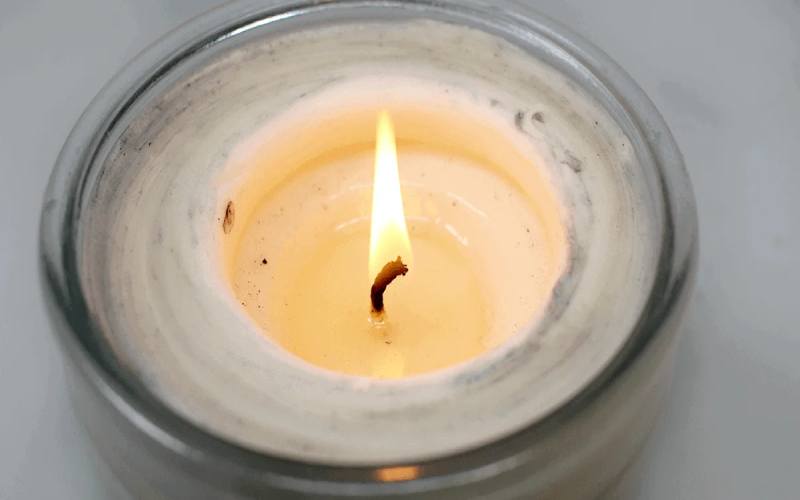
Candle denting mostly occurs when the initial burns don’t allow enough time for the wax to melt evenly across the surface. During the second burn, the wax will sink and cause the candle to self-extinguish. The first burn of a scented candle is crucial. To prevent this issue, allow the candle to burn for 30 minutes to an hour, ensuring the wax melts evenly across the entire surface.
Additionally, to ensure the flame isn’t too large and the wax melts evenly, maintain the ideal height of the candle wick, approximately 0.6 cm above the wax surface. Also, in rare cases, the candle wick may be positioned off-center, leading to uneven burning. Therefore, when purchasing scented candles, pay attention not only to the fragrance and ingredients but also inspect the wick. Opt for candles from reputable stores to guarantee product quality.
2 5 Ways to Fix a Sunken Scented Candle
Use a Candle Warmer
 Use a Candle Warmer
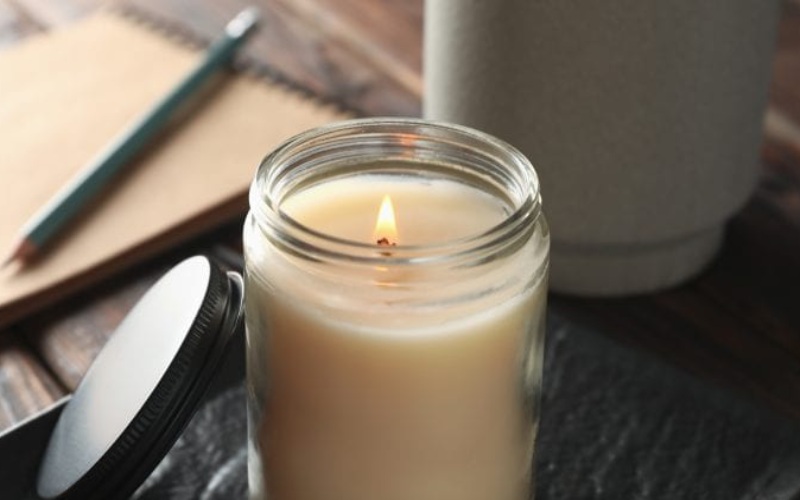
Place the candle jar under the lamp and heat for approximately 30 minutes to allow the fragrance to disperse quickly and ensure the candle’s surface melts evenly and becomes smooth.
Microwave Method
 Microwave Method
This method is only suitable for candle jars made of ceramic or glass and not for metal containers. Place the candle jar in the microwave and heat for approximately 2 minutes to ensure the candle’s surface melts evenly.
Use Aluminum Foil
 Use Aluminum Foil
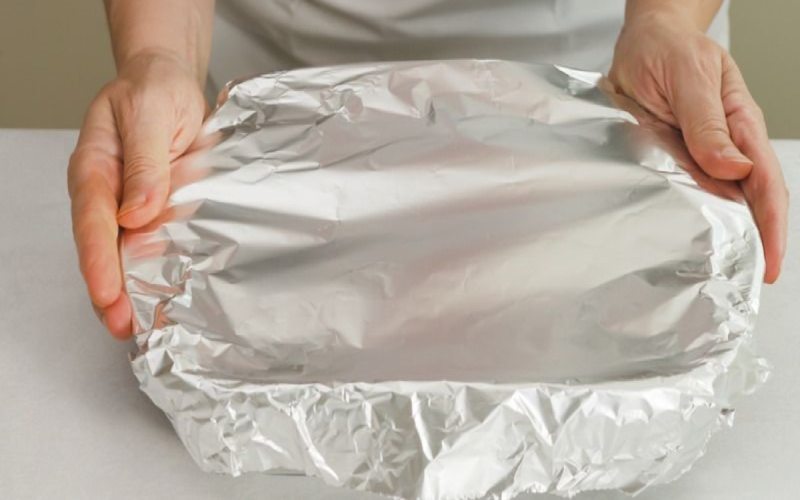
Wrap the scented candle jar with a layer of aluminum foil, covering approximately ⅔ of the jar’s mouth. Then, light the candle as usual. The foil will help distribute the heat from the flame evenly across the candle’s surface, making it “level” again.
Use a Hairdryer
 Use a Hairdryer
Direct the hairdryer’s airflow around the rim of the candle jar until the wax surface begins to melt. Then, remove the excess wax to create a smoother and lower surface, ensuring the wick remains higher. However, be cautious and gentle to avoid spilling or splattering melted wax.
Scrape Off Excess Wax
 Scrape Off Excess Wax
A simple fix for a sunken candle is to use a spoon to scoop out the higher wax areas and remove them. Afterward, you can continue burning the candle. Ensure the wick is 0.4 to 0.6 cm higher than the wax surface. The excess wax can be melted and poured into another glass jar for future use.
3 How to Properly Burn a Scented Candle
 How to Properly Burn a Scented Candle
- Maintain the ideal length of the candle wick at approximately 0.6 cm. Before lighting, use scissors to trim the wick.
- The first burn is the most critical. Therefore, during this initial burn, allow the candle to burn for 30 minutes to an hour to ensure the wax melts evenly across the entire surface and to prevent denting.
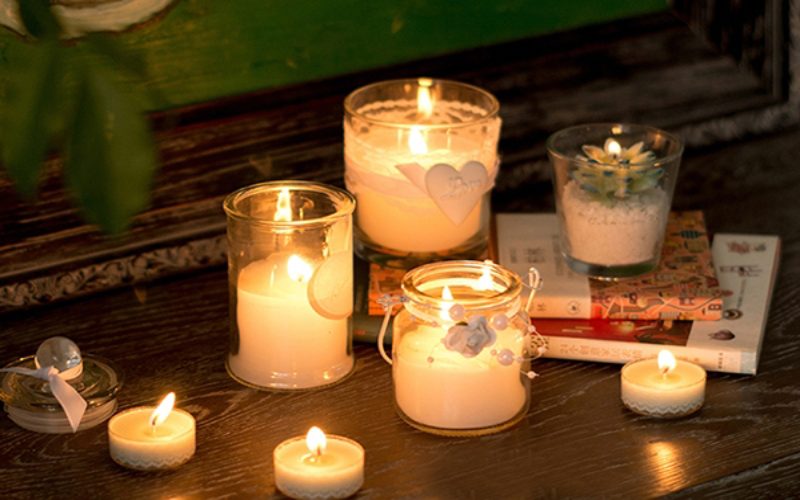
- Place the candle on a stable, heat-resistant flat surface, such as a ceramic, porcelain, or metal tray. This not only keeps the candle steady but also adds an interesting decorative element to the room.
- Do not burn the candle when the wax is almost gone. Ensure you clean the wax surface before lighting. If the wax is within 1.5 cm from the bottom of the candle jar, stop burning to ensure safety.
- It is recommended to use specialized tools and accessories for easy lighting and extinguishing, such as a candle snuffer, a USB lighter, and scissors for trimming the wick.
In conclusion, we have explored the reasons behind sunken scented candles and provided solutions to address this issue. We hope you found this information helpful in properly maintaining your scented candles.
Pack Smart: 5 Must-Have Household Items for Travel

Are you planning a trip and looking for the best items to bring with you? Let Dien May XANH show you some useful and compact household items that you can take along with you for a more comfortable journey.
How to Easily Get Rid of Adhesive Stains on Plastic Items

Are you having trouble getting rid of those pesky adhesive marks left behind by plastic? Have you been searching for an easy and efficient way to do so? Well, your search may be over! In this article, we will provide you with three simple and highly effective solutions for removing plastic from adhesive marks.
Is Cooking with Aluminum Foil in an Air Fryer Healthy?

Are you wondering about the safety of using aluminum foil in an air fryer? We will look into the matter and provide you with an answer.
How to Quicken the Drying Time Using a Clothes Dryer

Tired of waiting for the rain to stop before you can dry your clothes? Now you don’t have to with Ði?n Máy XANH’s efficient dryer! Learn more about the clever tool and find out how you can cut down your drying time.
Unlock the Secret to Delicious Grilled Fish Made in the Oven

Are you looking to enjoy a mouthwatering grilled fish meal? Here are some helpful hints to make the most delicious fish on the barbecue!


")


