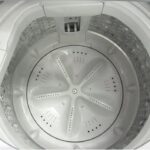
Over time, your washing machine may not perform as effectively as it did when you first purchased it. You may notice that your clothes come out of the wash with an unpleasant odor and stubborn stains. These are warning signs that it’s time to give your washing machine a good cleaning.
Regular Washing Machine Maintenance
Some people believe that washing machines don’t need to be cleaned since they are constantly exposed to water and detergent, which should clean them. This is a misconception.
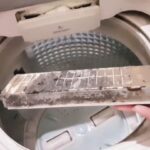
According to practical experience from appliance experts, the wash drum accumulates bacteria, dust, and lint from your clothes. If you use your washing machine for an extended period without proper cleaning, these contaminants can reattach to your clothes and potentially impact your family’s health.
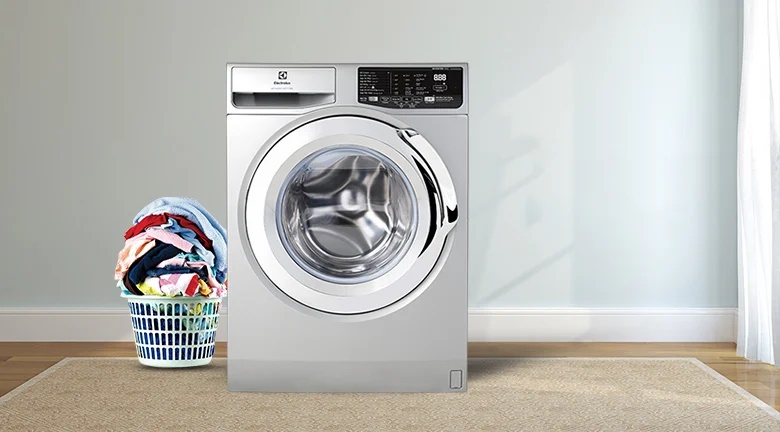
Periodic Cleaning for Optimal Performance
How often should you clean your washing machine? It is recommended to clean it at least once every three months, or even once a month if possible. Additionally, after each wash, remember to leave the door open to allow air circulation, which helps dry the drum and prevent the growth of mold and mildew.
Step-by-Step Guide to Cleaning a Top-Loading Washing Machine
Step 1: Begin by unscrewing and removing the control panel of your washing machine.
Step 2: Carefully unscrew and remove the top panel of the machine.
Step 3: Pay attention to the screws holding the wash drum in place, and remove them one by one, including the round plastic piece on the drum. Then, unscrew and carefully lift out the wash drum and tub.
Step 4: Clean the wash drum by removing the filter (usually attached to the side of the drum) and rinsing it thoroughly. If you have access to a pressure washer or a strong jet of water, use it to clean the inside of the drum and its components. Otherwise, a good old-fashioned scrub brush will do the trick!
Step 5: Once everything is clean and dry, reassemble the parts in the reverse order: start with the wash drum, then the plastic top cover, and finally, the control panel, securing everything with screws.
Step 6: Before starting your washing machine, double-check that all the parts are securely in place and there are no loose components.
Cleaning a Front-Loading Washing Machine
Step 1: Just like with a top loader, start by thoroughly inspecting your front-loading washing machine for any signs of damage or malfunction. If you notice any issues, it’s best to contact a professional repair service.
Step 2: Using a 5-sided pake screwdriver, unscrew and remove the back panel of the machine, as well as the top panel.
Step 3: Remove the counterweight of the wash drum, the detergent compartment, the water supply components, and any electrical connections, being careful not to pull too hard and damage the connectors.
Step 4: Carefully remove the front door of the wash drum, unplug the motor, electrical resistor, drive belt, and shock absorber.
Step 5: Clean the inside of the wash drum with a strong jet of water, and use mild detergent if needed to remove any stubborn stains. Once everything is clean and dry, reassemble the machine, making sure everything is connected correctly. Finally, perform a test run to ensure your washing machine is working properly.
Source: Xe và thể thao
The Magic of Salt: How a Simple Ingredient Can Transform Your Laundry Routine
Introducing a game-changing laundry hack that will revolutionize your washing routine – simply add a pinch of salt to your washing machine and witness the remarkable difference it makes. In just 30 minutes, uncover the incredible benefits it brings, leaving your clothes looking and feeling brand new. This simple yet effective trick is the secret weapon to achieving impeccable laundry results.


