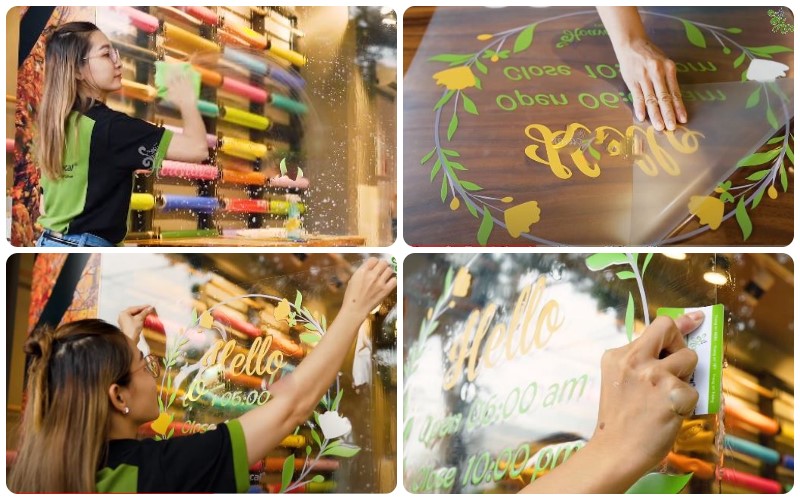
Glass decals can be considered an essential “accessory” in work environments where glass partitions separate employees, departments, or rooms. To ensure a professional and bubble-free application, follow these tips for the most aesthetically pleasing decal installation.
Step 1: Choose the right glass decal and determine its placement. Use a specialized cleaner to prepare the glass surface. Mix a few drops of dish soap with clean water (a very dilute solution) and spray it onto the glass where you plan to apply the decal.
 Aesthetically pleasing decal application without bubbles or unevenness
Step 2: Gently peel off the backing of the decal.
Step 3: Position the decal, backing removed, onto the glass, adjusting it to fit your needs, purpose, and aesthetic preferences.
Step 4: Secure the decal to the glass surface, then use a plastic card or a squeegee to gently remove any water or air bubbles from under the decal. Keep squeegeeing until no more bubbles are visible.
Allow 30 minutes for the decal to dry, then use a clean, dry cloth to wipe the glass surface.
With these tips, you can achieve a professional-looking decal installation without hiring a contractor, saving you both time and money. This method can also be applied to various other materials such as ceramic tiles, metals, and plastics.


