The Comprehensive Handbook to Carving a Halloween Pumpkin: A Detailed Walkthrough
Learn how to carve an epic Halloween pumpkin with our easy-to-follow step-by-step guide. We'll show you the ropes, and with our handy templates, you'll be well on your way to creating a spooktacular masterpiece. It's time to get creative and embrace the spirit of Halloween!
Carving pumpkins with eerie faces is a beloved tradition of Halloween, and it’s time to embrace your creativity as we approach the spooky season on October 31st. Get ready to dive into the world of art as we guide you through the process of drawing and coloring a Halloween pumpkin with these straightforward steps.
Also check out: 3 More Halloween Craft Ideas
1. Mastering the Art of Drawing and Coloring a Halloween Pumpkin: Simplified
This Halloween, elevate your decorative game with a simple yet captivating idea—pumpkin drawing and coloring. All it takes is about 10-15 minutes of your time, and you’ll be able to create a masterpiece by following these effortless steps.
Gather Your Art Arsenal
1 Black Brush Pen
1 A4 Drawing Paper
Colored Pencils (Black, Orange, Green, and Yellow)
Assemble your artistic tools
Unleash Your Creativity: Step-by-Step Guide
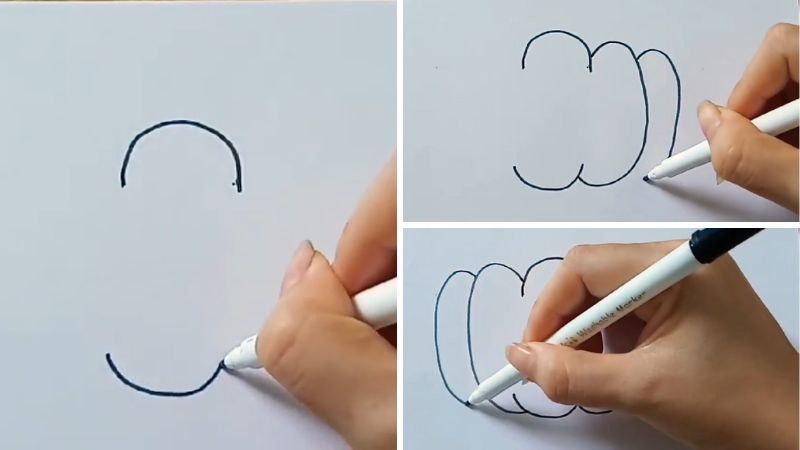
Step 1 Grab your black brush pen and delicately place two small dots on the drawing paper, approximately 2cm apart. Connect these dots to form an elegant arc that gracefully curves upward. Continue this symmetrical dance to create another arc that curves downward, and use the power of C-shapes to connect these arcs, forming the foundation of your pumpkin.
On the left wing of your pumpkin, draw two downward-facing C-shapes to unite the middle arcs, completing the captivating body of your pumpkin.
Step 1: Outline the basic shape
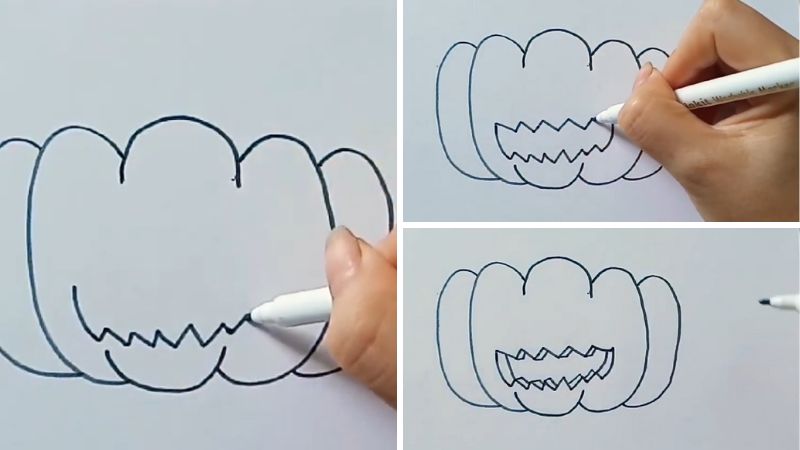
Step 2 It’s time to bring your pumpkin to life with a mischievous smile. Use your pen to dot a small point on the left, then let your creativity flow by drawing a zigzag line downward and finishing with an upward stroke to perfect the lower lip.
Continue this zigzag journey along the edge of the mouth to connect the two lips, forming the upper lip. Add a touch of depth by drawing another line inside to create a shadow, giving your pumpkin a lifelike smile.
Step 2: Craft a playful smile
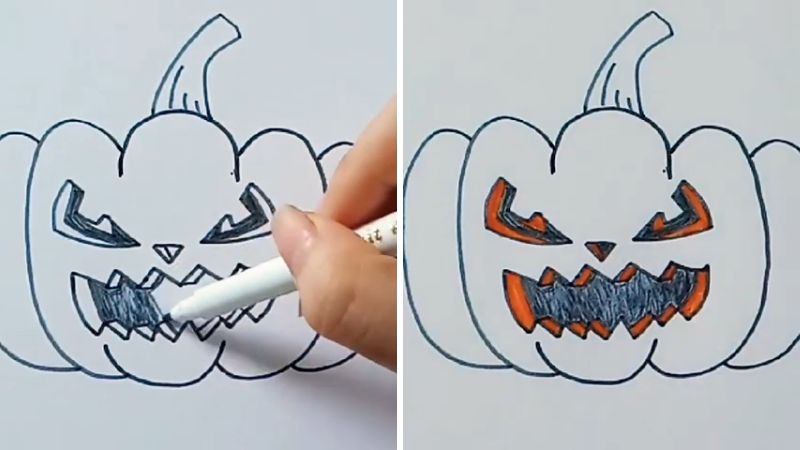
Step 3 Let’s add some character to your pumpkin. Draw an inverted triangle to form the nose, and then create those captivating eyes by drawing two oblique U-shapes at a 45-degree angle, with the tips subtly pointing towards the nose for that mischievous glint. Top it off by drawing the pumpkin’s stem, and you’re almost ready to bring your creation to life with color.
Step 3: Add defining features
Step 4 It’s time to embrace the power of color. Use your black pencil to fill in the inner parts of the eyes, the inside of that playful mouth, and one nostril. Then, switch to your orange pencil to add a pop of color to the outer parts of the eyes, the outside of the mouth, and the other nostril.
Step 4: Bring your creation to life
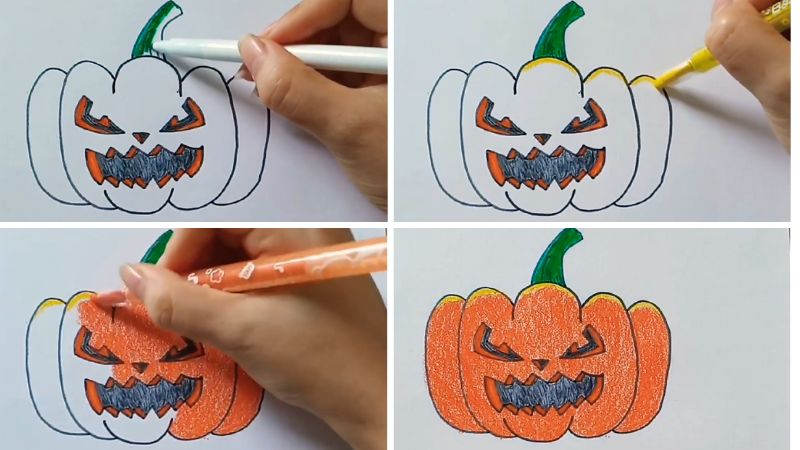
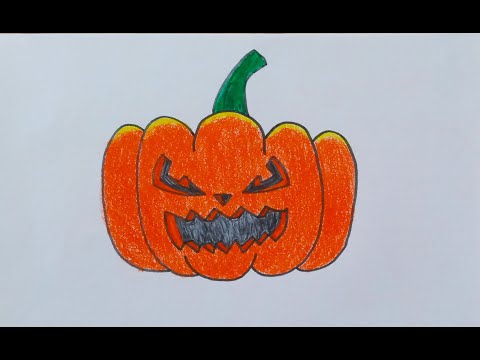
Step 5 For the grand finale, color the stem with green and add a touch of yellow to the upper outline of your pumpkin’s body. Complete the transformation by coloring the entire body of your pumpkin a vibrant orange, and behold your spooky masterpiece, ready to grace your Halloween celebrations.
Step 5: Final touches
If you’re craving more visual guidance, feast your eyes on the video tutorial below, where we unravel the mysteries of drawing and coloring a Halloween pumpkin:
2. Unleashing Your Creativity: Halloween Pumpkin Drawing Ideas
While the above method is a great starting point, we encourage you to explore your imagination and embrace these additional creative ways to draw and decorate your Halloween pumpkin:
Witty and whimsical pumpkin drawing
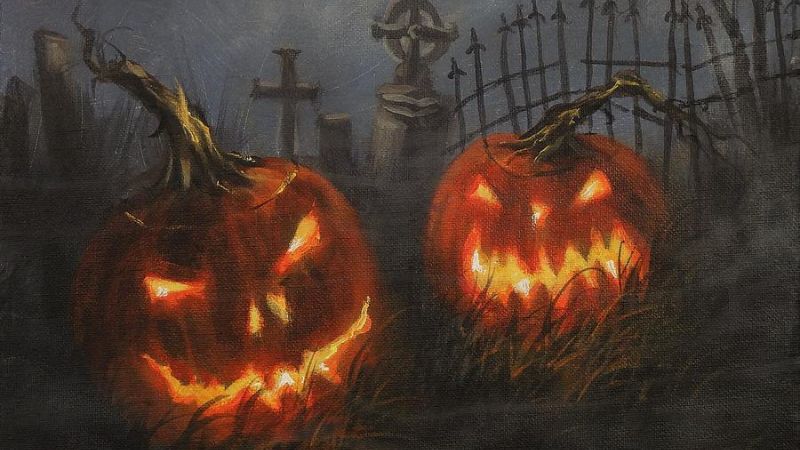
Spine-chilling and scary pumpkin drawing
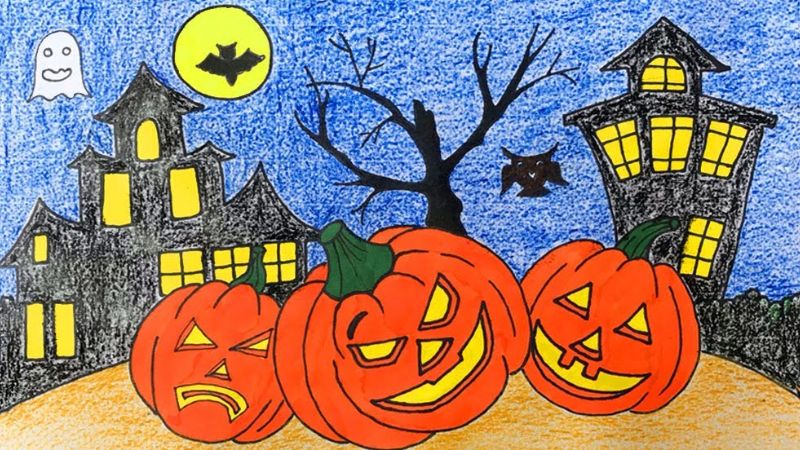
Intricate and artistic pumpkin drawing
Eerie and creepy pumpkin drawing
3D pumpkin drawing that pops
Adorable pumpkin drawing perfect for kids
Don’t forget to explore: Easy and Heartwarming Handmade Gift Ideas for Teachers
We hope that these simple steps inspire you to create your own Halloween pumpkin drawings. Happy crafting, and have a magical Halloween!
Frequently asked questions
Start by gathering your art supplies: a black brush pen, A4 drawing paper, and colored pencils in black, orange, green, and yellow. Then, follow these steps: draw the basic shape of the pumpkin with two arcs, add a mischievous smile, craft the upper lip, and create depth. Add defining features: an inverted triangle nose and oblique U-shaped eyes with a mischievous glint. Fill in the colors: use black for the inner parts of the eyes and nose, orange for the outer parts, and green for the stem. Add a touch of yellow to the upper outline and color the entire body of the pumpkin orange. Finally, explore your creativity with different styles like witty, scary, intricate, or 3D.
Try a witty and whimsical pumpkin drawing, or go for a spine-chilling and scary option. Explore intricate and artistic designs, or create an eerie and creepy pumpkin. Play with 3D effects to make your pumpkin pop, or opt for an adorable kid-friendly drawing. The possibilities are endless, so embrace your imagination and have fun with it!
This simplified method offers a quick and captivating way to decorate for Halloween. With just a few simple steps and basic art supplies, you can create a masterpiece in about 10-15 minutes. It’s a fun and easy way to get into the festive spirit, and you can even explore your creativity further with different styles and decorations.


 Assemble your artistic tools
 Step 1: Outline the basic shape
 Step 2: Craft a playful smile
 Step 3: Add defining features
 Step 4: Bring your creation to life
 Step 5: Final touches
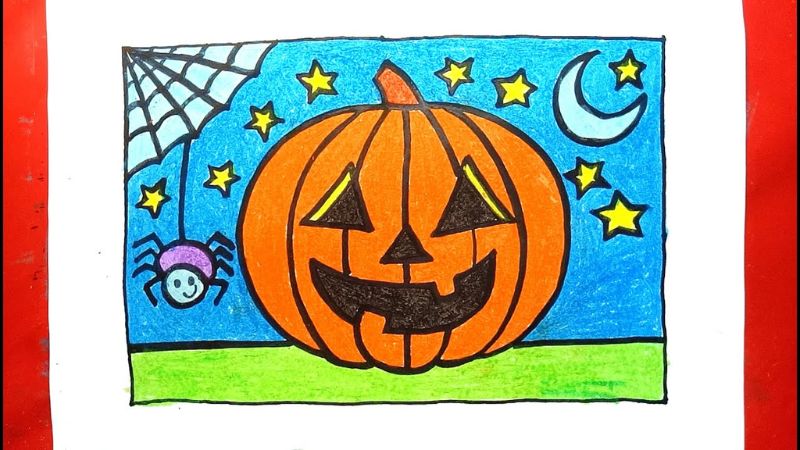 Witty and whimsical pumpkin drawing
 Spine-chilling and scary pumpkin drawing
 Intricate and artistic pumpkin drawing
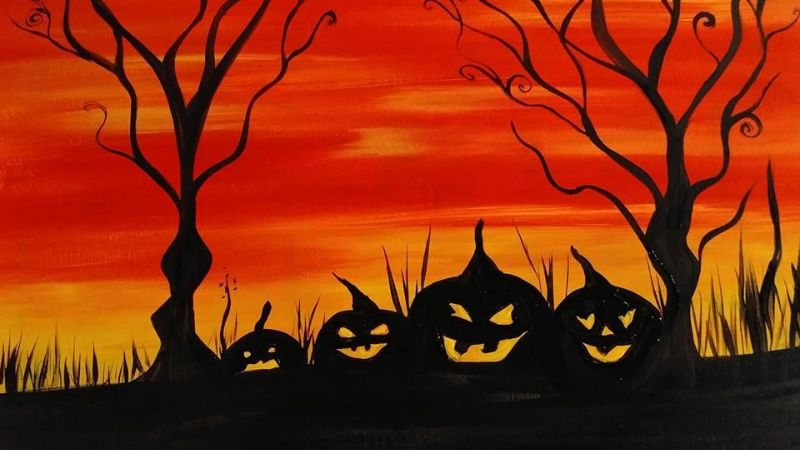 Eerie and creepy pumpkin drawing
 3D pumpkin drawing that pops
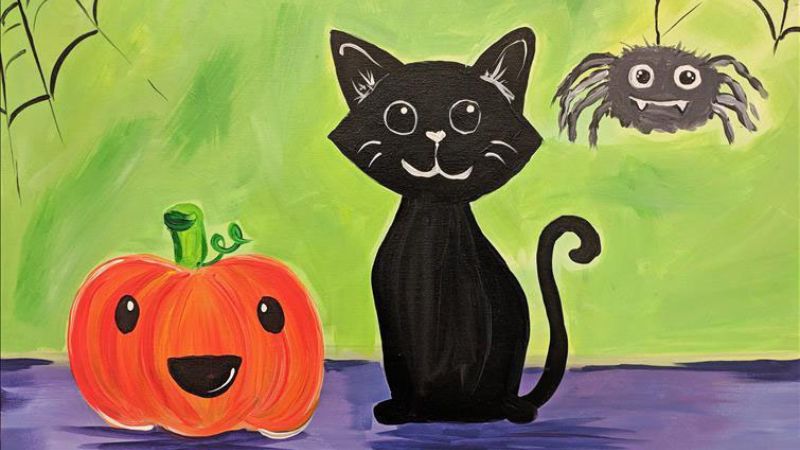 Adorable pumpkin drawing perfect for kids


