


Clothing repair is a skill that everyone should know to some degree. It’s a simple and easy-to-learn skill that allows us to fix our clothes at any time. If you’re not yet confident in your sewing abilities, learn these simple ways to repair clothes, making them look as good as new.
1 Sewing Clothes by Hand
Common stitches used in sewing:
Basting Stitch
Characteristics of the Stitch
- The stitch temporarily holds the fabric in place before sewing. You will remove this basting stitch after completing the final stitches. The purpose is to ensure the final product looks neat and the fabric doesn’t shift while sewing.
- The basting stitch is spaced out, long, and doesn’t require much technique, so you don’t need to be too meticulous. Just sew quickly to guide the official stitches and ensure accuracy.
- When basting, insert the needle through the fabric about 0.5-1cm from the seam line, from right to left, then make several stitches at once before pulling the needle through to the back.
 Basting Stitch
Technical Requirements
- When basting, hold the fabric pieces firmly in the desired position.
- The stitches don’t need to be perfectly even as they will be removed once the product is completed.
- The basting stitch should not overlap with the final seam.
Whipstitch
Characteristics of the Stitch
- Fold the fabric edges together twice or roll them, then make a loose running stitch to hold the fabric in place.
- Execute the whipstitch from left to right, creating crossed stitches on the wrong side of the fabric.
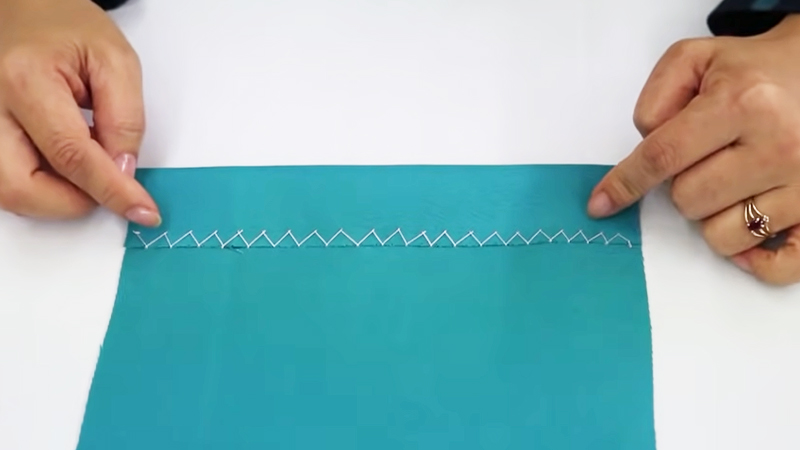 Whipstitch
Technical Requirements
Pay attention to keeping the distance between stitches even and small.
Backstitch
Characteristics of the Stitch
- This stitch is used to connect consecutive stitches and reinforce the seam.
- The backstitch is slower than the running stitch as it is done step by step and requires higher precision.
- It is commonly used for joining seams or finishing edges.
- Insert the needle through the fabric in the order 1,2,3… Pay attention to keeping the distance between 1-2 and 1-3 equal, about 1mm.
 Backstitch
Technical Requirements
Sew in a straight line and keep the stitches straight on the surface of the fabric.
Ensure the fabric remains smooth and wrinkle-free.
Running Stitch
Characteristics of the Stitch
- Execute the running stitch similarly to the backstitch, but space out the stitches on the fabric’s surface by a certain distance.
- This stitch is used for joining seams.
- Insert the needle through the fabric in the order 1,2,3… but the distance between 1-3 will be longer than the distance between 1-2.
- The distance between 1-2 is about 1mm, and between 1-3 is about 2mm. As the distances are similar, be careful not to confuse them.
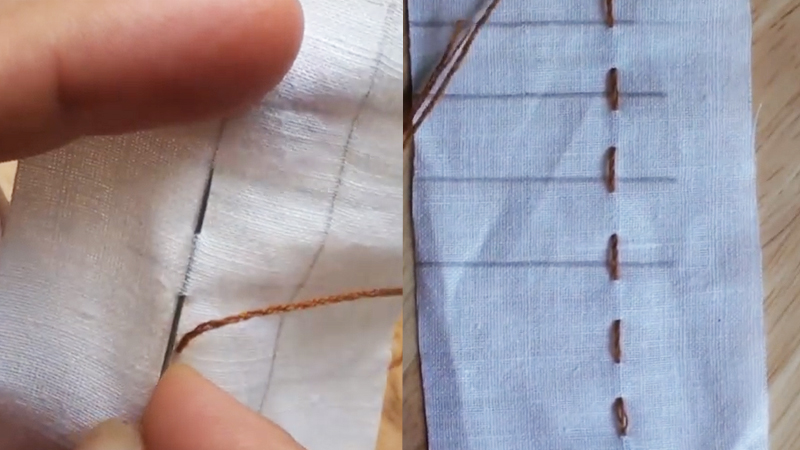 Running Stitch
Technical Requirements
- Keep the stitches straight and the fabric wrinkle-free.
- The stitches should be short, but the spacing must be consistent.
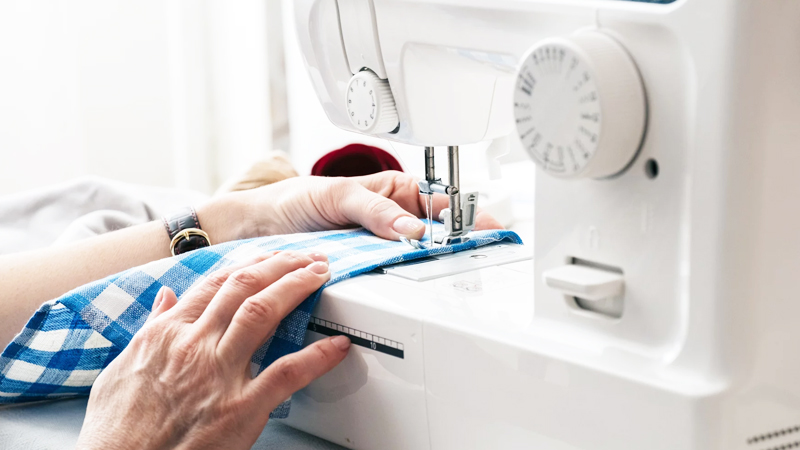
2 Sewing Clothes with a Sewing Machine
Sewing machines are no longer strange to Vietnamese women, especially those working in the fashion industry.
Sewing machines operate with a separate motor, connecting the engine shaft to the machine with a belt or drive belt. Mechanical sewing machines are manually controlled, combining hand and foot movements. The speed, stitch ratio, and evenness of the needlework depend heavily on the skill and technique of the user.
 Sewing Clothes with a Sewing Machine
Advantages of Sewing Clothes with a Machine
Machines are highly durable and less prone to breakdowns.
The simple structure of the machine makes it affordable to purchase and maintain. Spare parts are easily replaceable.
Sewing machines are suitable for simple, small-scale, and non-continuous sewing for everyday users, mothers sewing at home, or those assembling fashion designs.
The separate motor allows for speed adjustments according to the user’s skill level. It is a good choice for beginners learning basic sewing techniques.
3 Repairing Clothes Without Needle and Thread
If using a needle and thread seems too complicated, try repairing clothes without them!
Materials
- Iron
- Fabric paper (a type of paper with adhesive on one side to bond fabric fibers)
- Water spray bottle
- A thin piece of fabric
 Repairing Clothes Without Needle and Thread
Instructions
See? It is possible to repair clothes without needle and thread!
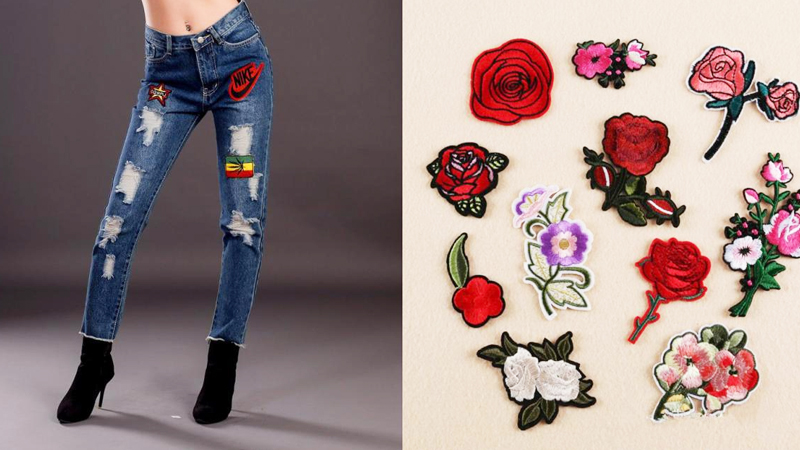
4 Repairing Clothes with Fabric Stickers
Fabric stickers have been on the market for a long time and come in various types, colors, and sizes, attracting a lot of attention.
Uses of Fabric Stickers
Fabric stickers help conceal flaws (tears, scratches, stains) in clothing.
They can also be used to decorate and embellish outfits, making them more colorful and unique with super cute and diverse sticker designs.
To avoid mixing up your belongings in public places or boarding schools, you can use fabric stickers as identifiers on your personal items (bags, clothing, etc.).
 Repairing Clothes with Fabric Stickers
Advantages of Fabric Stickers
There are two types of fabric stickers: wet and dry adhesive.
- Wet adhesive fabric stickers release glue when ironed onto clothing, quickly bonding to the fabric without leaking. The glue covers tears and wraps them up. This type of sticker is fast and time-saving.
- Dry adhesive fabric stickers work similarly, but you need to adjust the iron’s temperature accordingly and iron directly over the sticker to prevent burning and ensure a strong bond.
As you can see, repairing clothes isn’t that difficult! Hopefully, with these methods, you can learn to fix your clothes in a pinch. Good luck and happy sewing!


