Sweaters are a wardrobe staple for many, but they can be prone to pilling, holes, and other damage if not properly cared for. Don’t worry; we’ve got you covered with an easy and convenient at-home solution to repair your favorite sweater and make it look as good as new!
1 What You’ll Need
To transform an old or damaged sweater into a like-new garment, gather the following tools:
-
Yarn in a color that matches your sweater
-
Yarn needles
-
Sewing needles (choose a size suitable for your yarn)
2 The Simple Repair Process
Giving your sweater a new lease of life is a breeze with these simple steps:
Step 1 Trim the Damage
Use scissors to trim away any loose or damaged yarn. Don’t worry about making the hole bigger, as we can easily fix it. Leaving frayed ends will make it impossible to repair, so be sure to snip them off!
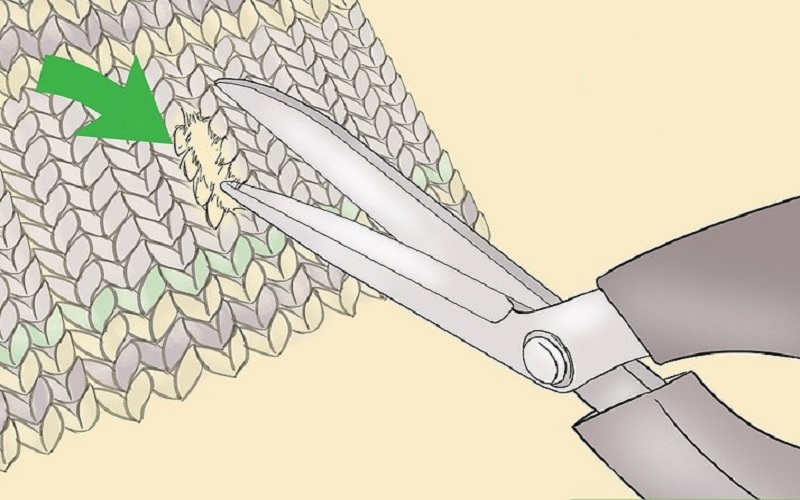 Trim damage and loose ends
Step 2 Secure the Hole
Use a sewing needle and thread to sew a running stitch around the hole. This will secure the hole and prevent it from expanding during the repair process.
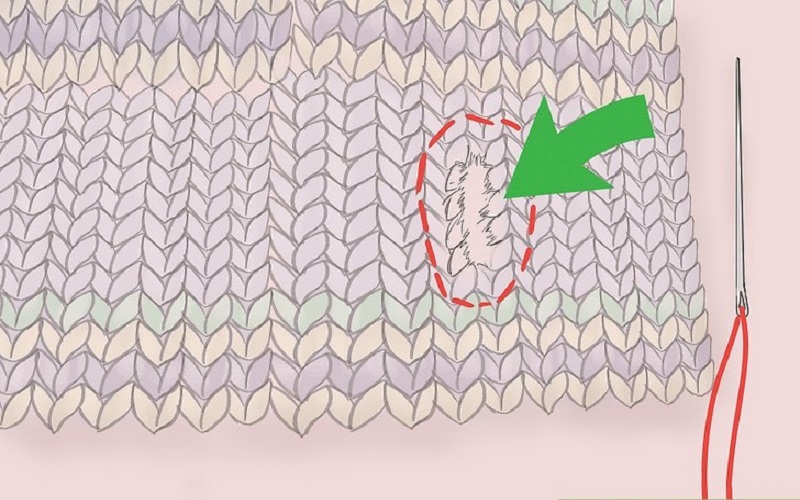 Secure the hole with a running stitch
Step 3 Thread Your Yarn Needle
Thread your yarn needle with the matching yarn.
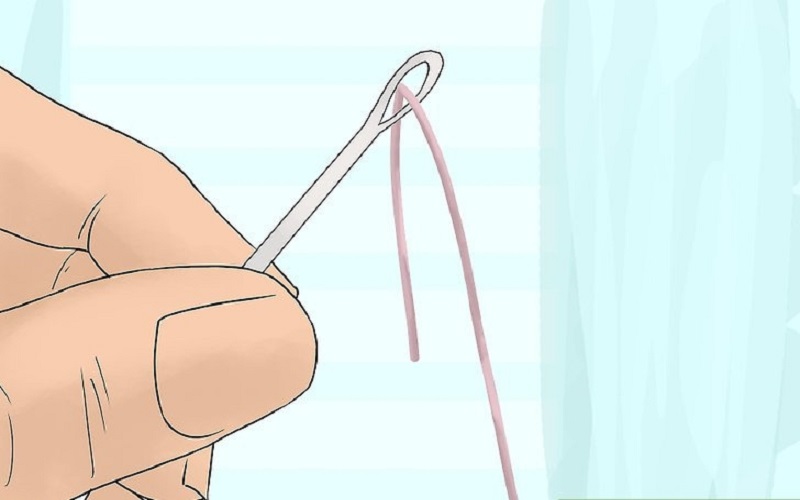 Thread the yarn needle
Step 4 Weave and Repair
Insert your yarn needle into the fabric on one side of the tear, then bring it up on the other side. Weave the yarn through the stitches, following the path of the original yarn. Go slowly and match each stitch for the best results.
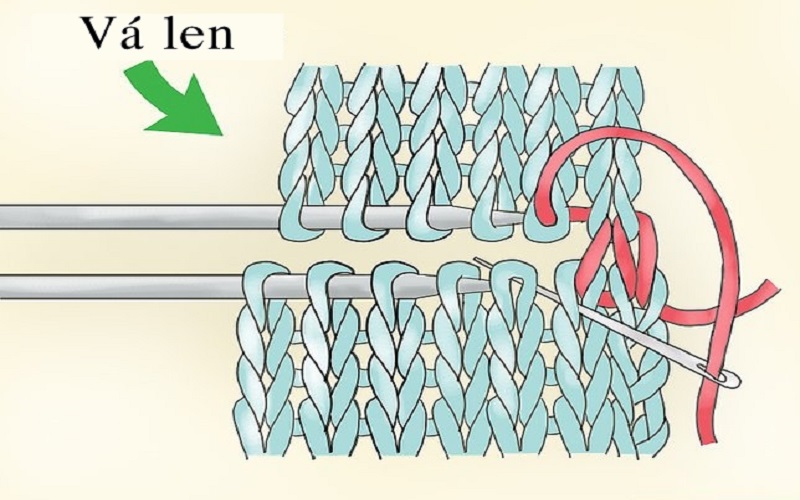 Weave and repair the tear
Step 5 Hide the Tail
Once you’ve finished weaving, hide the tail of the yarn by threading it onto a yarn needle and weaving it into the inside of the sweater.
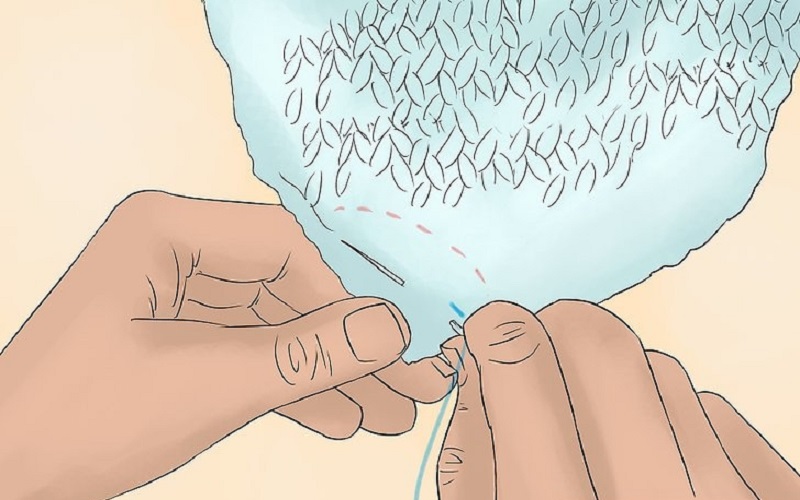 Hide the yarn tail
Step 6 Remove the Running Stitch
Gently remove the running stitch you made in Step 2, and your repair is complete!
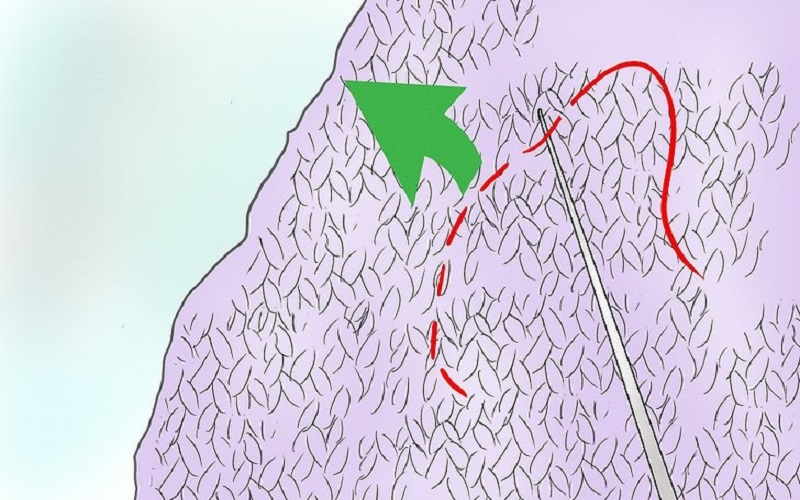 Remove the running stitch
Now you know how to repair your favorite sweater and make it look brand new! We hope you found this guide helpful, and don’t forget to share these useful tips with your loved ones so they can give their sweaters a new lease of life, too!


