Mice can be an absolute nightmare, especially during the festive season when there’s an abundance of food in your home. If you’ve tried various methods without success, it’s time to try this incredibly simple and effective DIY mouse trap using just a plastic bottle and a pair of chopsticks.
1. Materials for the Mouse Trap
- 1 plastic bottle (typically used for juice or soda) with a capacity of 1.5 liters
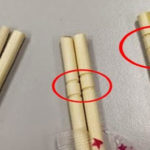
- 1 pair of small chopsticks
- 1 utility knife
- A few good rubber bands
- 1 piece of string
- 1 paper clip
- Mouse bait (cookies, chocolate, etc.)—anything will do!
2. How to Make the Mouse Trap
Step 1: Create a “door” for your trap by using a utility knife to cut off 1/4 of the top portion of the bottle. This will give you two separate parts—the top and the bottom.
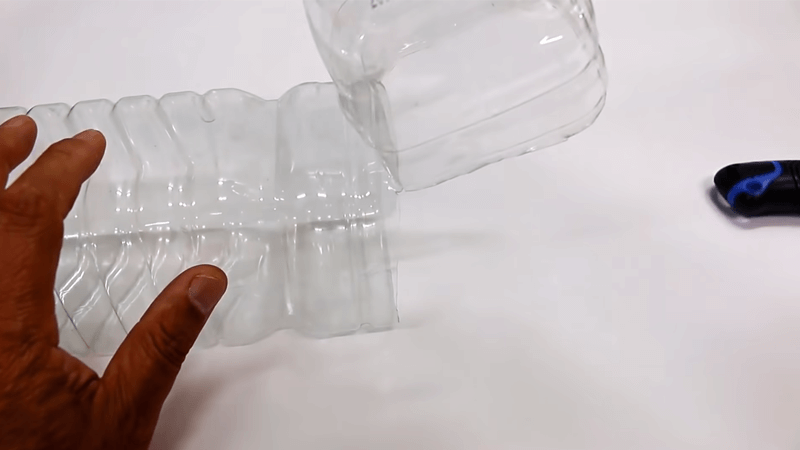
Step 2: Take the top portion you just cut off and use a screwdriver to puncture two holes. These holes will be used to insert one of the chopsticks. You can heat the screwdriver to make puncturing easier.
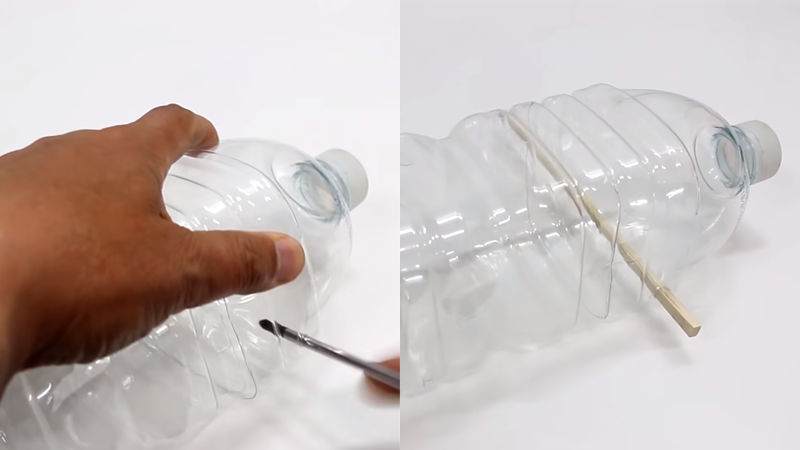
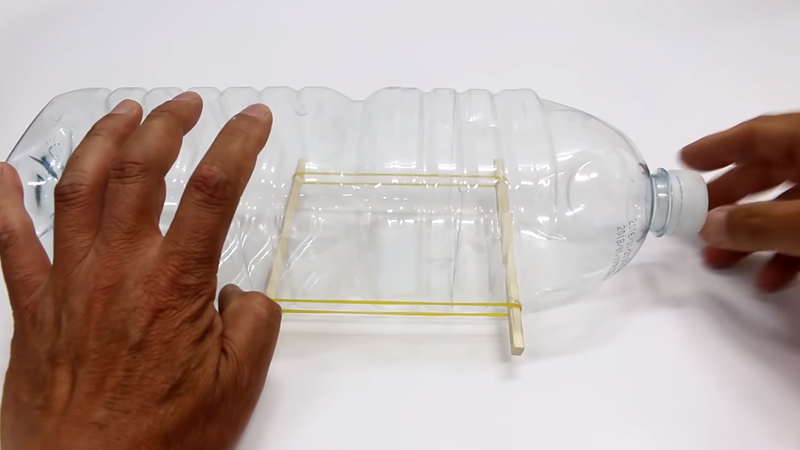
Step 3: For the bottom part of the bottle, puncture two holes in the same way and insert the other chopstick. Use rubber bands to secure both chopsticks firmly in place.
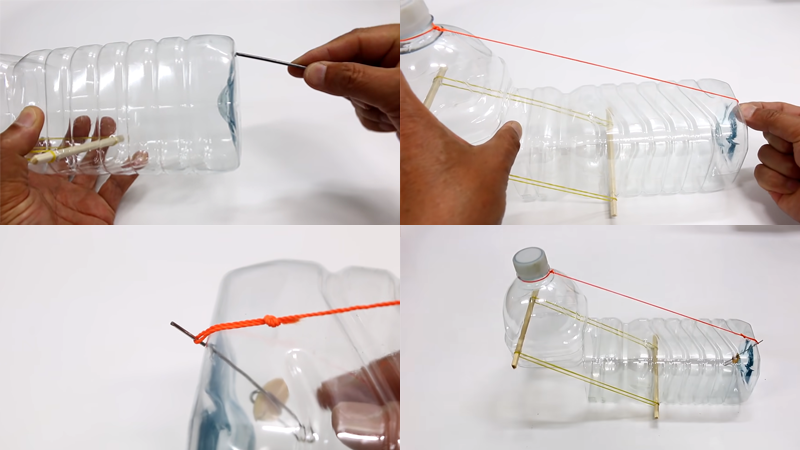
Step 4: Puncture a small hole at the bottom of the bottle and thread the string through it, tying it around the neck of the bottle. Take the paper clip and bend it open, attaching a piece of bait to it.
Insert the baited paper clip from inside the bottle, and secure it with the other end of the string.
3. How It Works
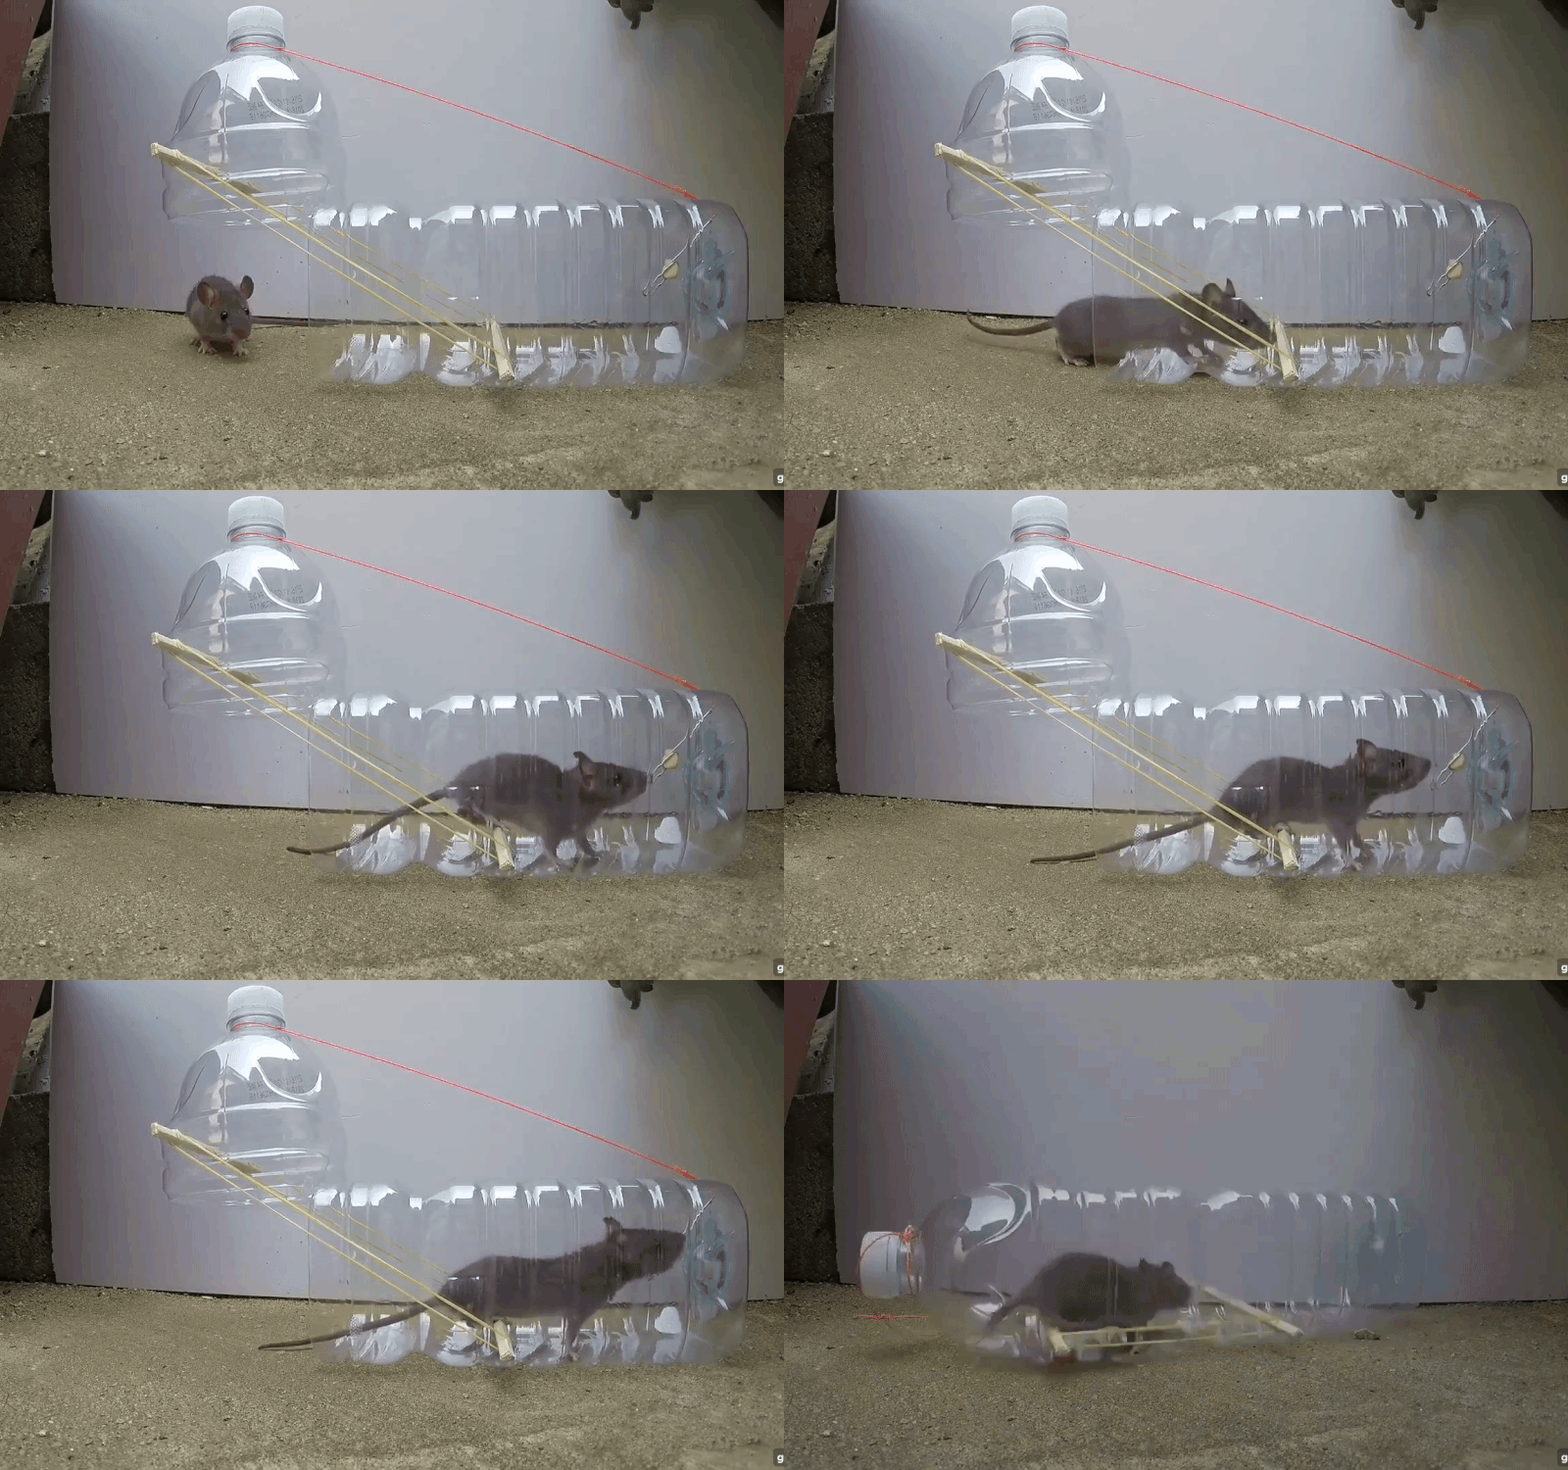
When a mouse enters the trap to eat the bait, it will pull on the paper clip, causing it to detach from the string and spring the trap shut, effectively trapping the mouse inside.
Once you’ve caught a mouse, remove the bottle cap and submerge the bottle in a bucket of water until the mouse is no longer moving. Then, dispose of the mouse and reuse the trap.
4. Some Things to Keep in Mind
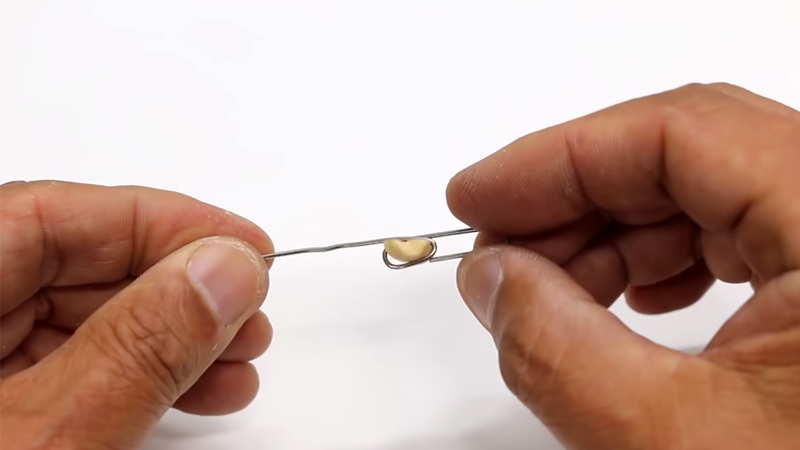
Don’t attach the bait too loosely, as the trap might not activate after the mouse eats it. Avoid attaching it too tightly, either, as the mouse might give up if it can’t get to the bait.
The best time to set the trap is at night, but if you need to set it during the day, place it away from areas frequented by children or pets.
This guide is intended to help eliminate harmful mice and is not meant to encourage animal cruelty.
With these four simple steps, your DIY mouse trap is ready! We hope that this trap will help you keep those cunning mice away from your treats. Good luck, and happy trapping!


