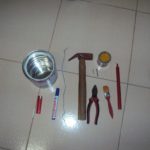
Materials and Tools for Making Lanterns from Lucky Money Envelopes
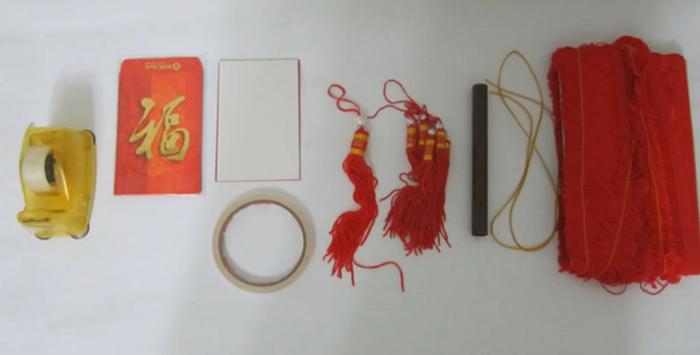
- 30 lucky money envelopes
- 24 pieces of thick cardboard
- 1 thick thread and 6 small threads
- Gold thread
- Red border fabric thread
Tools
- Adhesive tape
- Double-sided tape
- Scissors
- Round stick for rolling paper
How to Make Lanterns from Lucky Money Envelopes
Step 1:
First, measure and cut the cardboard to fit into 24 lucky money envelopes to increase the stiffness of the lantern body.
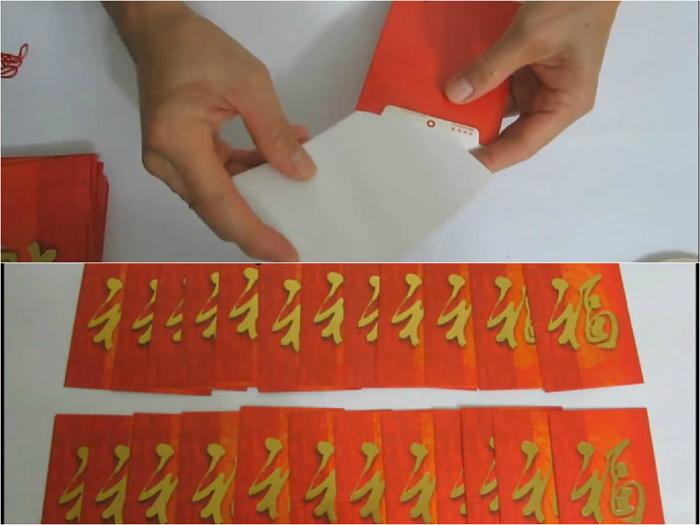
For the remaining 6 lucky money envelopes, tape the thread in the middle of the envelope. Stick double-sided tape on the edge of the envelope along its length, then use the round stick to roll the paper into a tube.
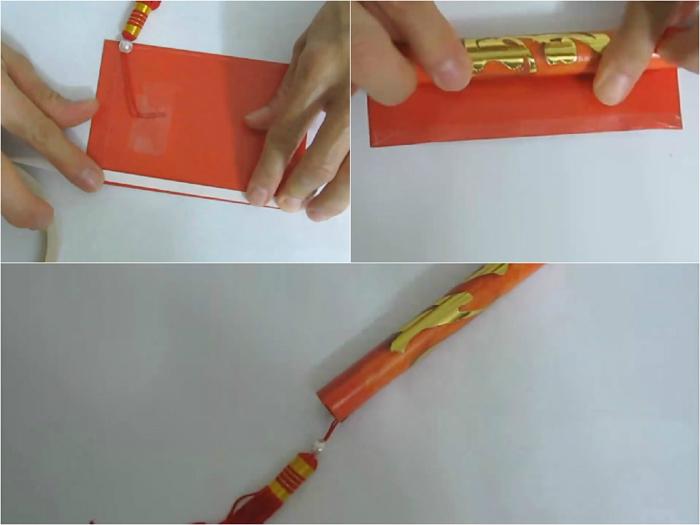
Step 2:
Arrange the 6 lucky money envelopes in a straight line and secure them with tape to create a long strip of 6 joined envelopes, then tape the first envelope to the last envelope to create a hexagon shape.
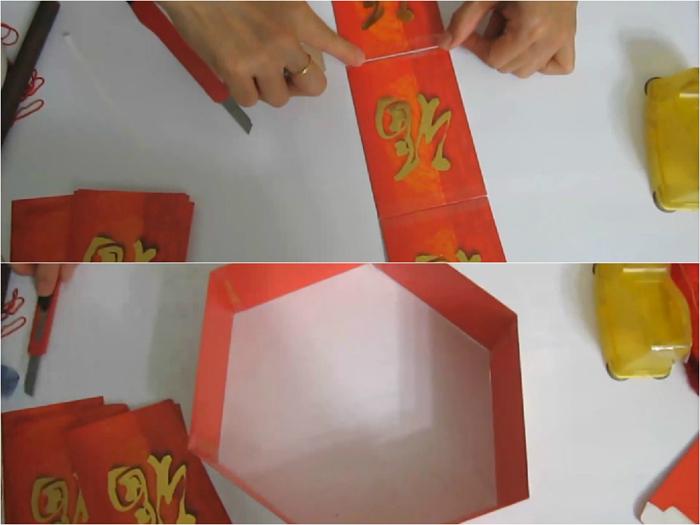
Fold 2 lucky money envelopes vertically (1 facing up and 1 facing down) and secure them with tape inside.
Repeat the same process for 3 pairs of identical envelopes, then tape the backs of 2 pairs together as shown in the picture, place the 3rd pair in the middle and tape the backs together to create a notebook-like shape.
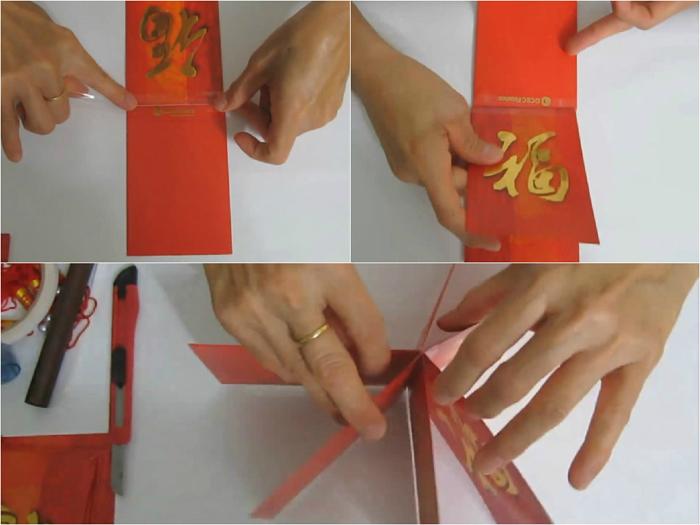
Step 3:
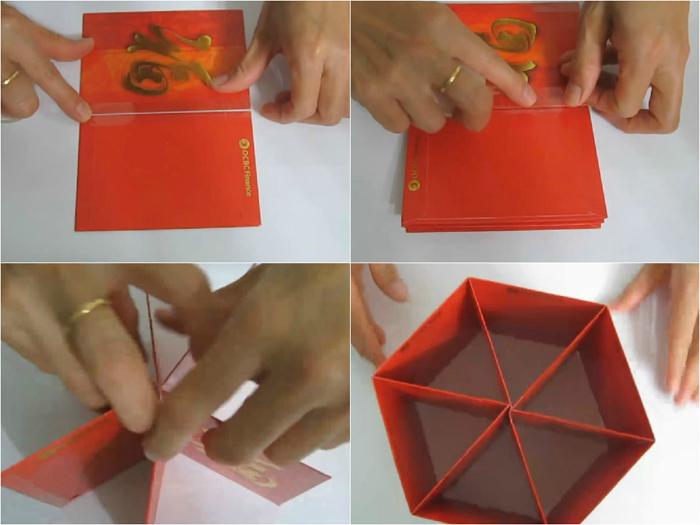
Open it up into a star shape and join it to the hexagon shape from the previous step. Tape the edges together with tape to secure it.
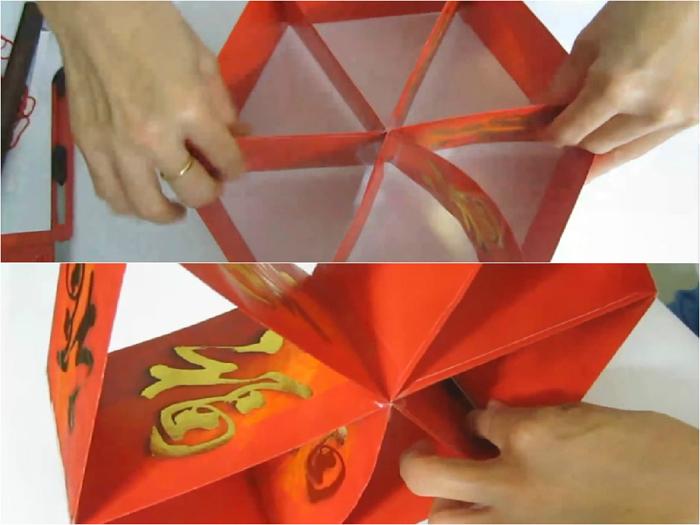
Step 4:
Arrange 6 lucky money envelopes horizontally next to each other and align them evenly, then secure them with tape (similar to step 2) to create a long strip of 6 lucky money envelopes.
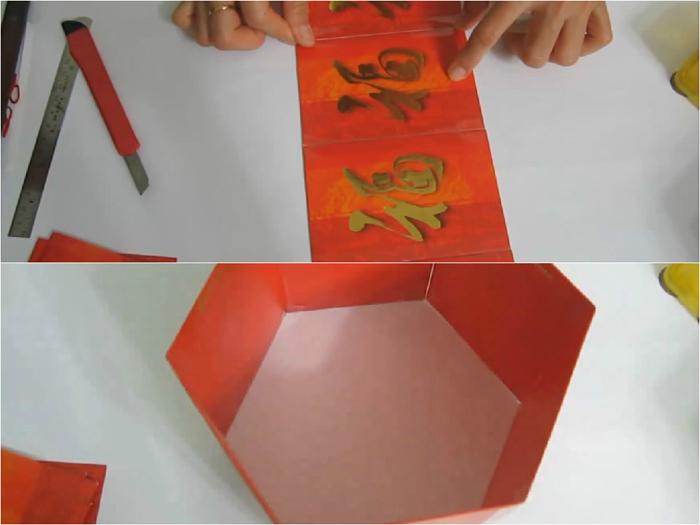
Fold 2 lucky money envelopes vertically (1 facing up and 1 facing down) and secure them with tape inside.
Repeat the same process for 3 pairs of identical envelopes, then tape the backs of 2 pairs together as shown in the picture, place the 3rd pair in the middle and tape the backs together to create a notebook-like shape.
Step 5:
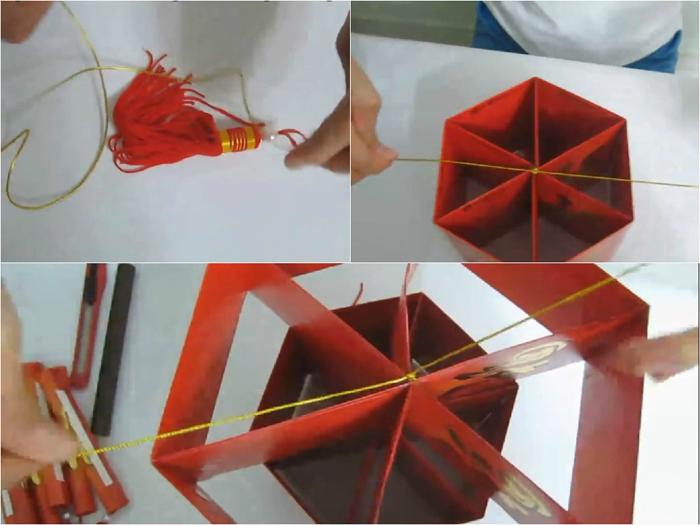
Tie the gold thread to the thick thread, thread it through the small hexagon shape, and tie it again.
Attach the larger hexagon shape above and tie the gold thread tightly.
Tie a knot with the remaining thread to create a hanging loop.
Step 6:
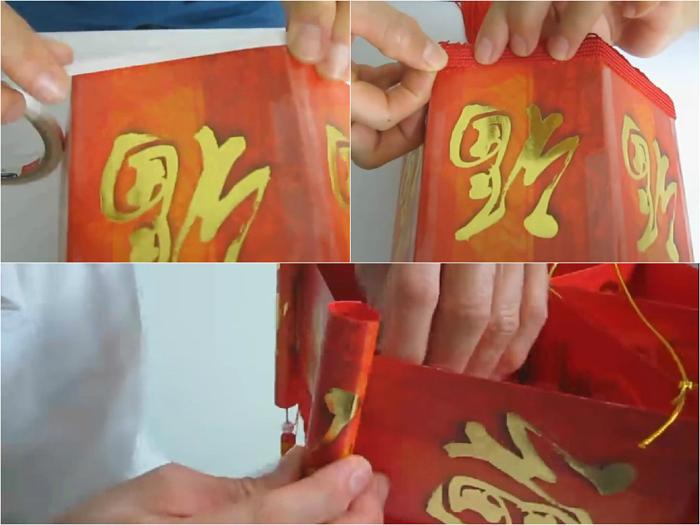
Stick double-sided tape to the bottom edges of the large and small hexagon bodies. Stick the red tufted fabric thread to this tape and trim off the excess.
Lastly, stick 6 small cylindrical shapes onto the 6 corners of the lantern with double-sided tape.
Finished Product
So with just some lucky money envelopes and a little meticulousness, we have completed this beautiful lantern! Let’s admire the result!
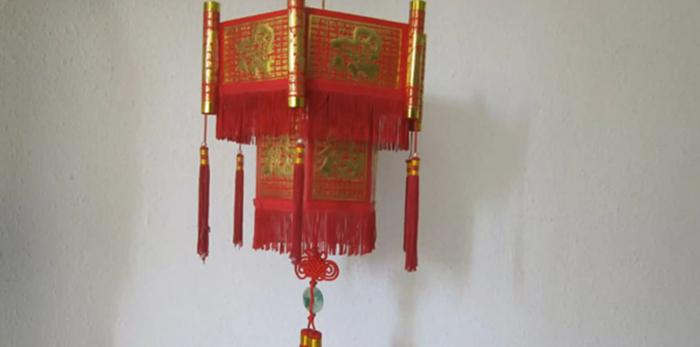
If you have any other unique ways to make lanterns, don’t hesitate to share them in the comments below!
Crafting a Milk Jug Lamp: A Joyful Activity for the Entire Family
Bring some fun and sparkle to this year’s Mid-Autumn Festival with an eco-friendly tin can lantern! Encourage your children to think outside the box and get creative with a sustainable art project that will set the mood for a magical celebration. Get ready to follow this easy tutorial and make an enchanting toy that is sure to make your little ones smile.
10 Ideas for Creating a Memorable Mid-Autumn Celebration in the Comfort of Home
The traditional Mid-Autumn Festival celebration has been disrupted this year due to the coronavirus pandemic, leaving families unable to gather to observe the holiday together. To bring a sense of festive cheer into their homes, parents are turning to creative solutions and decorating for the occasion. In this article, we offer ideas and advice on how to craft the perfect Mid-Autumn Festival environment within the home safely and securely. Read on to find out more!


