The Ultimate Guide to Sprouting Beans: Achieving Perfect White, Crisp Bean Sprouts with Short Roots Using a Milk Carton

There are numerous methods to sprout beans at home, but utilizing milk cartons is a unique and time-efficient approach. With this method, you can avoid the lengthy soaking and incubation processes required by other traditional methods. Join us as we explore this exciting and innovative way of sprouting beans!

0
56

Bean sprouts are a versatile ingredient used in various delicious dishes such as stir-fried bean sprouts, soups, or as a side dish. However, many homemakers worry about the quality of store-bought bean sprouts and the potential presence of chemicals. So, they have come up with creative ways to grow their own bean sprouts using household items.

In this article, we will guide you on how to reuse milk cartons to grow bean sprouts quickly, ensuring they are clean, white, and crispy.

Prepare the ingredients and tools

  • 100g of green beans (soybeans can also be used)
  • Carton from a 1-liter milk box
  • Newspaper

How to Grow Bean Sprouts Using a Milk Carton

Step 1: Clean the Milk Carton and Cut the Corners

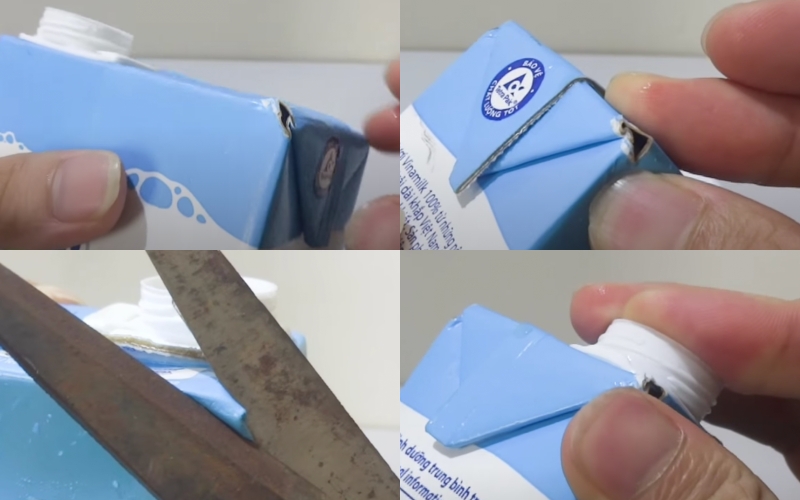
First, thoroughly clean the milk carton and use scissors to cut off the four corners of the top of the carton. It is important to ensure that the carton is completely free of any milk residue, as this can cause the bean sprouts to spoil.
Step 2: Wash and Soak the Green Beans

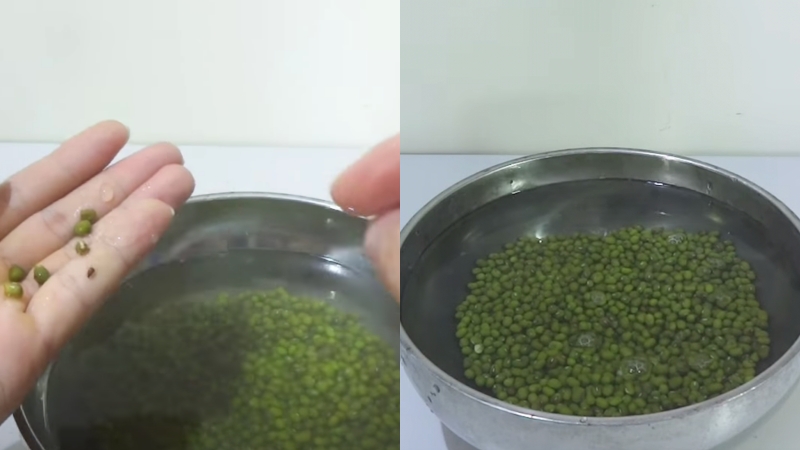
Wash the green beans thoroughly with water and remove any damaged beans. Even one damaged bean can spoil the entire batch. After cleaning, soak the beans in water for about three hours and then drain the water. For faster sprouting, you can use a ratio of 3 parts cold water to 2 parts boiling water.
Step 3: Put the Beans in the Milk Carton

Place the soaked beans into the milk carton, cover it, and place it in a dark place away from direct sunlight.

Tip: You can add two sheets of newspaper to the carton to maintain moisture, which will help the sprouts grow faster and plumper.
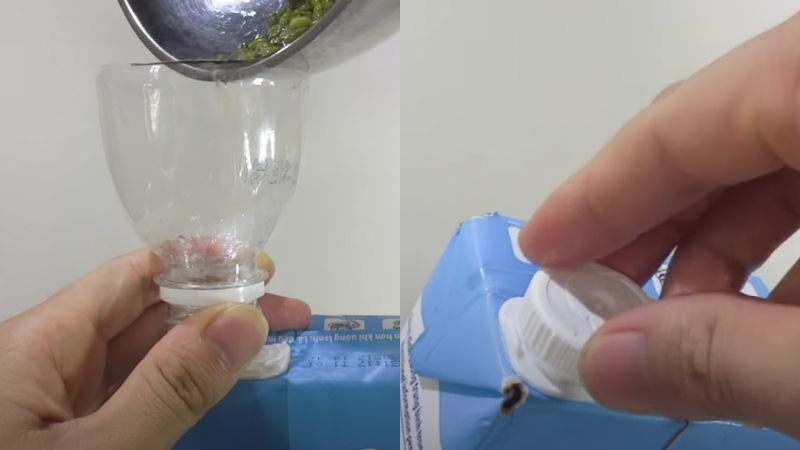
You can use the mouth of a plastic bottle as a funnel

Step 4: Water Daily

Each day, fill the carton with water, let it sit for about 10 minutes, and then drain the water by turning the carton upside down. Repeat this process 2-3 times a day.
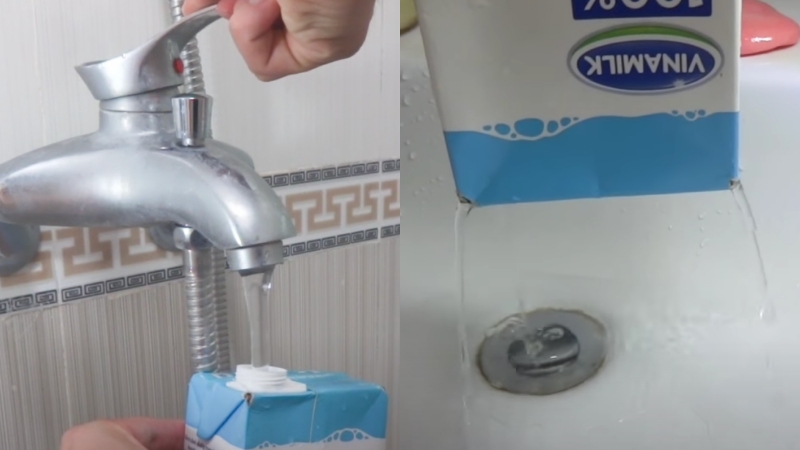
The Final Product

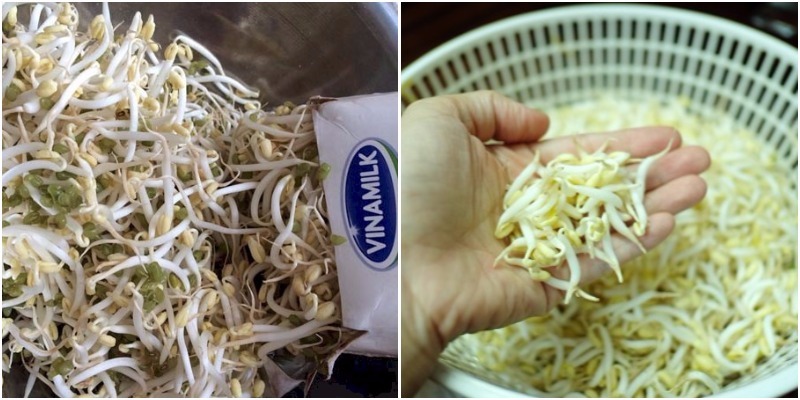
After four days, when you notice the carton looking puffed up, you can cut it open to harvest the bean sprouts. Be sure to rinse and remove the bean shells before using them.
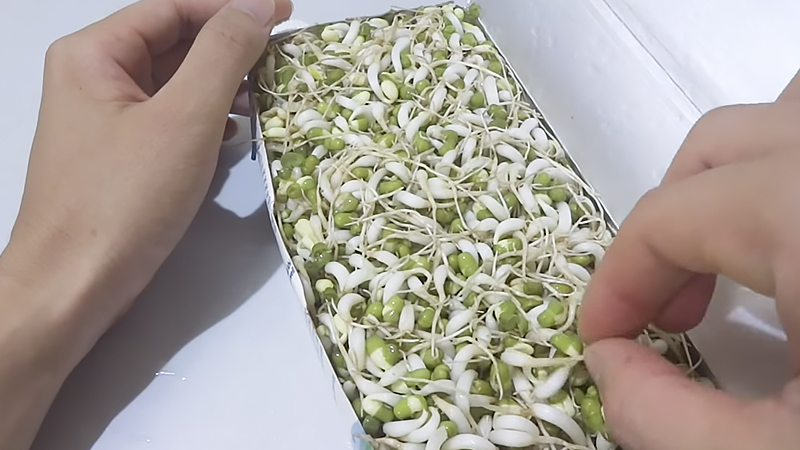
Look at those white, plump sprouts!

Some tips for successfully growing bean sprouts using a milk carton from the first try:

– Thoroughly clean the milk carton to ensure no milk residue is left behind, as this can spoil the sprouts.

– Choose high-quality green beans, and remove any damaged or rotten beans during the washing and soaking process to avoid affecting the entire batch.

– When draining the water from the carton, ensure that all the water is completely drained. Even a small amount of water left behind can cause spoilage.

– Keep the carton in a dark place, away from direct sunlight, to prevent the sprouts from changing color or turning bitter.

It’s that simple! You can now grow your own bean sprouts at home without the long soaking and incubation periods. Good luck!

Frequently asked questions

The milk carton method is ideal for sprouting beans with short roots. First, prepare a milk carton by cutting it open and cleaning it. Next, soak the beans overnight, and then drain and rinse them. Place the beans in the carton, and keep them moist by spraying water twice a day. Within 3-4 days, you’ll have perfect, crisp bean sprouts.

Milk cartons are an excellent, readily available resource for sprouting beans. They provide the perfect dark, moist environment for beans to sprout effectively. The carton also allows for good air circulation, which is crucial for healthy sprouts.

Your bean sprouts are ready when they are white and crisp, with short roots. This usually takes 3-4 days. If you prefer longer sprouts, you can let them grow for an extra day or two, but the ideal length for most recipes is achieved within the first few days.

You can use a variety of beans for sprouting, including mung beans, green beans, chickpeas, and lentils. Each type of bean will have a slightly different taste and texture, so experiment to find your favorite. Keep in mind that the sprouting time may vary slightly depending on the type of bean.

To store your bean sprouts, place them in a container with a damp paper towel and keep them in the refrigerator. They should stay fresh for about a week. Make sure to rinse and drain them every few days to prevent them from becoming slimy.
You may also like

Comparing the Benefits of Peeled and Unpeeled Green Beans

Have you ever been left wondering if you should peel mung beans before you cook them? For years this has been a mystery to many, but don’t worry – here we will reveal the definite answer to the great debate! Read on to find out the secret behind preparing mung beans.

3 Effective Papaya Remedies for Acne That Will Leave You Hooked

Papaya is a highly nutritious fruit that not many people are aware of its acne-fighting properties. Apart from providing health benefits, this fruit has proven to be extremely effective in treating acne.

A mother tells her child to pour green dye into a water bottle, 3 days later the child is ecstatic with the result.

This is a quick, neat, and safe way for those who want to grow mung beans at home. You just need a place to put a water bottle, it doesn’t have to be a spacious area, and you already have mung beans to use.

Delicious Recipes with Clams: Easy and Tasty Home Cooked Dishes

Clams are a versatile and delicious ingredient in many tasty dishes. Let’s explore 8 mouth-watering and easy-to-make clam recipes together!

3 Nutritious Fruits and Vegetables Loaded with Chemicals: Don’t Fall for Their Cheap Prices

The following types of vegetables are often soaked in many chemicals, so when shopping, people should avoid buying them to prevent illness.