Trimming your dog’s nails is essential for the safety of both the pet and its owner. Dogs’ playful nature and the structure of their nails can make nail trimming a challenging task. Read on to discover how to trim your dog’s nails without causing them any harm.
1 Why Trim Your Dog’s Nails?
Just like we trim our own nails for hygiene and cleanliness, it is equally important to tend to our furry friends’ nails. Here are a few reasons why nail trimming is necessary for dogs:
Firstly, dogs’ nails consist of a hard outer layer and a soft inner part, including the quick, which is the pinkish area close to the paw pad. As the nail grows, it curves downward, forming a hook-like shape. This long, curved nail can cause difficulty for dogs to walk on smooth surfaces and may lead to slipping.
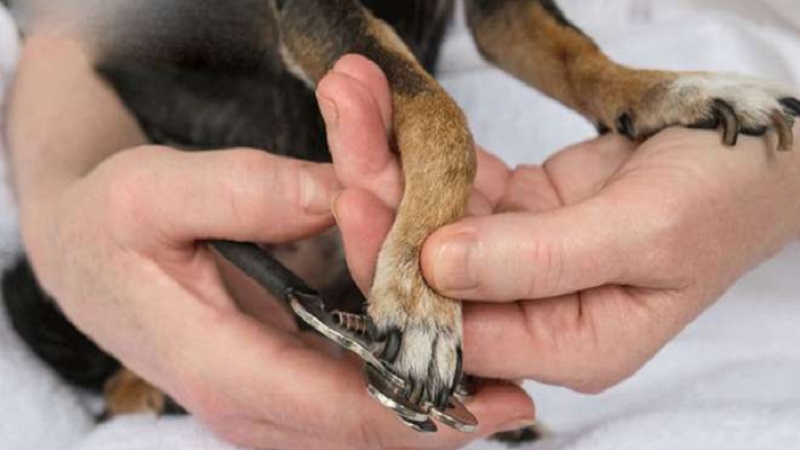 It is important to keep your pet’s nails trimmed and clean.
Additionally, long nails can cause discomfort and even pain for your dog as they may curve and grow into the paw pad. This can lead to infection, and your dog may become irritable, wanting to scratch and bite at the affected area.
Secondly, dog nails can harbor extremely harmful bacteria and viruses, including the rabies virus. If your dog is not vaccinated against rabies, there is a significant risk to your health if your dog scratches or claws you while playing or running. Therefore, trimming your dog’s nails is not something to be taken lightly.
Furthermore, dogs have a natural instinct to dig and scratch, which helps wear down their nails. However, this behavior can increase the risk of bacterial infections on their paws and cause damage to your furniture and belongings, emphasizing the need for regular nail trimming.
2 How to Safely Trim Your Dog’s Nails
To ensure a safe and comfortable nail trimming experience for your furry companion, follow these steps carefully:
Step 1: To secure your dog’s leg, wait for a moment when they are resting or calmly call them over. Place them on a table at your waist height in a comfortable position and gently but firmly hold their leg.
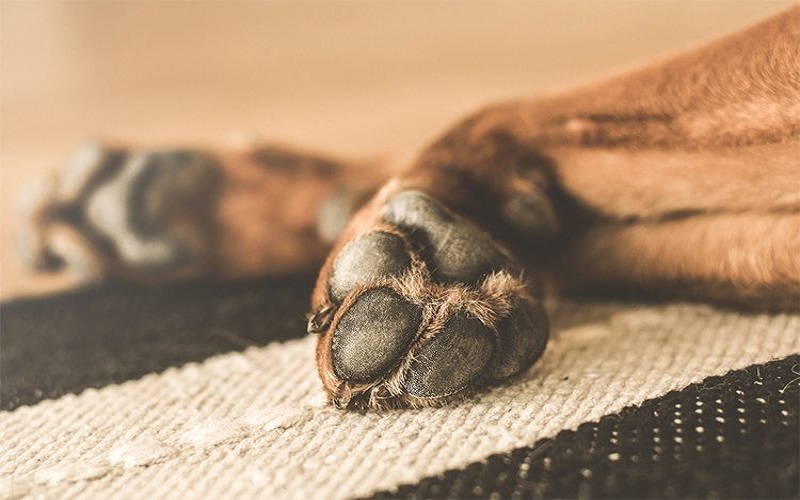 Hold your dog’s foot securely but gently.
If they try to pull away, slowly but firmly grasp their leg again. If necessary, ask someone to help you hold your dog still to avoid any accidental cuts.
Step 2: Start by trimming the two back nails first, followed by the two front nails. Gently lift your dog’s paw, being careful, gentle, yet firm.
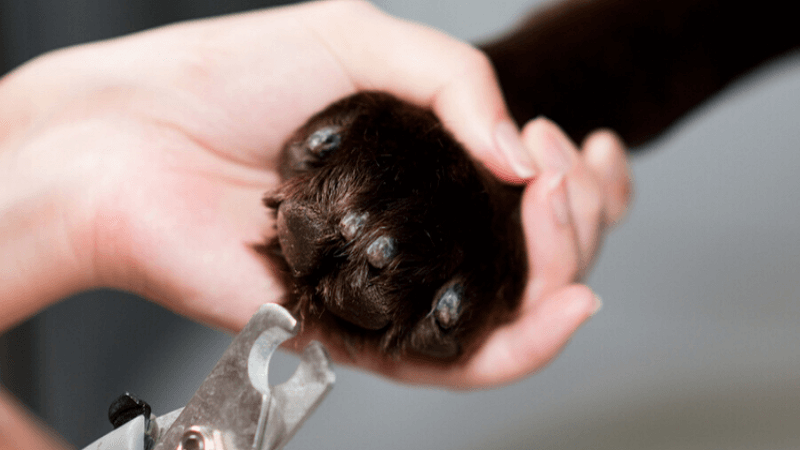 Trim the two back nails first, then move to the front.
Step 3: Gently press on the pad of your dog’s paw to extend the nail, and position the clippers at a 45-degree angle to trim the excess nail. Be decisive and quick, but gentle, to avoid causing pain or breaking the nail, which may startle your dog. Be careful not to cut into the quick.
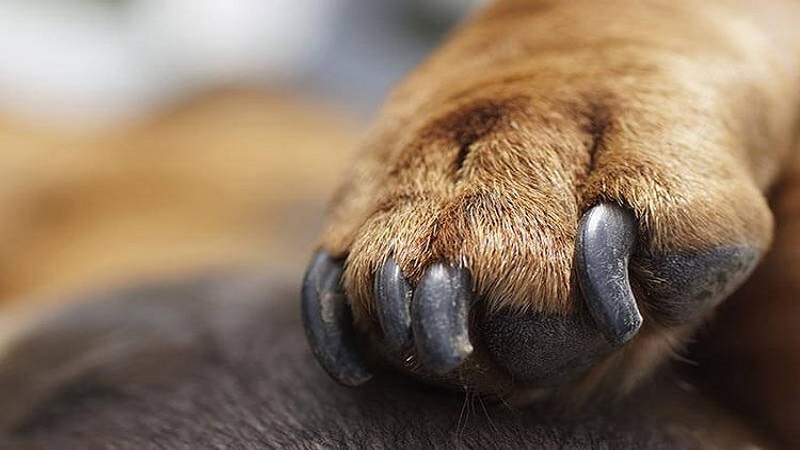 Press on the paw pad to expose the nail, then cut at a 45-degree angle.
Step 4: Once you’ve finished trimming, use a specialized nail file for pets to smooth any sharp edges gently. This will help prevent scratches to you and your dog.
Step 5: After trimming all your dog’s nails, reward them with their favorite treat or toy. This positive reinforcement will associate nail trimming with something pleasant, making future trimming sessions easier and more enjoyable for both of you.
3 Things to Keep in Mind
While nail trimming may seem straightforward, there are several important details to keep in mind to ensure your dog remains safe and comfortable:
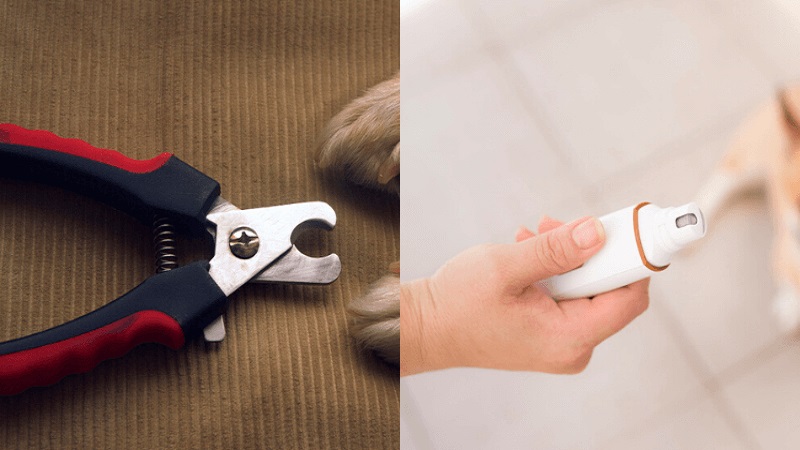 Use pet-specific clippers, and have first-aid supplies on hand.
Always use clippers, grinders, or files designed specifically for pets. Do not use human nail clippers as they are not suitable for dogs. Additionally, have first-aid supplies ready, including gauze, bandages, styptic powder or cornstarch, and antiseptic solution, in case of any accidents.
When trimming, it is crucial to identify the correct area to cut, which is the nail and the quick. The quick is the pinkish area within the nail, and you should cut at a 45-degree angle just below it, leaving a 2-4mm gap. This gap may be harder to identify in dogs with dark-colored nails, so be extra cautious.
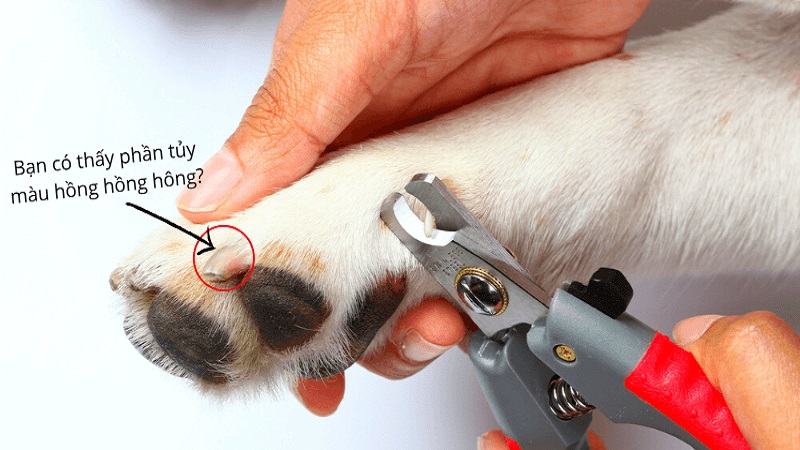 Identify the nail and the quick, and cut just below the quick.
Avoid cutting the nails too short, as dog nails tend to grow quickly. During the trimming process, regularly touch your dog’s other legs to distract them and prevent sudden movements.
If you accidentally cut into the quick, immediately apply pressure to the wound with a gauze pad or cotton swab to stop the bleeding. Calm your dog, and disinfect the area with an antiseptic solution like a mild salt water solution (10% NaCl). Apply styptic powder or cornstarch to the wound to aid clotting.
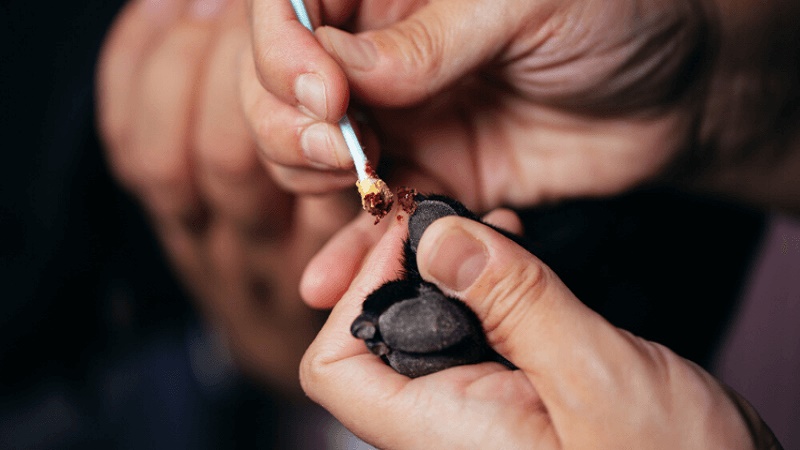 Apply pressure and disinfect the wound if you cut the quick.
If you don’t feel confident trimming your dog’s nails, consider visiting a professional dog grooming salon or spa to ensure your dog’s safety. As dog nails grow quickly, it is recommended to trim them every two weeks.
The above guide provides a comprehensive approach to trimming your dog’s nails safely and effectively. We hope these tips give you the confidence to tackle this important task and foster a positive experience for both you and your beloved pet.


