


Makeup is an essential skill for women, and a great way to enhance one’s natural features. However, not everyone knows how to use cosmetics effectively to contour and highlight their unique face shape. In this article, we’ll be exploring different contouring and highlighting techniques tailored to seven distinct face shapes: square, rectangle, diamond, oval, long, round, and heart-shaped faces. With these techniques, you’ll be able to enhance your natural beauty and feel more confident for any special occasion. Let’s dive into the details and discover the best ways to accentuate your features!
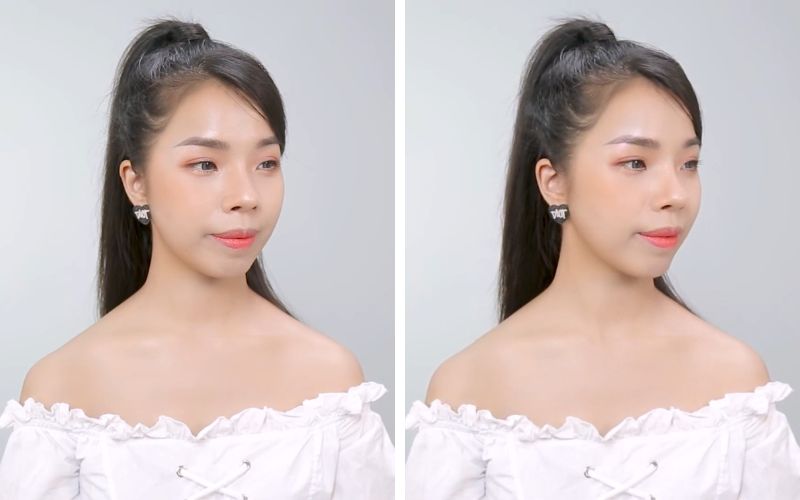
1 Contouring and Highlighting Techniques for Square Faces
Square faces are characterized by:
- Sharp angles and well-defined jawlines.
- Forehead and jawline are roughly the same width.
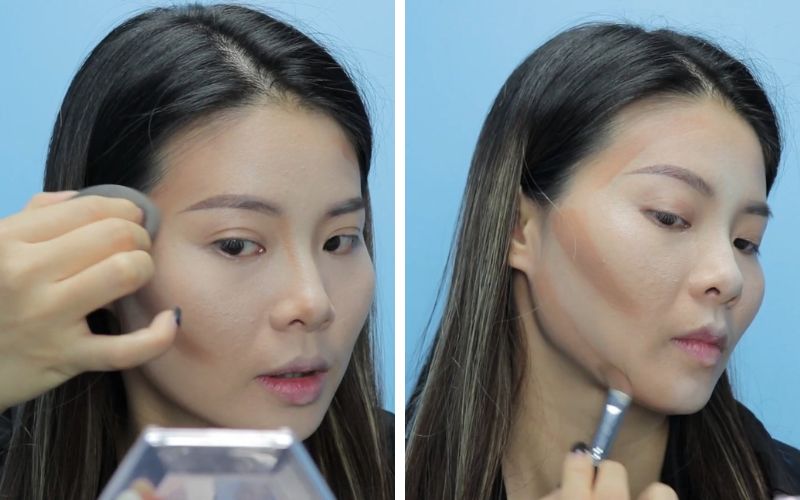
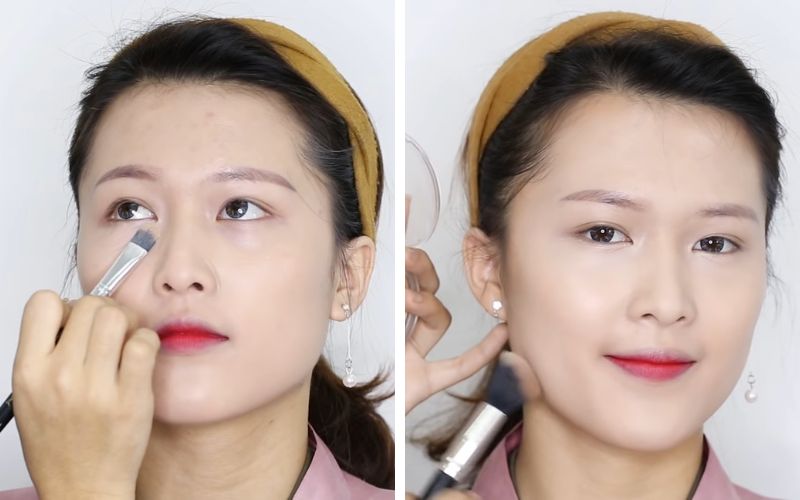 Contouring and Highlighting for Square Faces
Contouring
- Apply product from the top of the ear down the cheek in a diagonal motion.
- Create a reverse triangle shape by blending product from the temples down to the cheeks.
Highlighting
- Above and between the eyes to create contrast and narrow the face.
- Center of the chin and above the jawline to add brightness and depth to the face.
2 Contouring and Highlighting Techniques for Rectangle Faces
Rectangle faces are identified by:
- Length is greater than width.
- Jawline is typically angular, and the forehead is wide.
 Contouring and Highlighting for Rectangle Faces
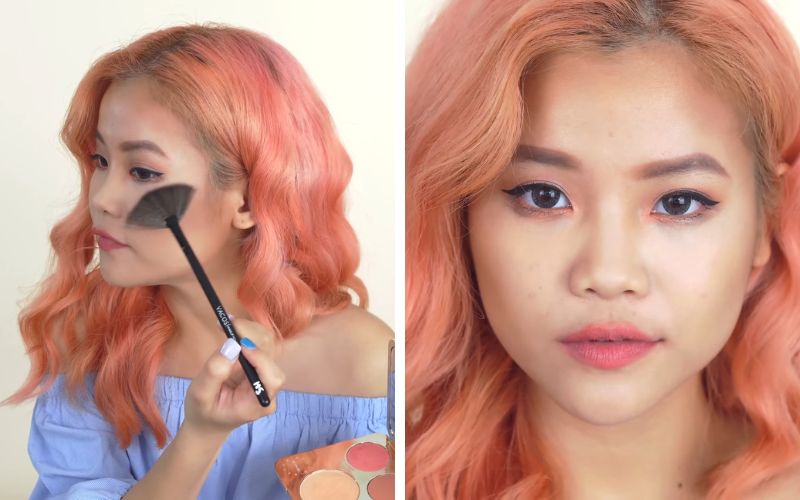
Contouring
- Above the ear and down to the mouth in a diagonal motion to create a sharper jawline.
- Along the hairline to reduce the appearance of a high forehead.
- Along the jawline to soften the angles and create a more oval shape.
Highlighting
- Between the eyes and below the brow bone to widen the appearance of the face.
- Center of the forehead to add brightness and create the illusion of a higher forehead.
3 Contouring and Highlighting Techniques for Diamond Faces
Diamond faces are characterized by:
- Sharp angles and distinctive features, including a narrow chin, narrow forehead, and high cheekbones.
- Length is greater than width.
 Contouring and Highlighting for Diamond Faces
Contouring
- Create a reverse triangle shape from the chin up to the upper eye area.
- Apply product diagonally from the temples down to the hollows of the cheeks to contour the cheekbones.
Highlighting
- Above and between the eyes to soften the angles of the face.
- Center of the forehead to widen the appearance of the forehead and create balance.
- Center of the lips to add brightness and draw attention to the center of the face.
4 Contouring and Highlighting Techniques for Oval Faces
Oval faces are identified by:
- Forehead is wider than the jawline.
- Length is approximately 1.5 times the width.
 Contouring and Highlighting for Oval Faces
Contouring
- Along the hairline to reduce the appearance of a long forehead.
- Upper jawline and cheeks to add definition.
Highlighting
- Center of the chin to create the illusion of a longer chin.
- Center of the forehead to create the appearance of a wider forehead.
- Cheekbones to enhance the lower part of the cheeks.
5 Contouring and Highlighting Techniques for Long Faces
Long faces are characterized by:
- Length is greater than width.
- Forehead, jawline, and chin are less defined.
 Contouring and Highlighting for Long Faces
Contouring
- Along the hairline to minimize the appearance of a long forehead.
- Below the chin to create the illusion of a more defined jawline.
Highlighting
- Cheekbones to enhance the lower part of the cheeks and create fullness.
- Center of the chin to create the illusion of a shorter chin.
6 Contouring and Highlighting Techniques for Round Faces
Round faces are identified by:
- Soft, curved jawline.
- Balanced features with similar proportions.
 Contouring and Highlighting for Round Faces
Contouring
- Along the hairline and jawline to reduce the curvature of the face.
- Cheekbones to create a more defined and slimmer appearance.
Highlighting
- Center of the forehead to elongate the face.
- Center of the cheeks to create a plumping effect.
- Under the eyes to brighten and enhance the eye area.
7 Contouring and Highlighting Techniques for Heart-Shaped Faces
Heart-shaped faces are characterized by:
- Wide forehead that tapers to a narrow chin.
- High cheekbones and a pointed chin.
 Contouring and Highlighting for Heart-Shaped Faces
Contouring
- Outer corners of the jaw and temples to minimize the appearance of a wide forehead.
- Below the chin to soften the point and create a more oval shape.
Highlighting
- Cheekbones to enhance the natural structure and create a harmonious look.
- Under the eyes to brighten and enhance the eye area, making them appear larger and more defined.
We hope that these contouring and highlighting techniques will empower you to embrace your unique face shape and enhance your natural beauty. Experiment with these techniques and discover the makeup styles that suit you best. Good luck, and remember to embrace your individuality!


