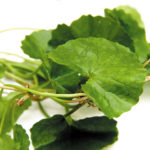
According to nutritionist experts, spinach is packed with essential vitamins and nutrients such as carotene, vitamins K, A, B2, B6, and C, and minerals, which can help reduce the risk of various diseases. So, read on to discover how to easily grow your own spinach at home and enjoy a year-round supply of this healthy vegetable.
1. Things You’ll Need to Grow Spinach
- Plastic container/plant pot
- Nutrient-rich soil
- Fertilizer
- Water
- Spinach seeds
- Other tools: Mini gardening tools, watering can, etc.
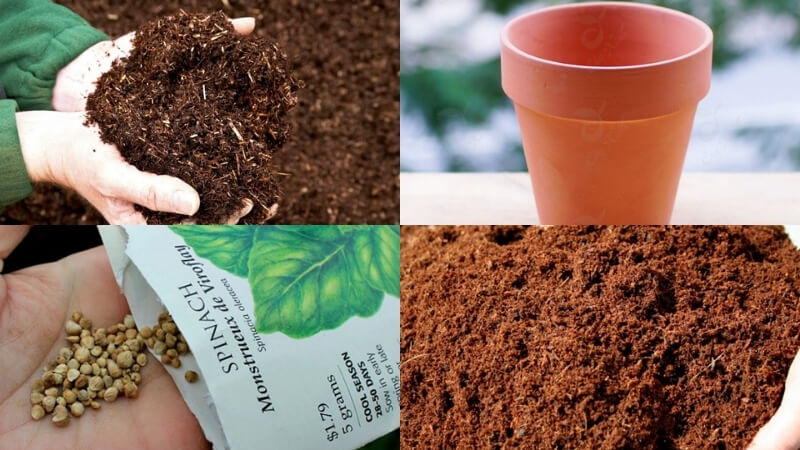 Materials needed for growing spinach
Tip: You can use regular soil from your garden for growing spinach. However, if this is your first time, it’s best to prepare one of these two types of soil:
– Mix river soil with worm castings in a 1:1 ratio
– Alternatively, mix Tribat soil with an organic substrate in a 1:1 ratio
Spinach thrives in slightly alkaline soil with a pH between 7.3 and 8.2. Sun-dry the soil for 5-10 days before planting to eliminate any potential pathogens.
Seed Selection: Look for heat-resistant F1 spinach seeds from reputable stores. Ensure the seeds are free from harmful chemicals and have a clear origin.
2. How to Grow Spinach
Step 1 Prepare the Seeds
Soak the seeds in warm water (40°C, or 2 parts boiling water to 3 parts cold water) for 3-4 hours to speed up germination. Then, rinse and wrap them in a damp cloth for about 8 hours until you see the seeds crack and sprout.
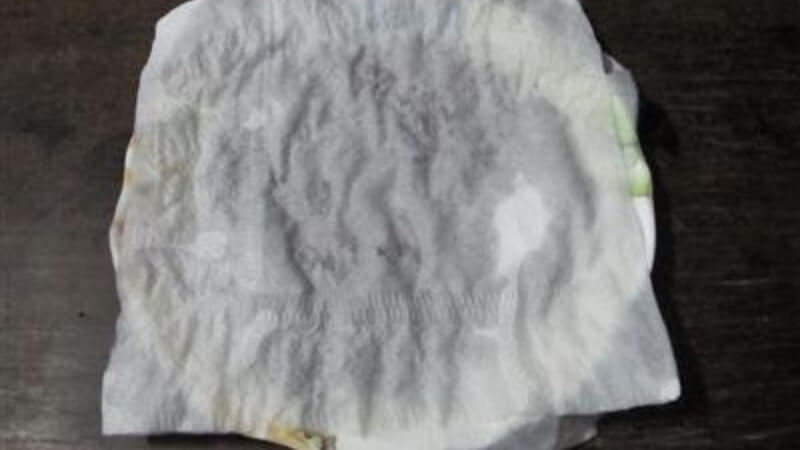 Germinating seeds using a damp paper towel
Step 2 Bottom Fertilization
Fill your plastic container or pot with the prepared soil and use your gardening tools to mix in the fertilizer thoroughly. Then, use your hands to smooth and level the soil.
Pro Tip: Leave a gap of 2-3 cm between the soil and the rim of the pot.
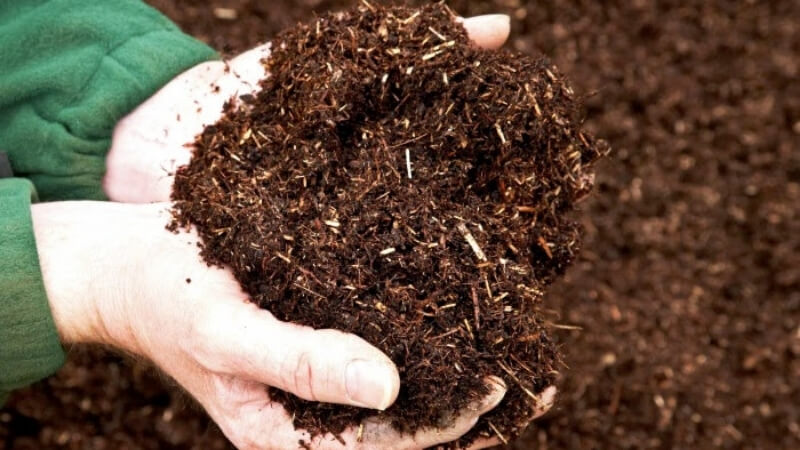 Mixing organic fertilizer with the soil
Step 3 Sowing the Seeds
There are two methods for sowing spinach seeds:
Method 1: Sparse Sowing
Plant the pre-soaked seeds about 6mm deep and space them about 5cm apart. Then, gently cover with soil and shade the area with straw or a sunshade net to maintain optimal moisture for germination.
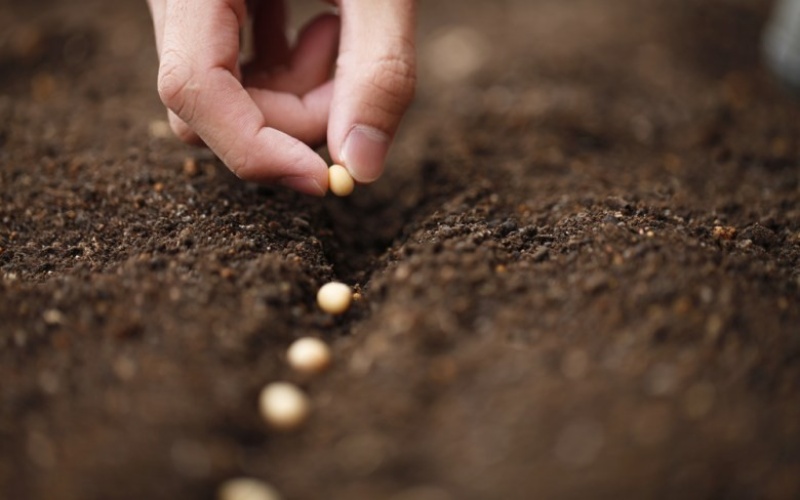 Sparse sowing of seeds
Method 2: Dense Sowing
Scatter the seeds evenly across the soil without worrying about spacing. Then, place the pot in an area with moderate sunlight to maintain the right moisture level for germination.
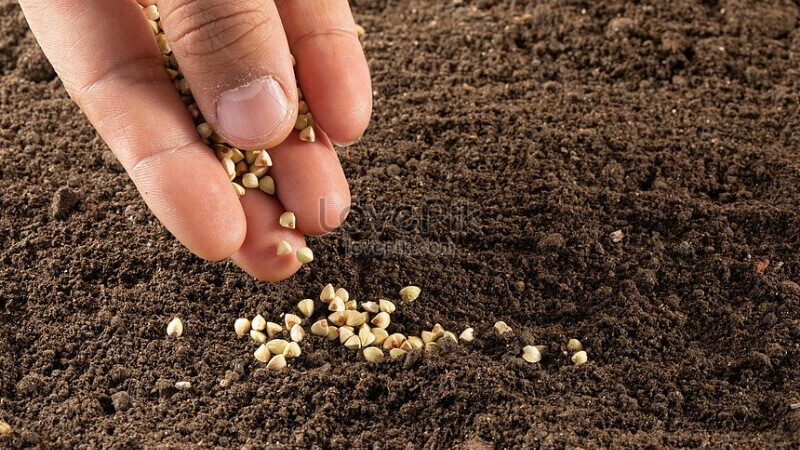 Dense sowing of seeds
3. Caring for Your Spinach Plants
Watering
Spinach loves moisture, so water your plants regularly. When the seeds are freshly sown, water twice a day, once in the early morning and once in the cool evening, to encourage germination.
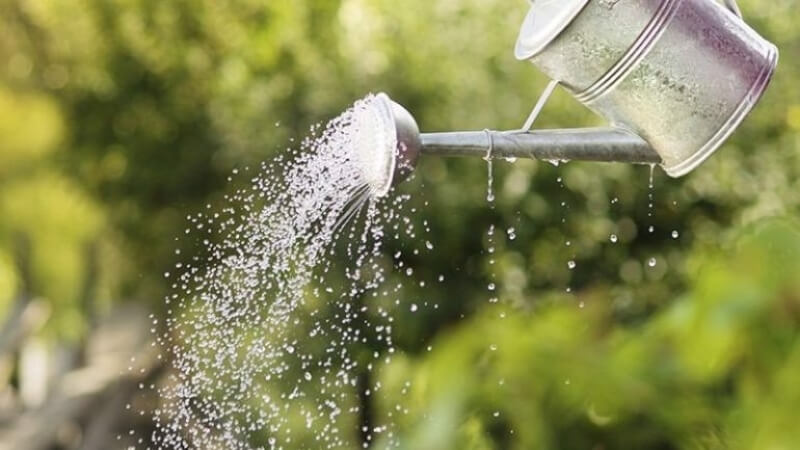 Watering spinach plants
Once the plants are established and growing vigorously, you can reduce watering to once or twice a day, adjusting as needed based on the weather.
Fertilizer Application
After about 10-15 days, when the seedlings have sprouted leaves and the roots are well-established, start weeding and hilling. At this point, you can apply a combination of worm castings and organic liquid fertilizers once a week for 4-5 weeks.
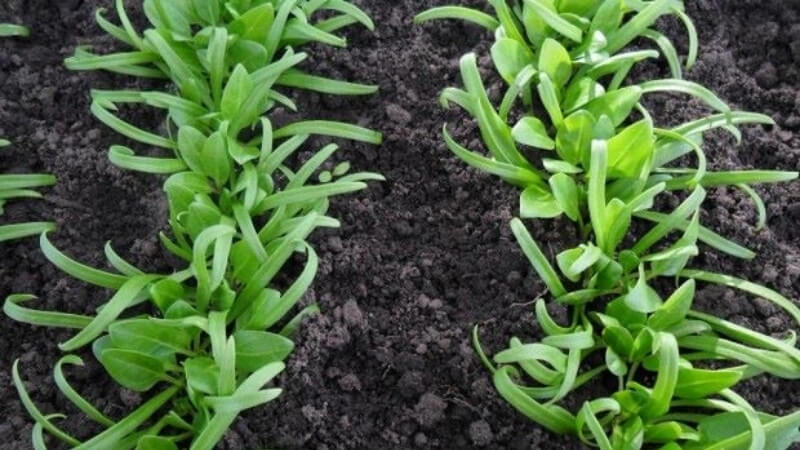 Hilling and applying fertilizer
If you’re growing your spinach in rows, you can apply dry fertilizer. Fertilize twice: once 20-25 days after planting and again 35-40 days after planting.
Pest Control
Keep an eye out for common pests like leaf-eating snails, aphids, worms, and flies.
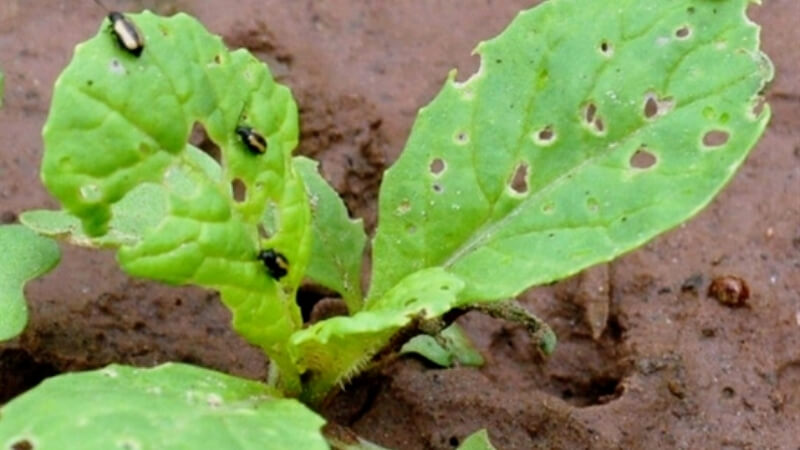 Aphids on spinach leaves
Remove any pests you find and discard damaged leaves. To deter snails and slugs, try watering your plants with diluted vinegar to create an acidic environment that these pests dislike.
Tip: To prevent pests and diseases, you can also use a natural solution made by grinding garlic and chili peppers, straining the mixture, and then mixing it with rice water.
Thinning the Leaves
To encourage the growth of large, healthy leaves, thin out the spinach plants. If you sowed the seeds densely, leave about 10-15 cm between each plant. If you planted in rows, thin to one plant per hole.
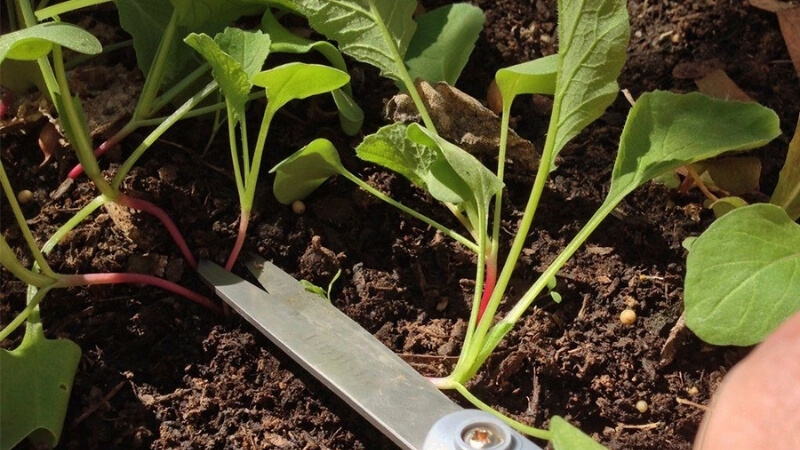 Thinning spinach plants
Harvesting
Your spinach is ready to harvest when the plants have 5-7 leaves that are about 10-15 cm long.
Homegrown spinach can be used in a variety of delicious and nutritious dishes, such as soups, salads, smoothies, stir-fries, and more!
 Delicious dishes made with spinach
Pro Tip: Stop fertilizing and spraying pesticides at least one week before harvesting to ensure the safety of your produce.
Preparing Yellow Apricot Flowers to be in Full Bloom for Tet Celebration
As the Lunar New Year quickly approaches, many families are looking for guidance when it comes to selecting, purchasing, maintaining, and decorating with beautiful golden apricots. To ensure you get the most out of this lovely tradition, this article will provide you with specific instructions for choosing, caring for and decorating with yellow apricot blossoms. Learn how to make the most of this iconic symbol of the Tet holiday season!


