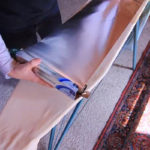
Ironing clothes can be a tedious task, but with these 11 tips, you can get wrinkle-free garments in no time!
1 Iron in Straight Lines
Avoid moving the iron in a circular motion or in an erratic pattern to prevent creases and marks on your clothes. Instead, iron in straight lines to easily identify areas that need more attention, saving you time and effort.
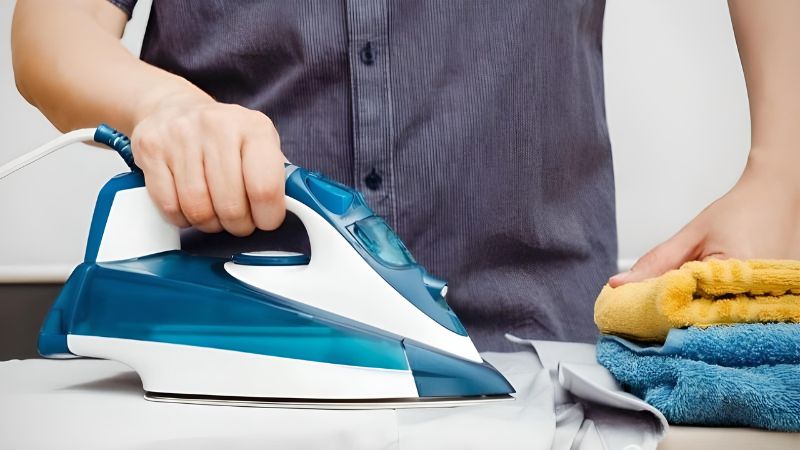 Iron in straight lines
Place a piece of cardboard between the layers of clothing to act as a heat barrier. This prevents discoloration, wrinkling, or stretching of the fabric, especially when you’re in a hurry and don’t have time for a meticulous ironing session.
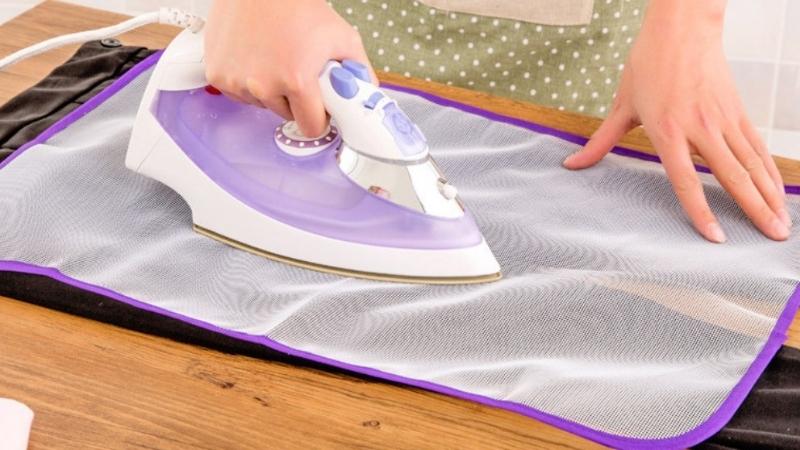 Separate both sides of the garment
3 Clean Your Iron
For a quick and efficient ironing process, clean your iron before use. You can soak a cloth in vinegar or lemon juice and wipe down the iron’s surface, or use a mild detergent to clean the vents. Alternatively, create a paste with baking soda and water, applying it to the iron’s surface and wiping it off after a few minutes.
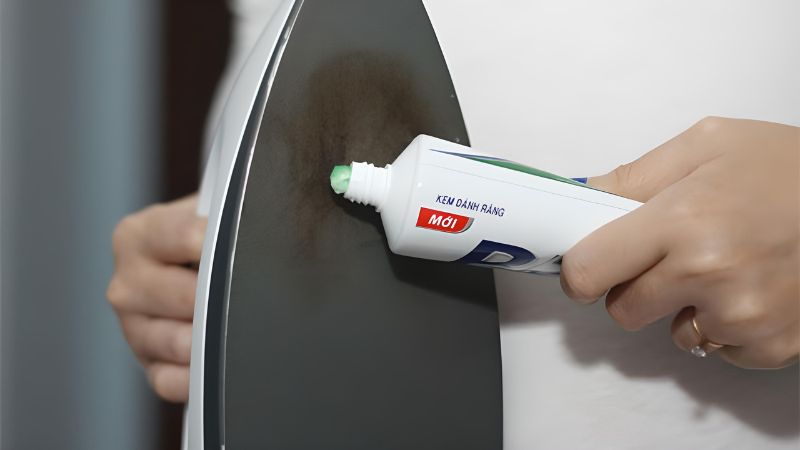 Clean your iron
4 Follow the Garment’s Seams
Ironing along the garment’s existing seams helps maintain its shape and makes it easier to smooth out wrinkles. Paying attention to the seams is especially important for pleated skirts or trousers, as it keeps them looking sharp and crisp. For pleated skirts, secure the pleats and iron in the same direction as the pleats to maintain their shape.
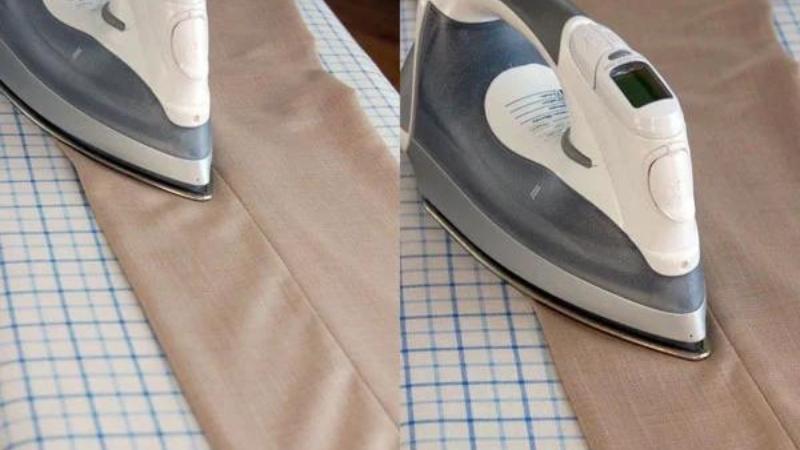 Follow the garment’s seams
5 Use Clean Water
If you’re using a modern steam iron, the choice of water is crucial. Opt for filtered water instead of mineral water or well water to avoid buildup of minerals and dirt inside the iron, which can then transfer to your clothes.
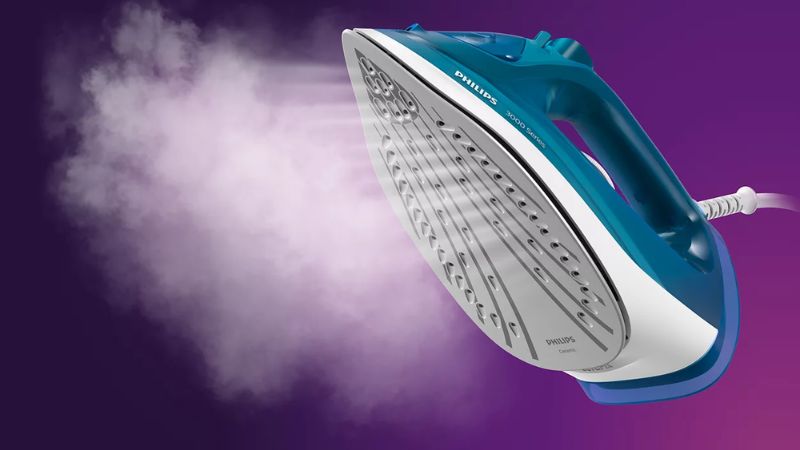 Use clean water
6 Hang Your Clothes
Immediately after ironing, hang your clothes in a well-ventilated area, avoiding cramped spaces. Stacking freshly ironed clothes or hanging them too close together can create new wrinkles, which are more challenging to remove and time-consuming to iron out.
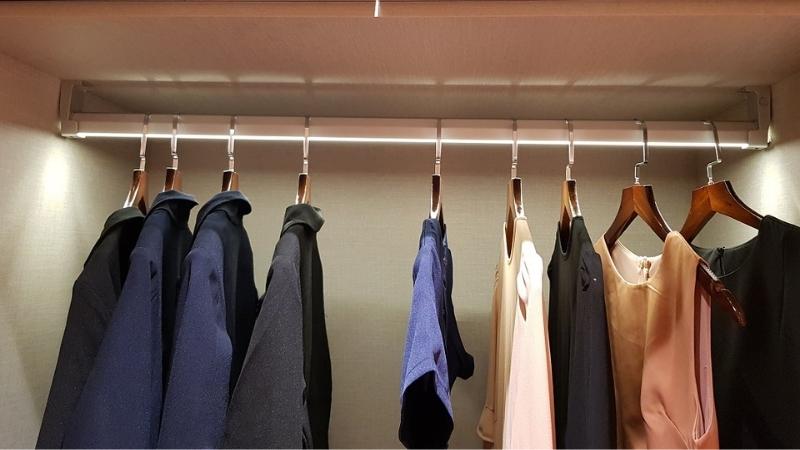 Hang your clothes
7 Handle Details and Embroidery with Care
When dealing with embroidered or detailed clothing, place a small cloth or towel over the design and iron from the inside out to prevent the colors from bleeding and keep the embroidery intact.
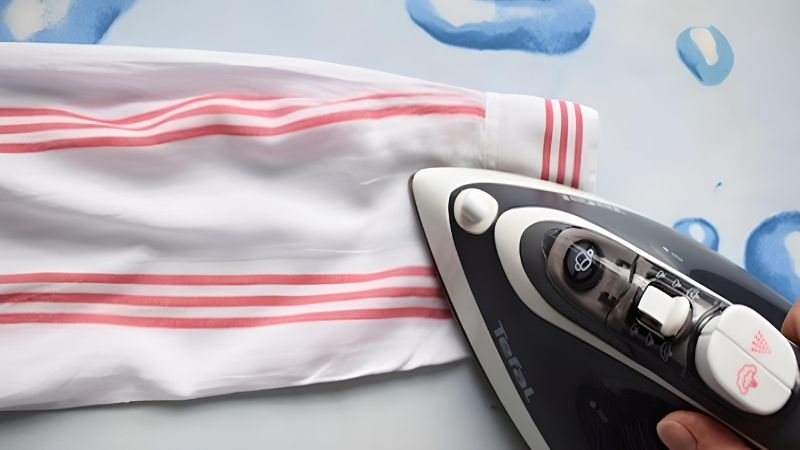 Handle details and embroidery with care
8 Iron from the Inside Out
To prevent discoloration and blotching, especially on dark-colored garments like black, deep purple, or burgundy, iron the clothes from the inside first before turning them right side out.
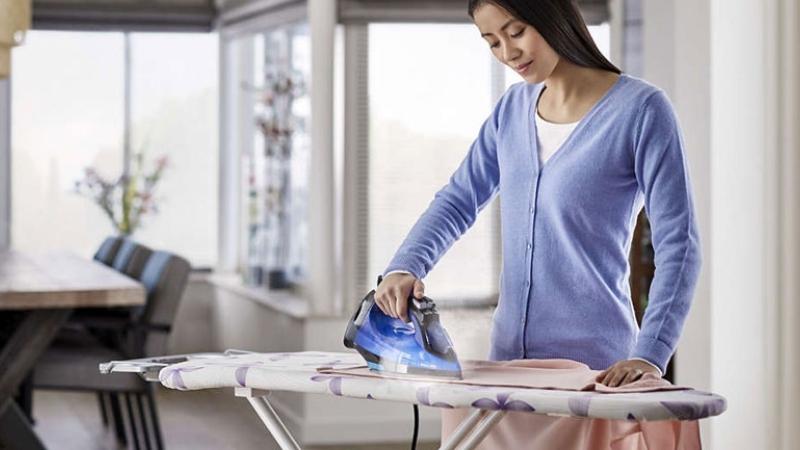 Iron from the inside out
9 Sort Clothes by Fabric Type
Before you start ironing, sort your clothes according to their fabric type so you can easily adjust the iron’s temperature. Start with thinner fabrics like cotton and silk, then move on to thicker materials like twill or denim.
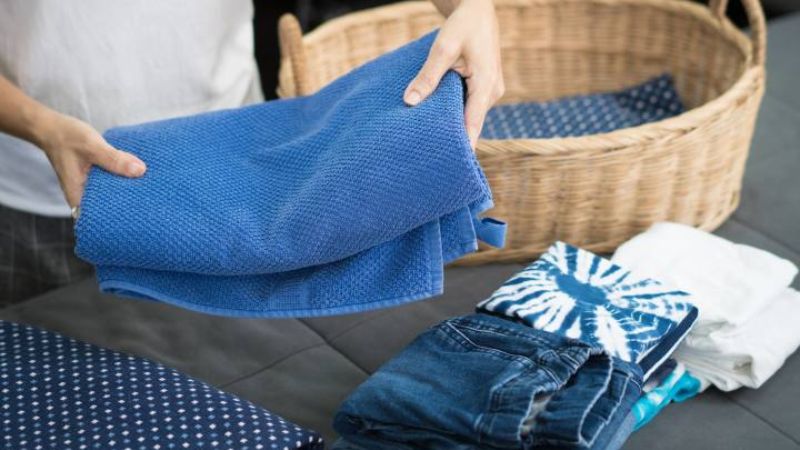 Sort clothes by fabric type
10 Follow a Set Order
When ironing a set of clothes, start with the top and then move on to the bottom. For the top, begin with the sleeves, cuffs, collar, and then the body to maintain its shape. For trousers, make sure to press the creases first and then iron along the creases and in straight lines to avoid altering the shape.
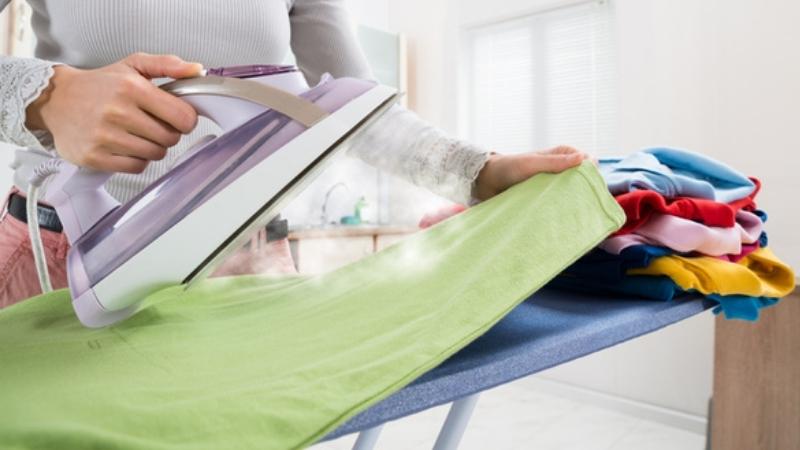 Follow a set order
11 Increase Temperature with Heat-Resistant Paper
To speed up the ironing process and improve efficiency, place a layer of heat-resistant paper underneath the garment instead of doubling the iron’s temperature. This way, the paper reflects heat onto the underside of the garment, smoothing out wrinkles without the need to iron both sides.
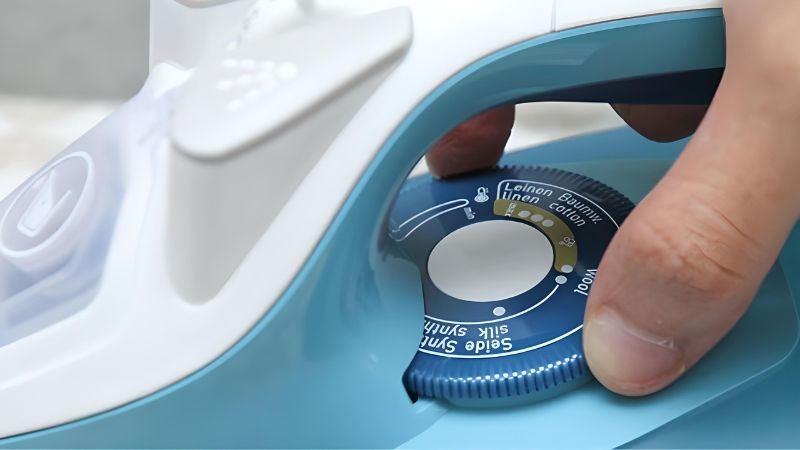 Increase temperature with heat-resistant paper
Try out these ironing tips and say goodbye to wrinkles! Stay tuned for more life hacks and tips to make your daily tasks a breeze!


