Shirts are a versatile garment suitable for all ages, from students to working professionals. However, they tend to get wrinkled after each wash, which can affect their appearance. Here is a simple guide to help you iron your shirt to perfection:
1 Iron the Cuffs
Start by unfastening the buttons at the cuffs and ironing from the inside out. Work your way around the cuffs, and once you’ve finished one cuff, move on to the other. If you have a steam iron, you can use the pleat iron to smooth out the cuffs.
Then, iron the length of the sleeve and around the buttons.
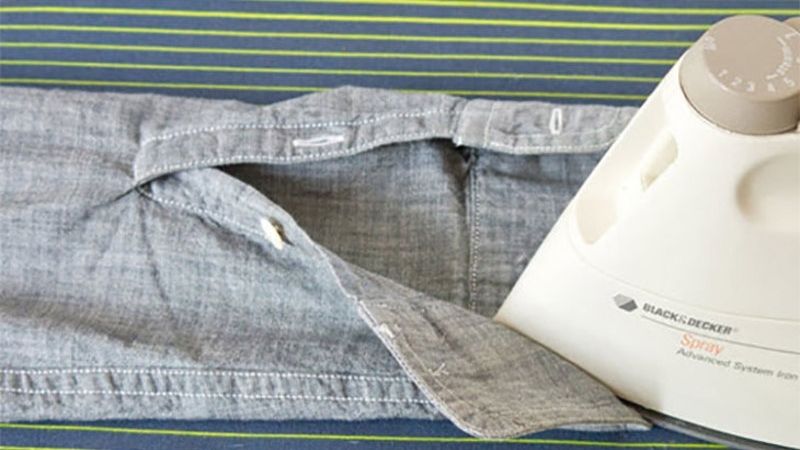 Ironing the Cuffs
2 Iron the Collar
Lay the collar flat and iron along its length. If your iron has a steam function, use it to your advantage to get a crisp and sharp-looking collar.
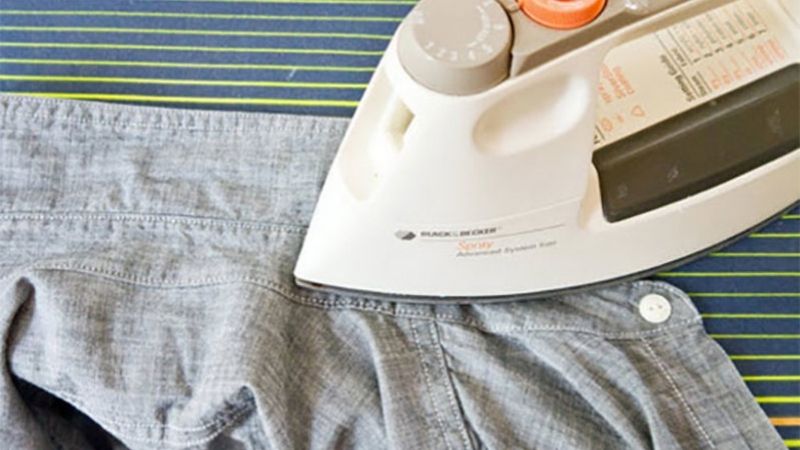 Ironing the Collar
3 Iron the Shoulders
Insert the shoulder area of the shirt—the section connecting the collar and the back—into the tip of the ironing board. Iron from the outer edge inward, and then move on to iron the rest of the shoulders.
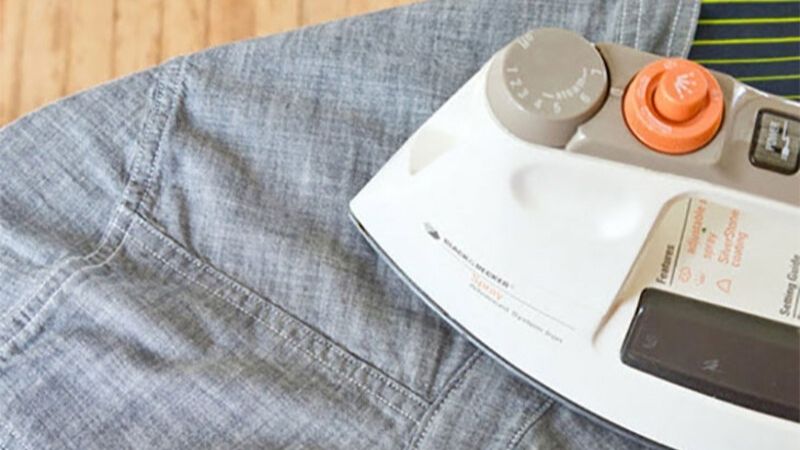 Ironing the Shoulders
4 Iron the Back
Lay the back of the shirt flat on the ironing board, making sure the shoulders are at the tip of the board. Smooth out the fabric and start ironing from the shoulders down to the hem. After ironing the center, move on to the sides.
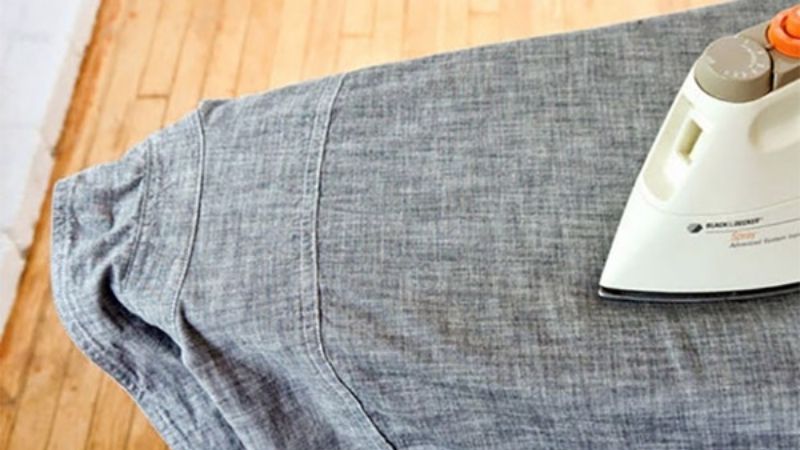 Ironing the Back
5 Iron the Front
Lay one side of the front flat on the ironing board and iron the entire surface, including the areas around the buttons. Once you’ve finished one side, move on to the other.
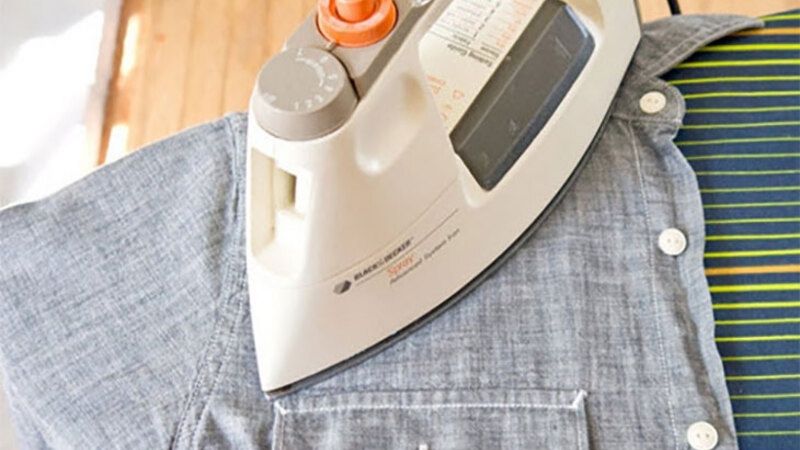 Ironing the Front
6 Iron the Hem
As the final step, lay the hem flat on the ironing board and iron along the seam. Go over it a few times until it’s completely smooth.
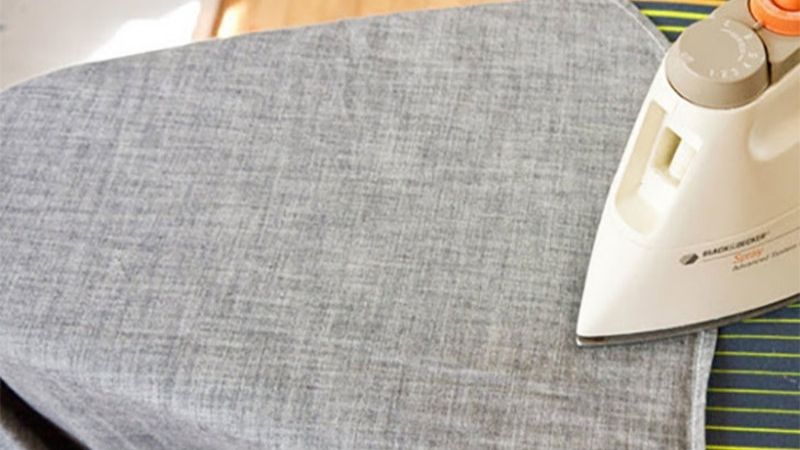 Ironing the Hem
7 Notes on Ironing
Keep the iron away from children as it gets extremely hot. If you accidentally burn yourself, run the affected area under cold water for 20 minutes. Always keep the iron upright when it’s hot to prevent fires. Adjust the iron’s temperature according to the fabric of your shirt:
- For synthetic shirts: Iron at a temperature between 175–230°C.
- For silk shirts: The ideal temperature is 250–300°C.
- For linen or cotton shirts: Use a steam iron set to 320–400°C.
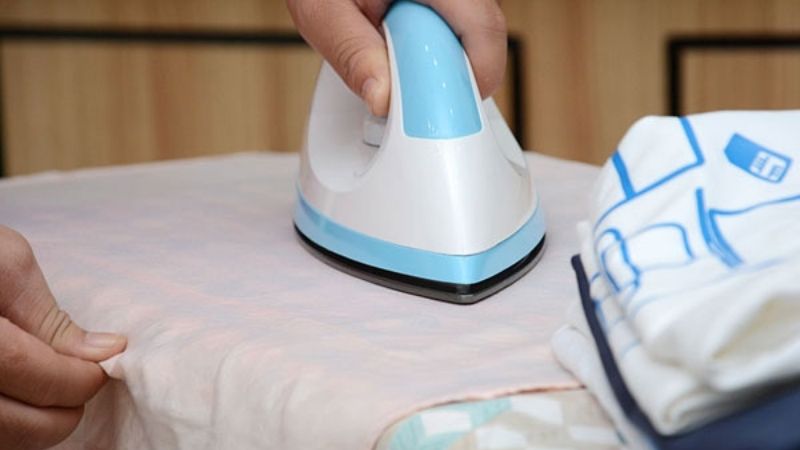 Notes on Ironing
Now you know how to iron a shirt and some helpful tips to keep it looking sharp. Don’t forget to bookmark this article for future reference!


